PComp, Wk 6: Application
I couldn’t find a sketch from ICM that I liked that I felt like I could use with an analog input.
Instead, I looked at the mapping code and modified it so that instead of drawing a graph, I’d draw circles that would grow in size the harder I pressed down on an FSR.
I mapped the sensor data to the circle’s diameter.
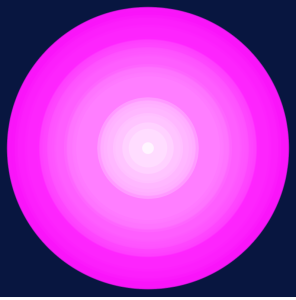
I also played around with mapping it the circle’s fill – first substituting it for one of the colors, then also using it to modify the opacity. I played around with which arguments it modified and also tried it without a stroke.
pcomp_application1 from Zoe Bachman on Vimeo.
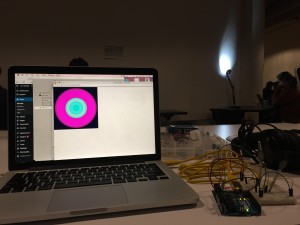
Then I thought, could I modify the color and the size separately, using 2 FSRs? So I looked at the code for the lab that used multiple sensors and adapted that for my two FSRs.
One version of my code:
making use of that punctuation…. Checked their readings in the serial monitor and everything looked good, So I went to go mess around in p5. That’s where I ran into some difficulty. The code for the size and color of my circle was within the same function…and how do I distinguish between new data coming from FSR1 and that coming from FSR2? So, looked at this lab where it looks like there are promises of using multiple sensor data in p5… Oh. That’s when I noticed that this lab is doing ALMOST EXACTLY WHAT I WAS TRYING TO DO. Except with an accelerometer instead of FSRs. I mean, I knew drawing a circle wasn’t original, but… Well. Too late. Continuing on… I followed the lab, and instead of doing location and color the way they had it, I used my size and color code. But it was super helpful to see how they used the array notation to split the sensor reading.I uploaded the sketch for 2FSRs but when I got to p5, the circle would change size but there was no color. And then, I’m not sure what I did. But I guess I changed something in my code because I got it to work! Mostly messing with commenting things in and out.
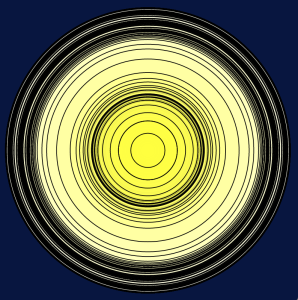
I also realized that it was mapped in an inefficient way, so I switched those values and I got back to the “animation” I had before. I also placed the background back in setup() so I could get that concentric circle effect I had previously.
Then I thought, I’m really only getting shades…but I wonder if I use two variables (diam and col) in the fill arguments if I can get different colors…
Reminds me of those giant jawbreakers I had as a kid!
pcomp_wk6_vid2 from Zoe Bachman on Vimeo.
Or, better yet…


