PComp, Wk 14: Semaphore Jacket – First Complete Prototype!
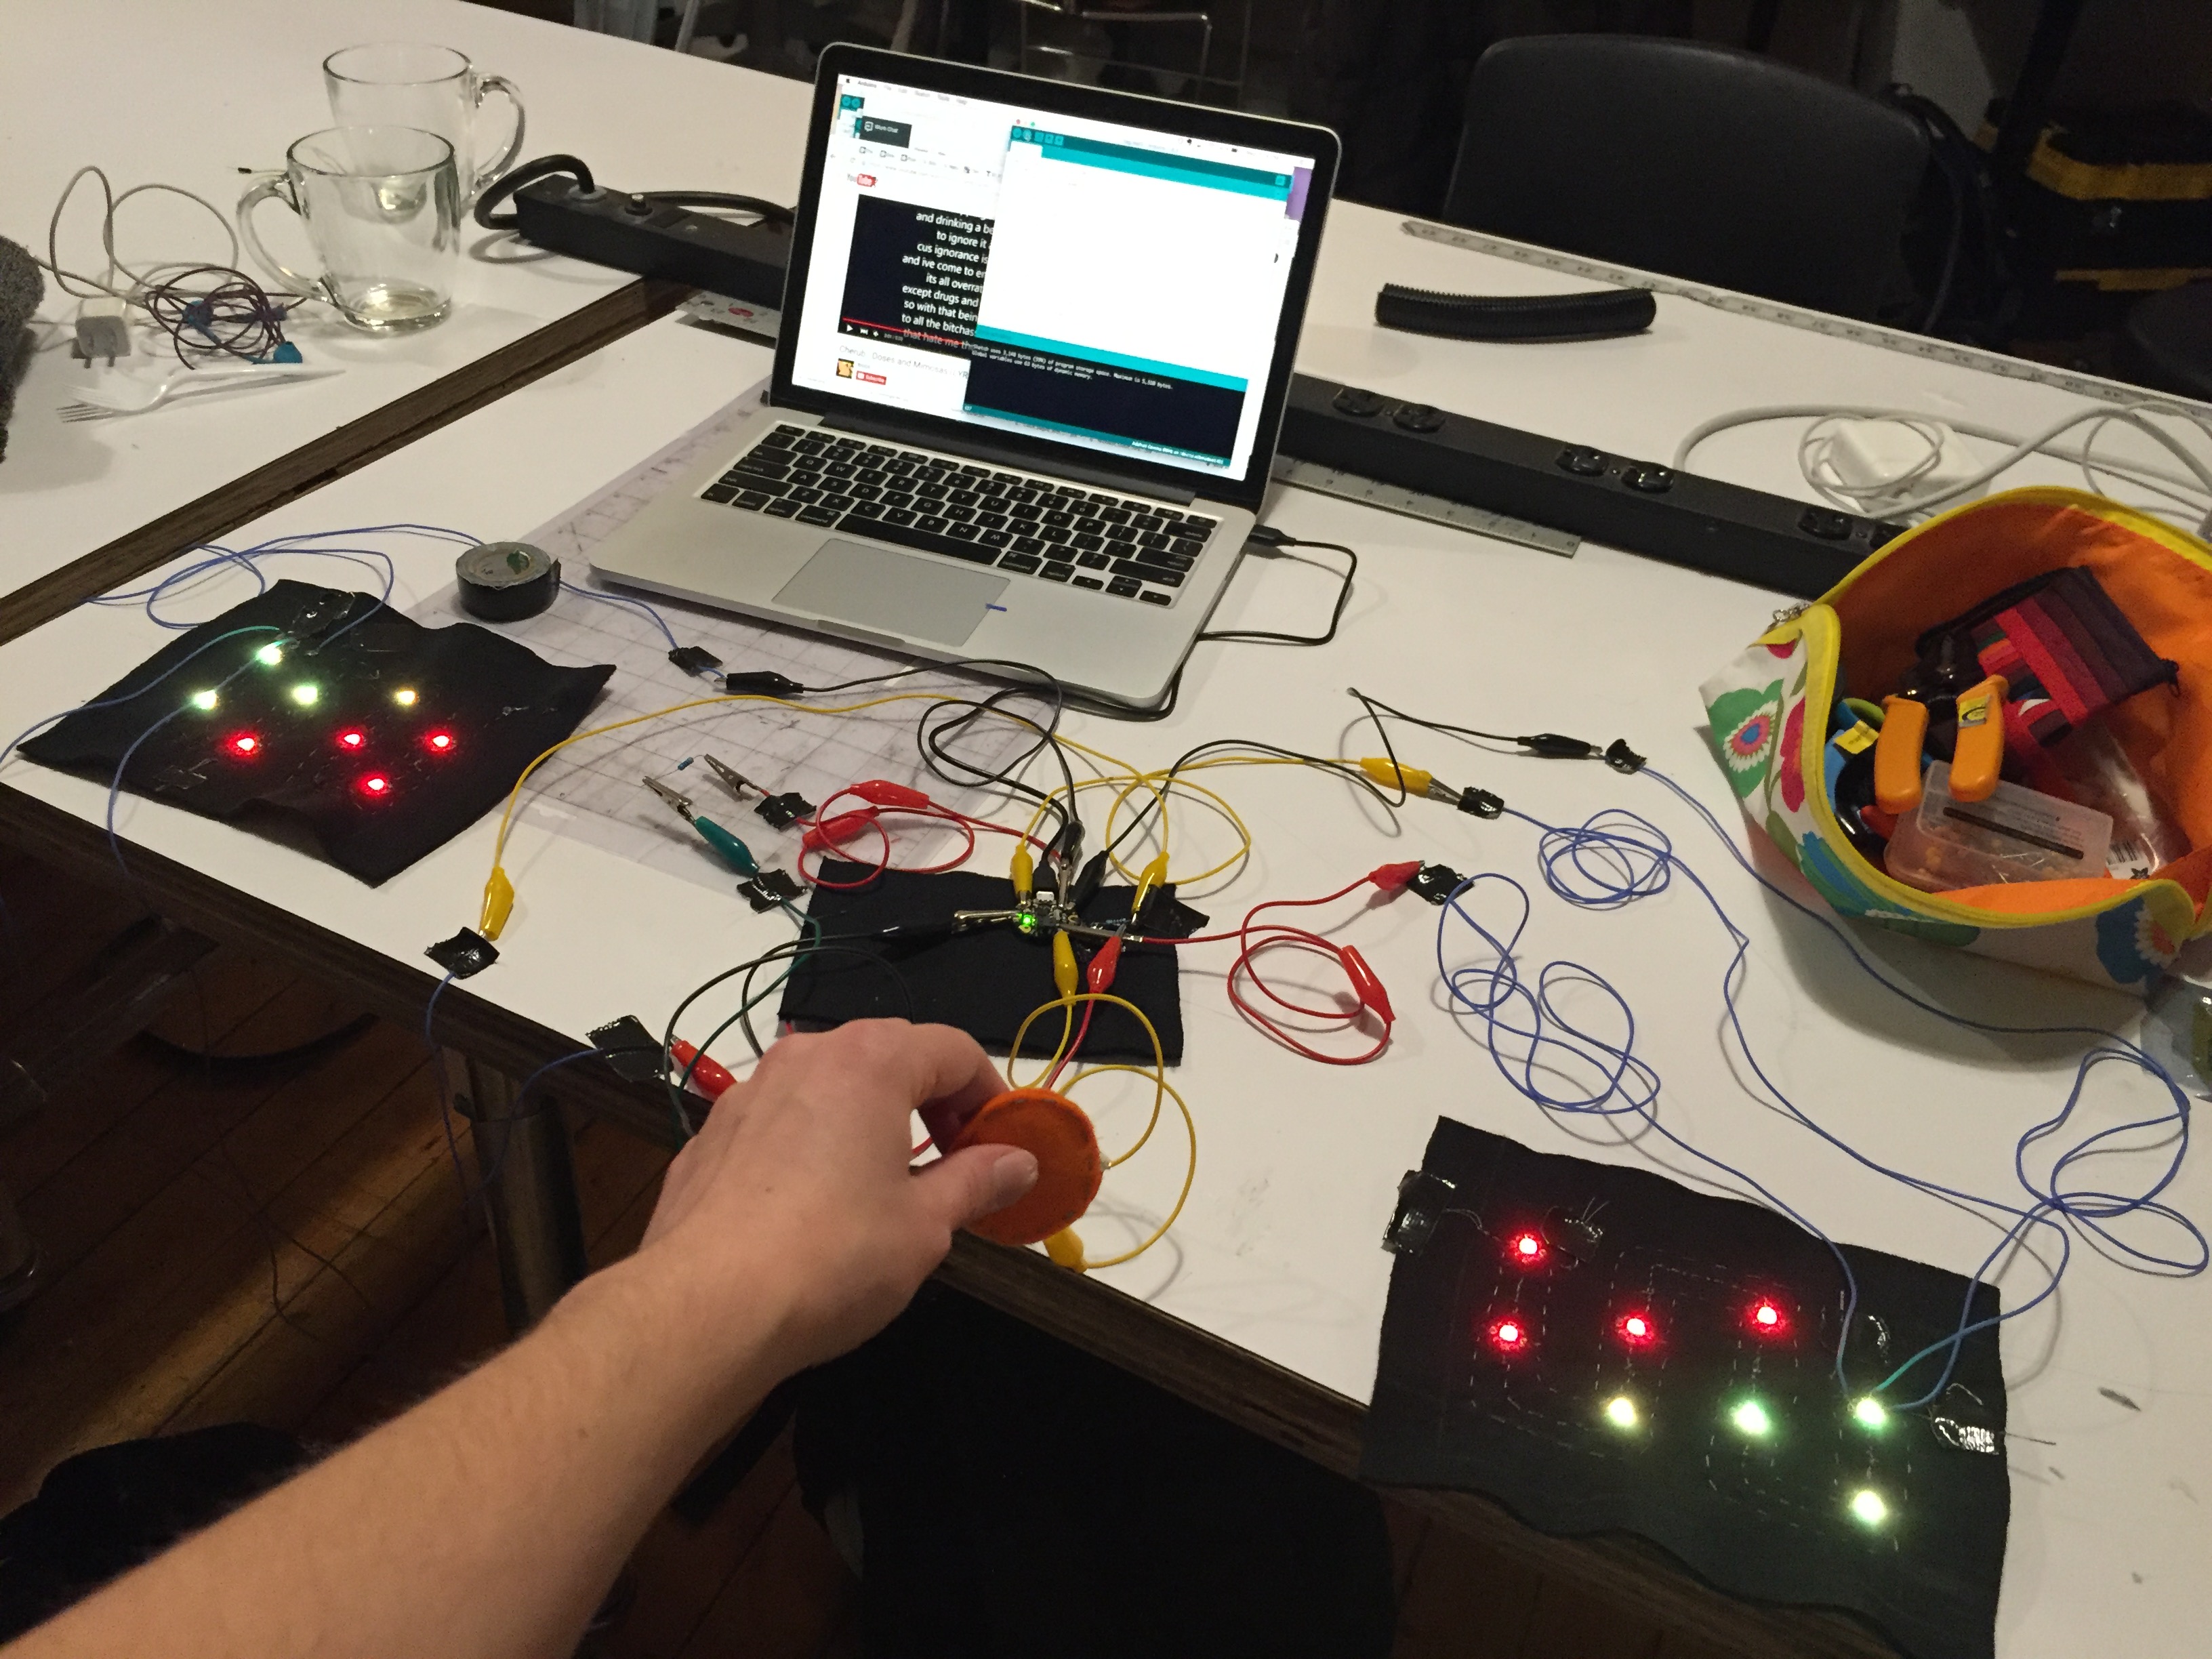
Now that I got one of my flag circuits to work, I went to work on the code. I used some of Adafruit’s StrandTest code and the neopixel library and the digital switch.
I struggled with the code and got error messages that I didn’t fully understand. Teresa, who has a lot of experience with neopixels, sat with me as we went through the code line by line. Rather than address individual pixels like I’d been trying to, we wrote conditional statements ‘if’ and ‘for’ loop statements so that the code would run through the entire strand, but only turn specific pixels red and the rest would be yellow. We played with a delay (which is commented out), so each pixel lit up one after the other. One interesting thing I learned about neopixels is that you can’t simply write it to turn on/off with a switch. So we had to write an additional if statement connecting it to the switch state to change the color to 0, 0, 0.
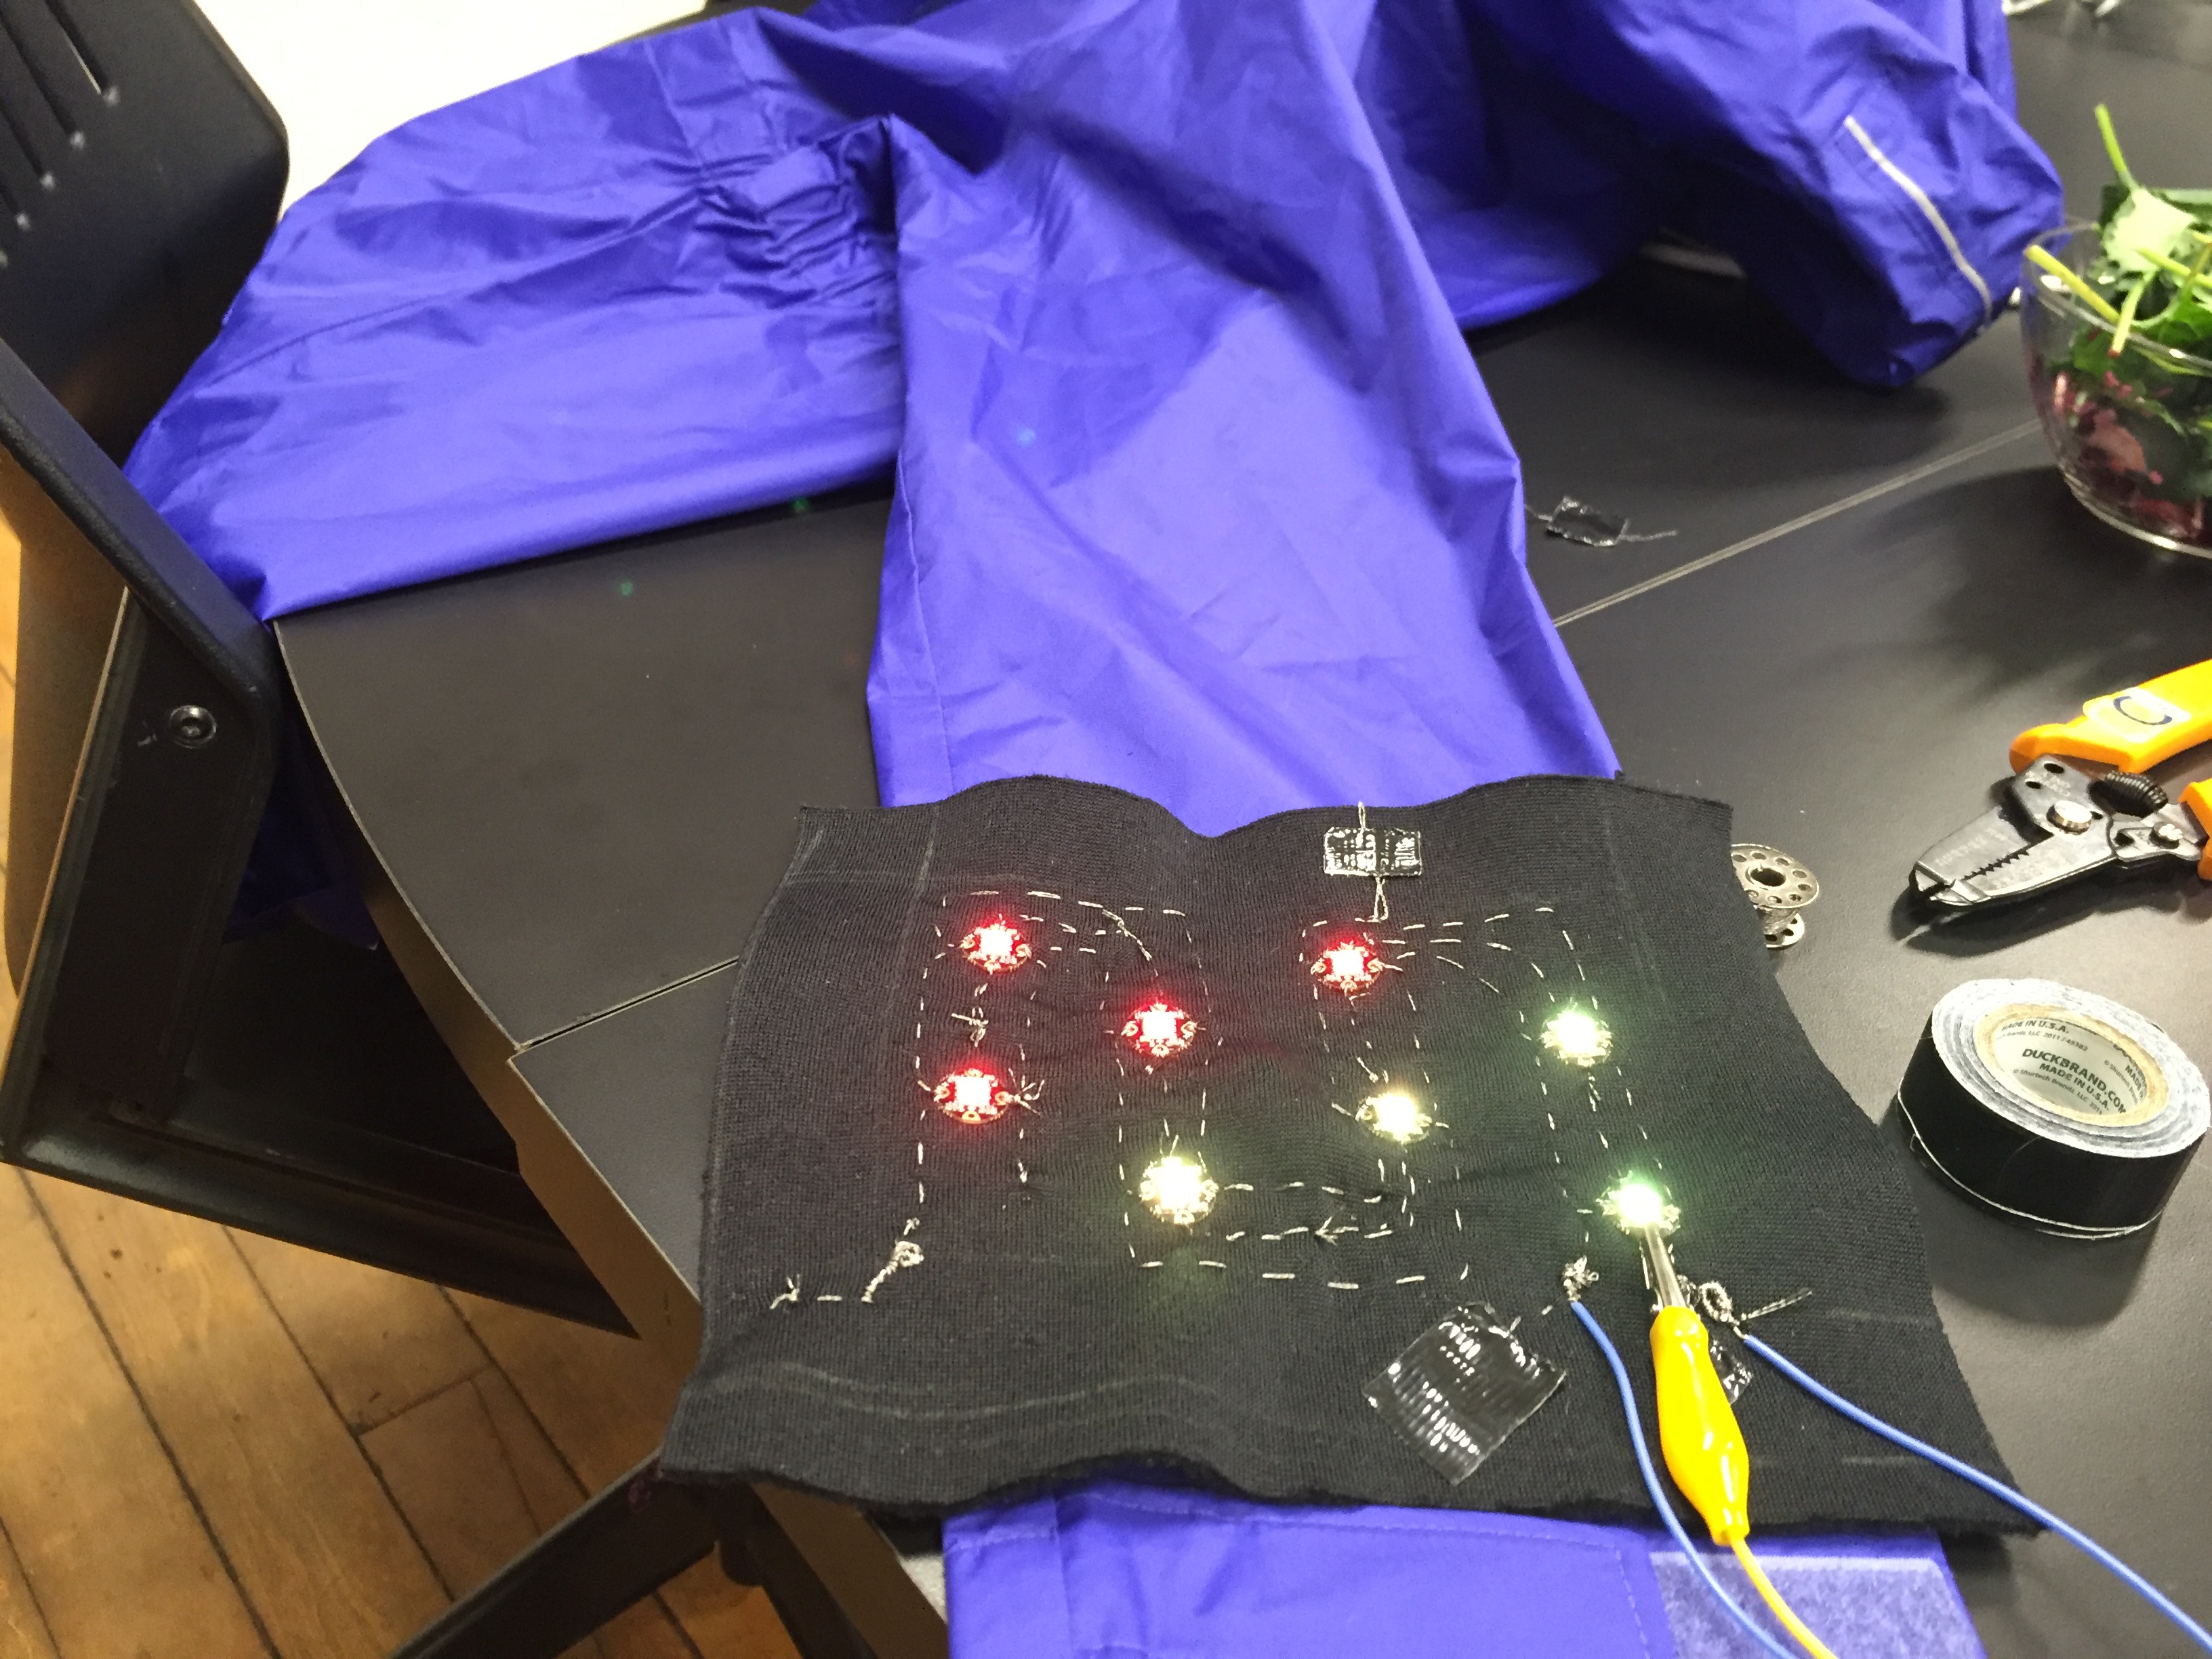
After I sewed the second circuit, I repeated the code, changing the pixel addresses and specifying a different data line. Here’s the complete circuit laid out:
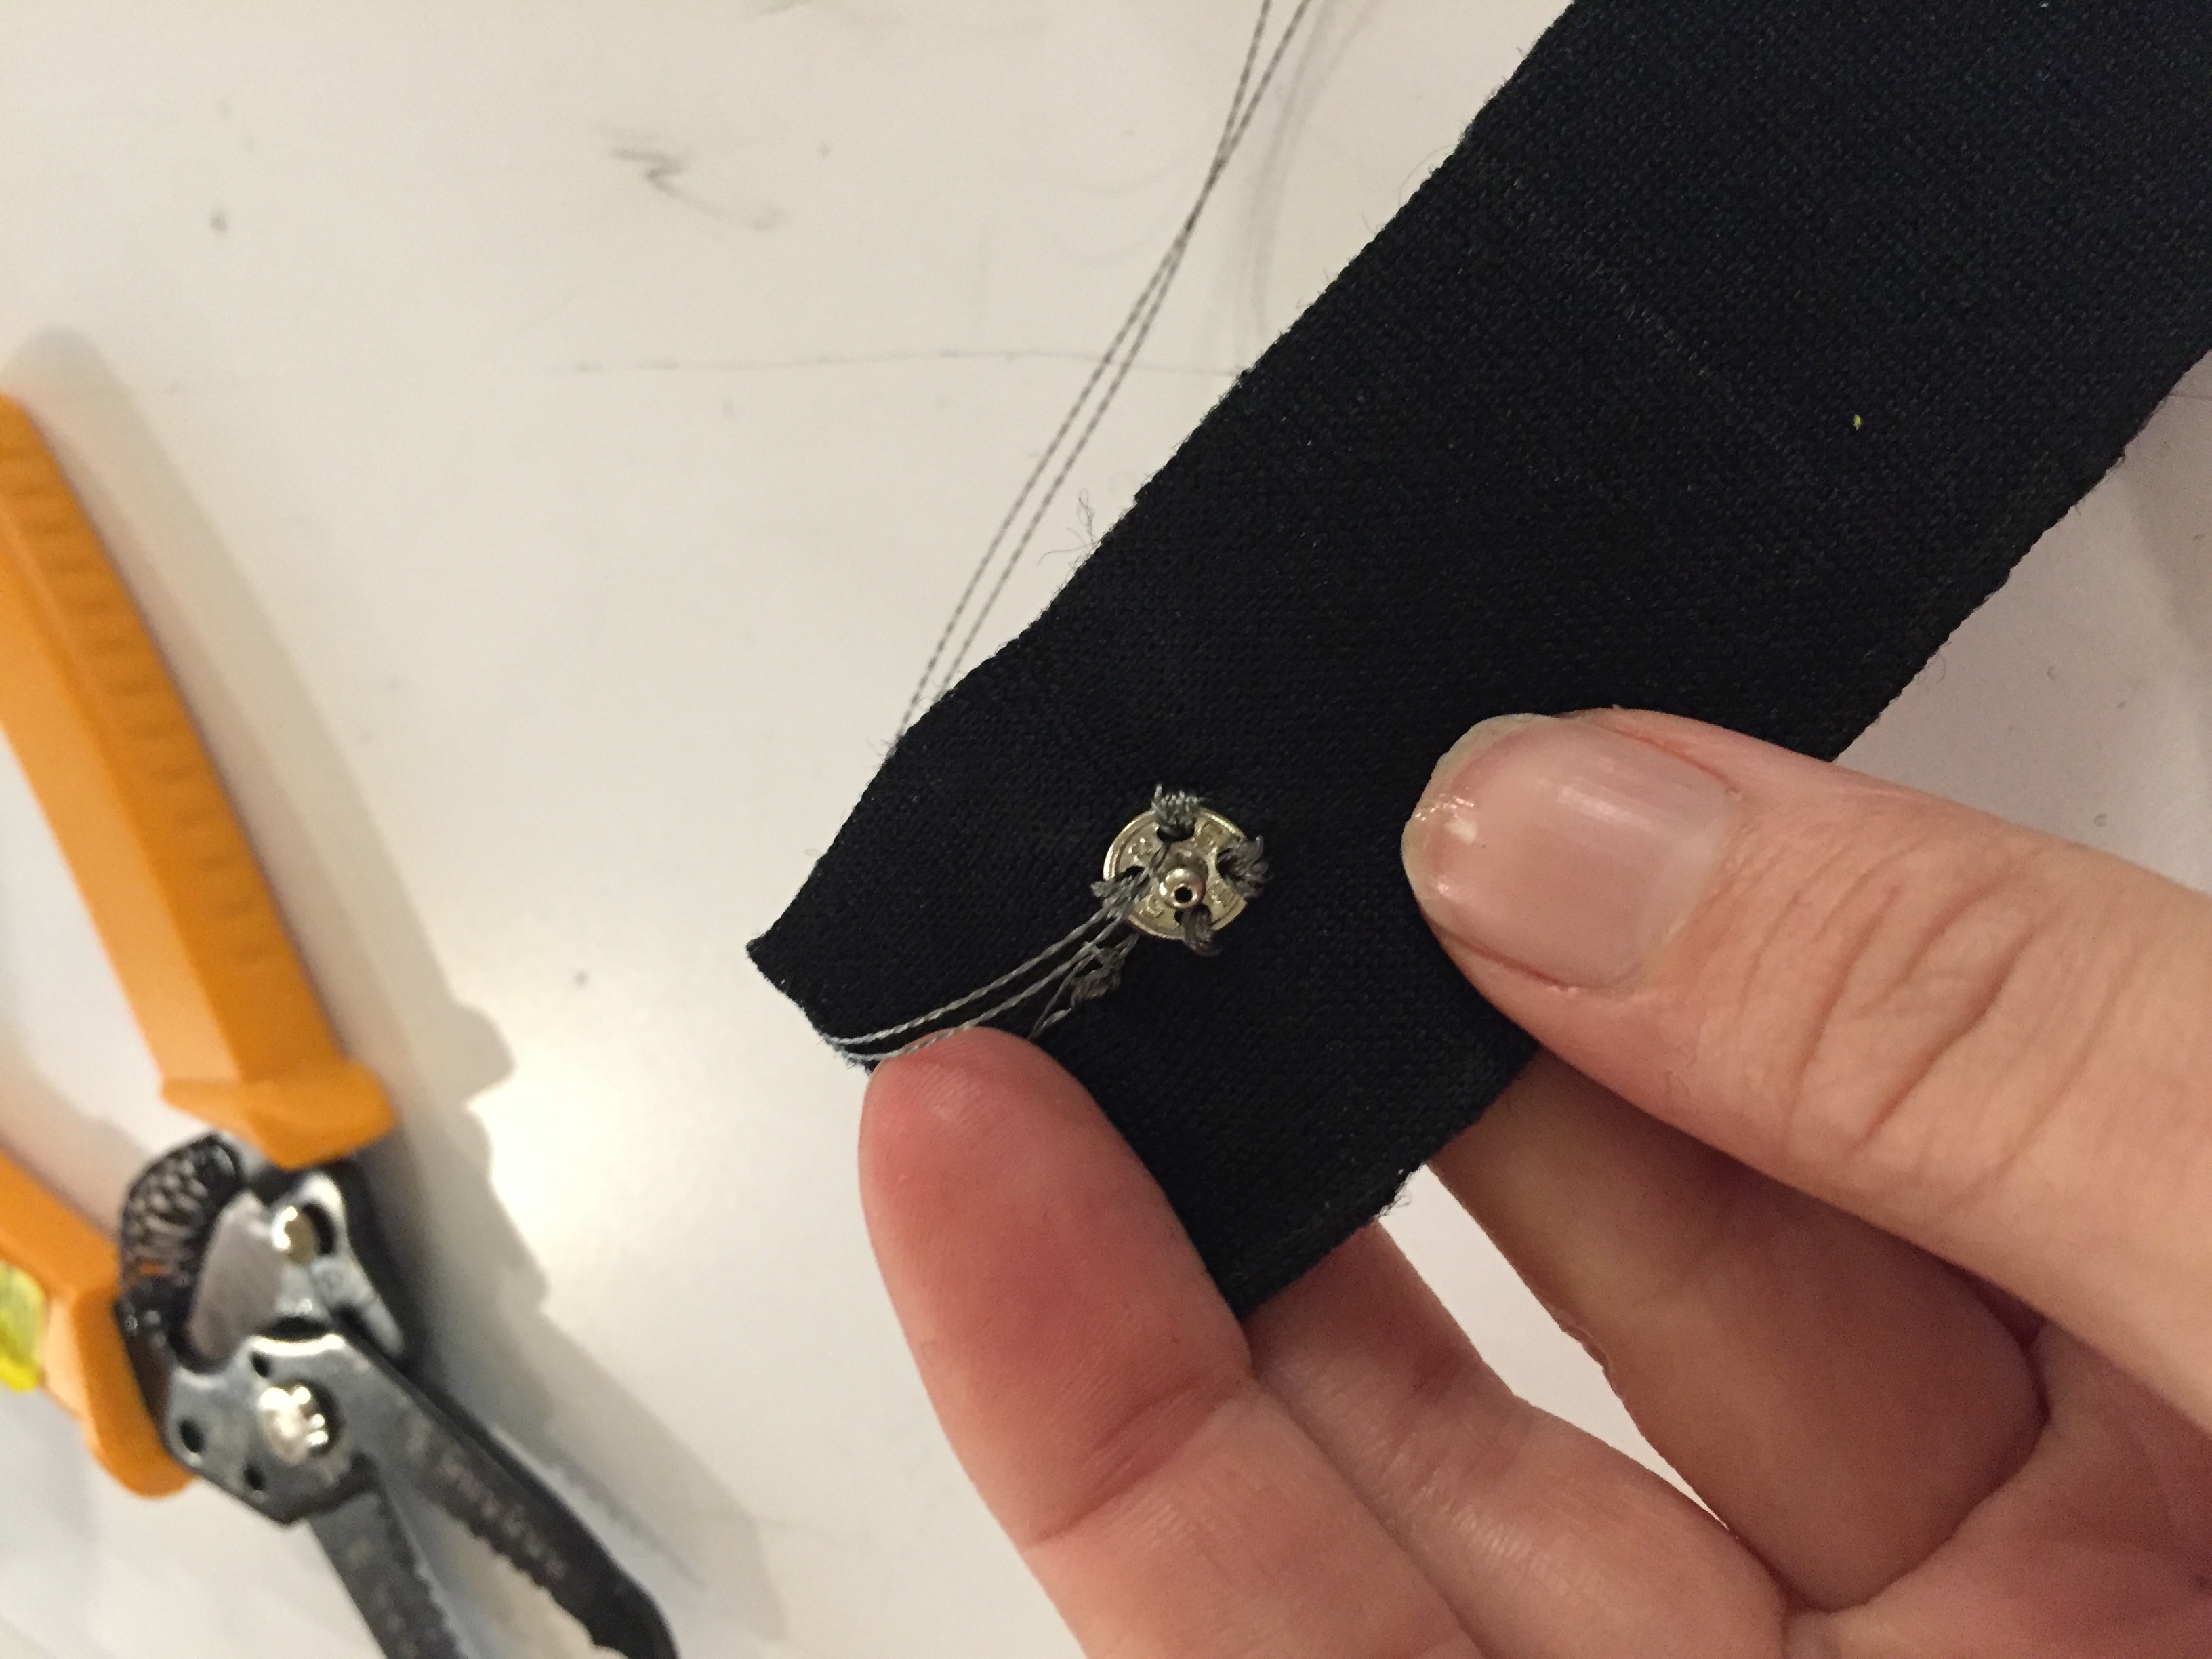
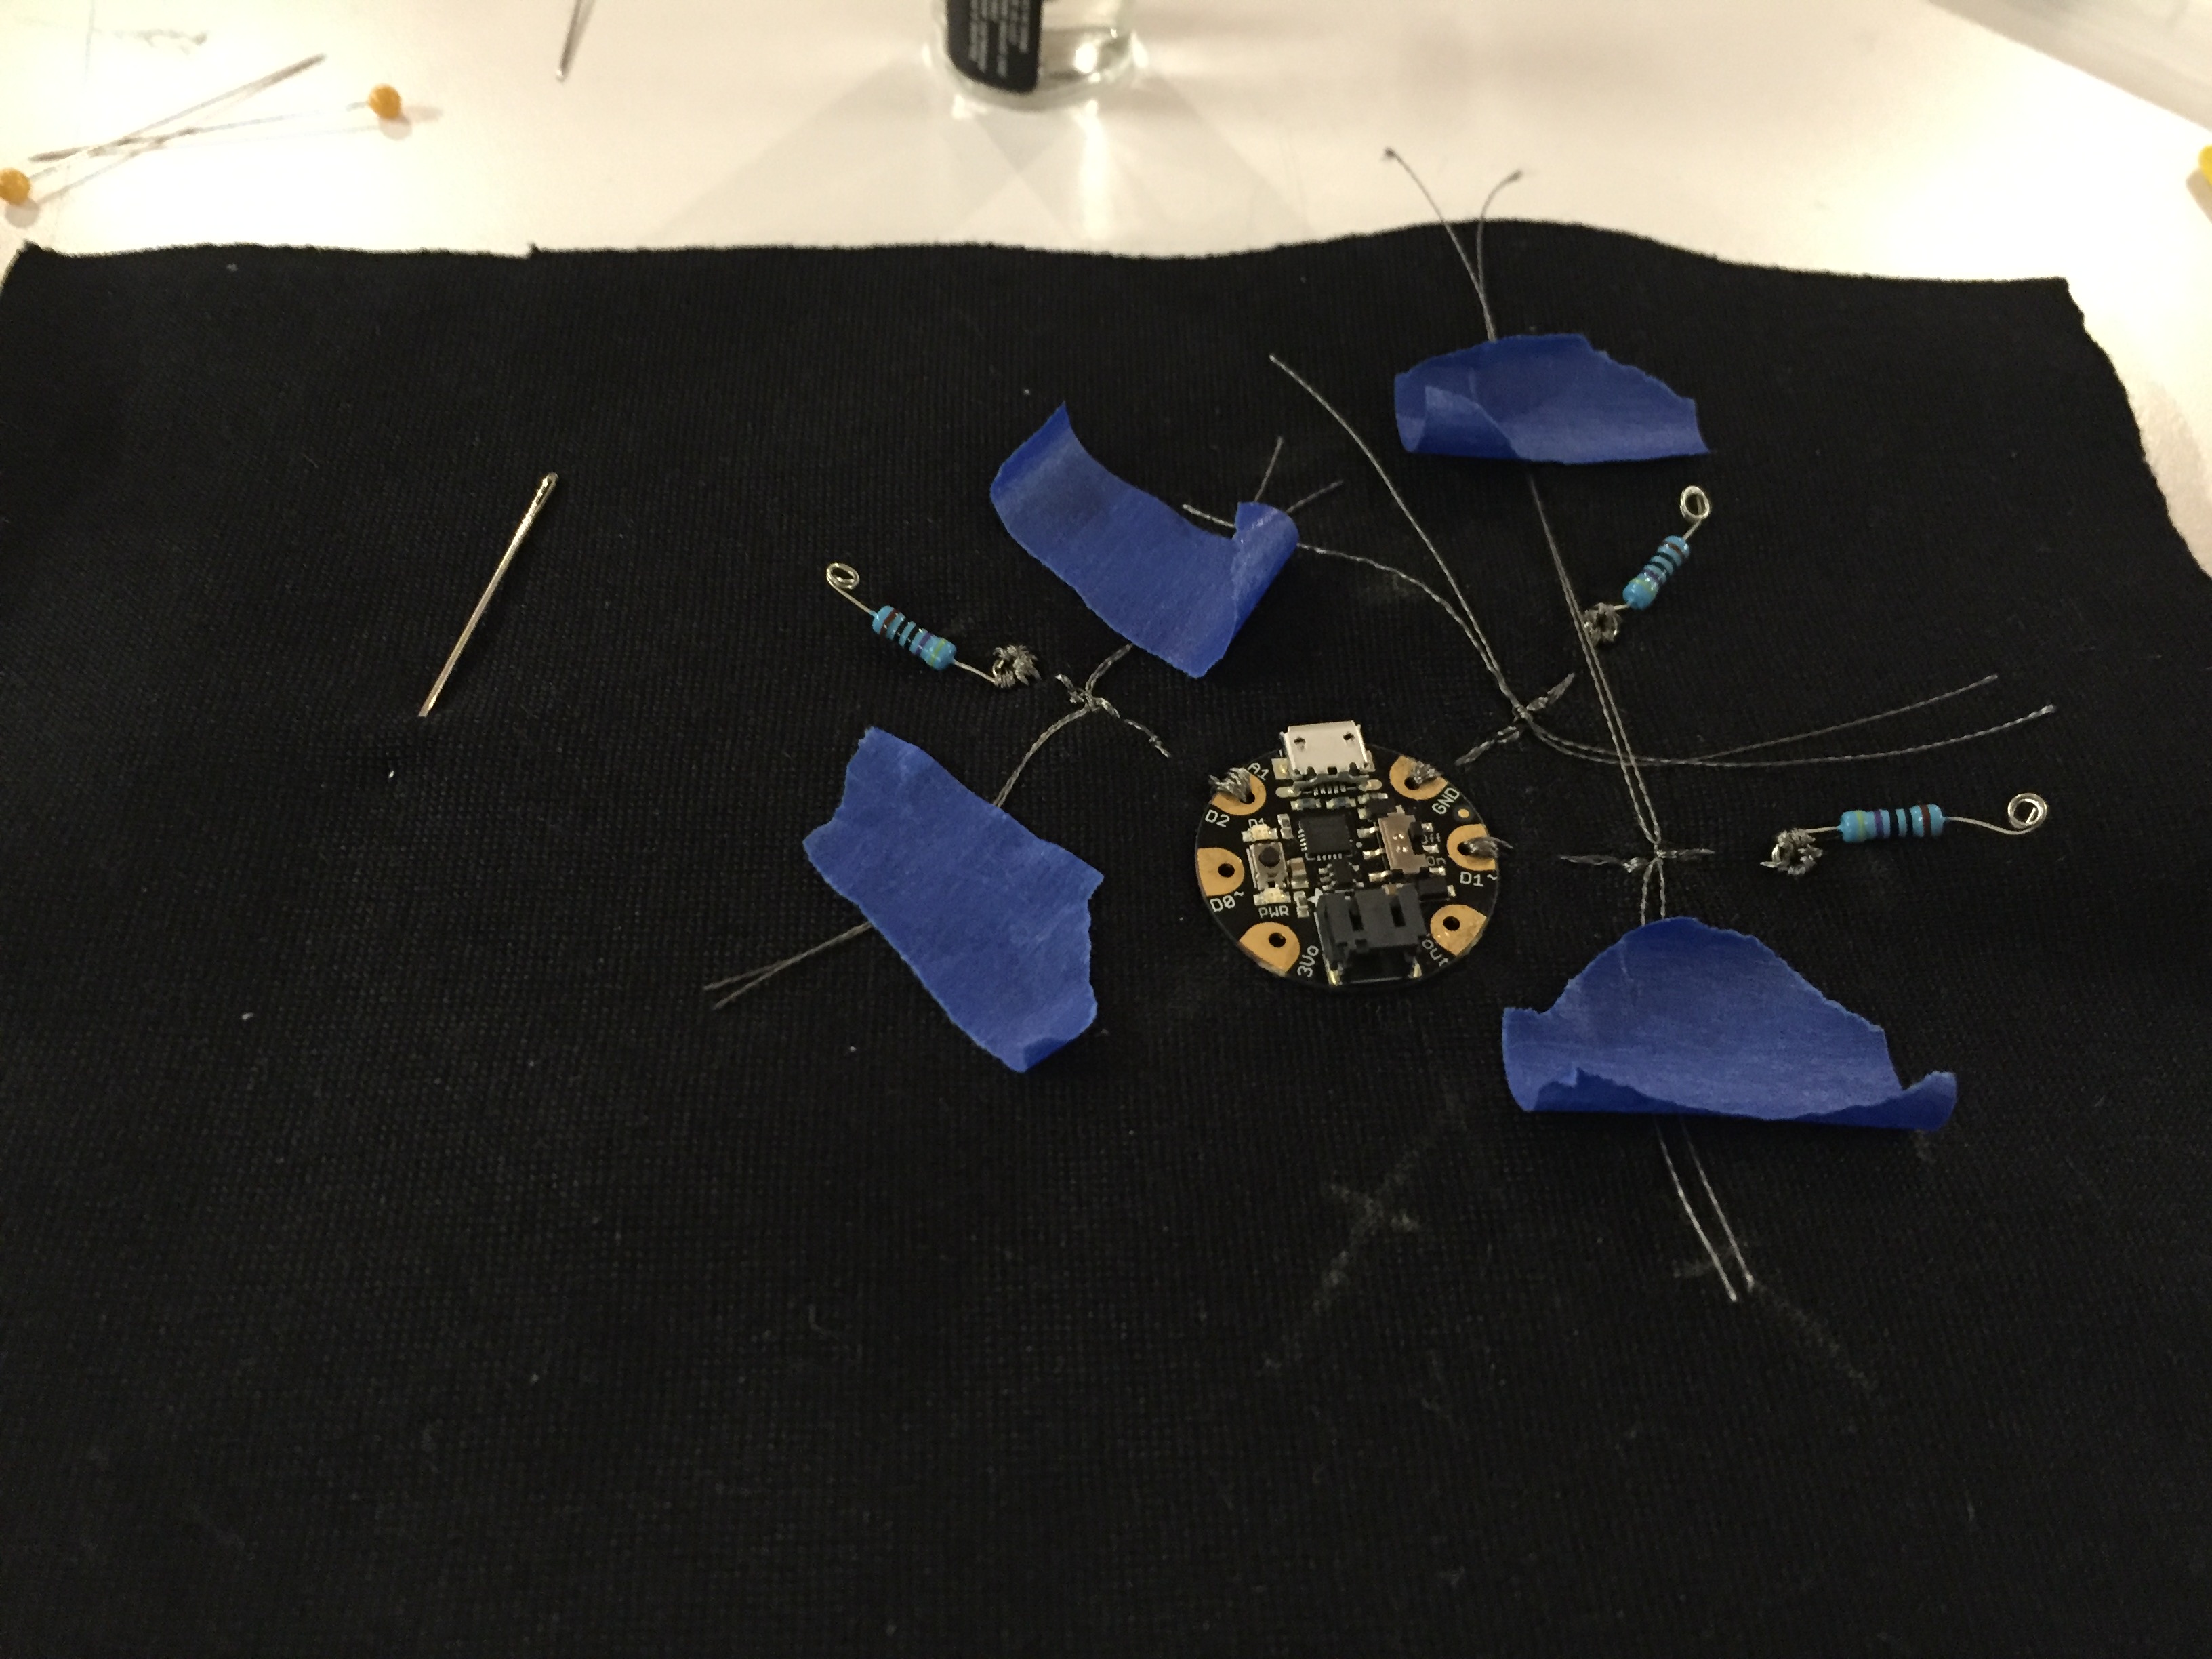
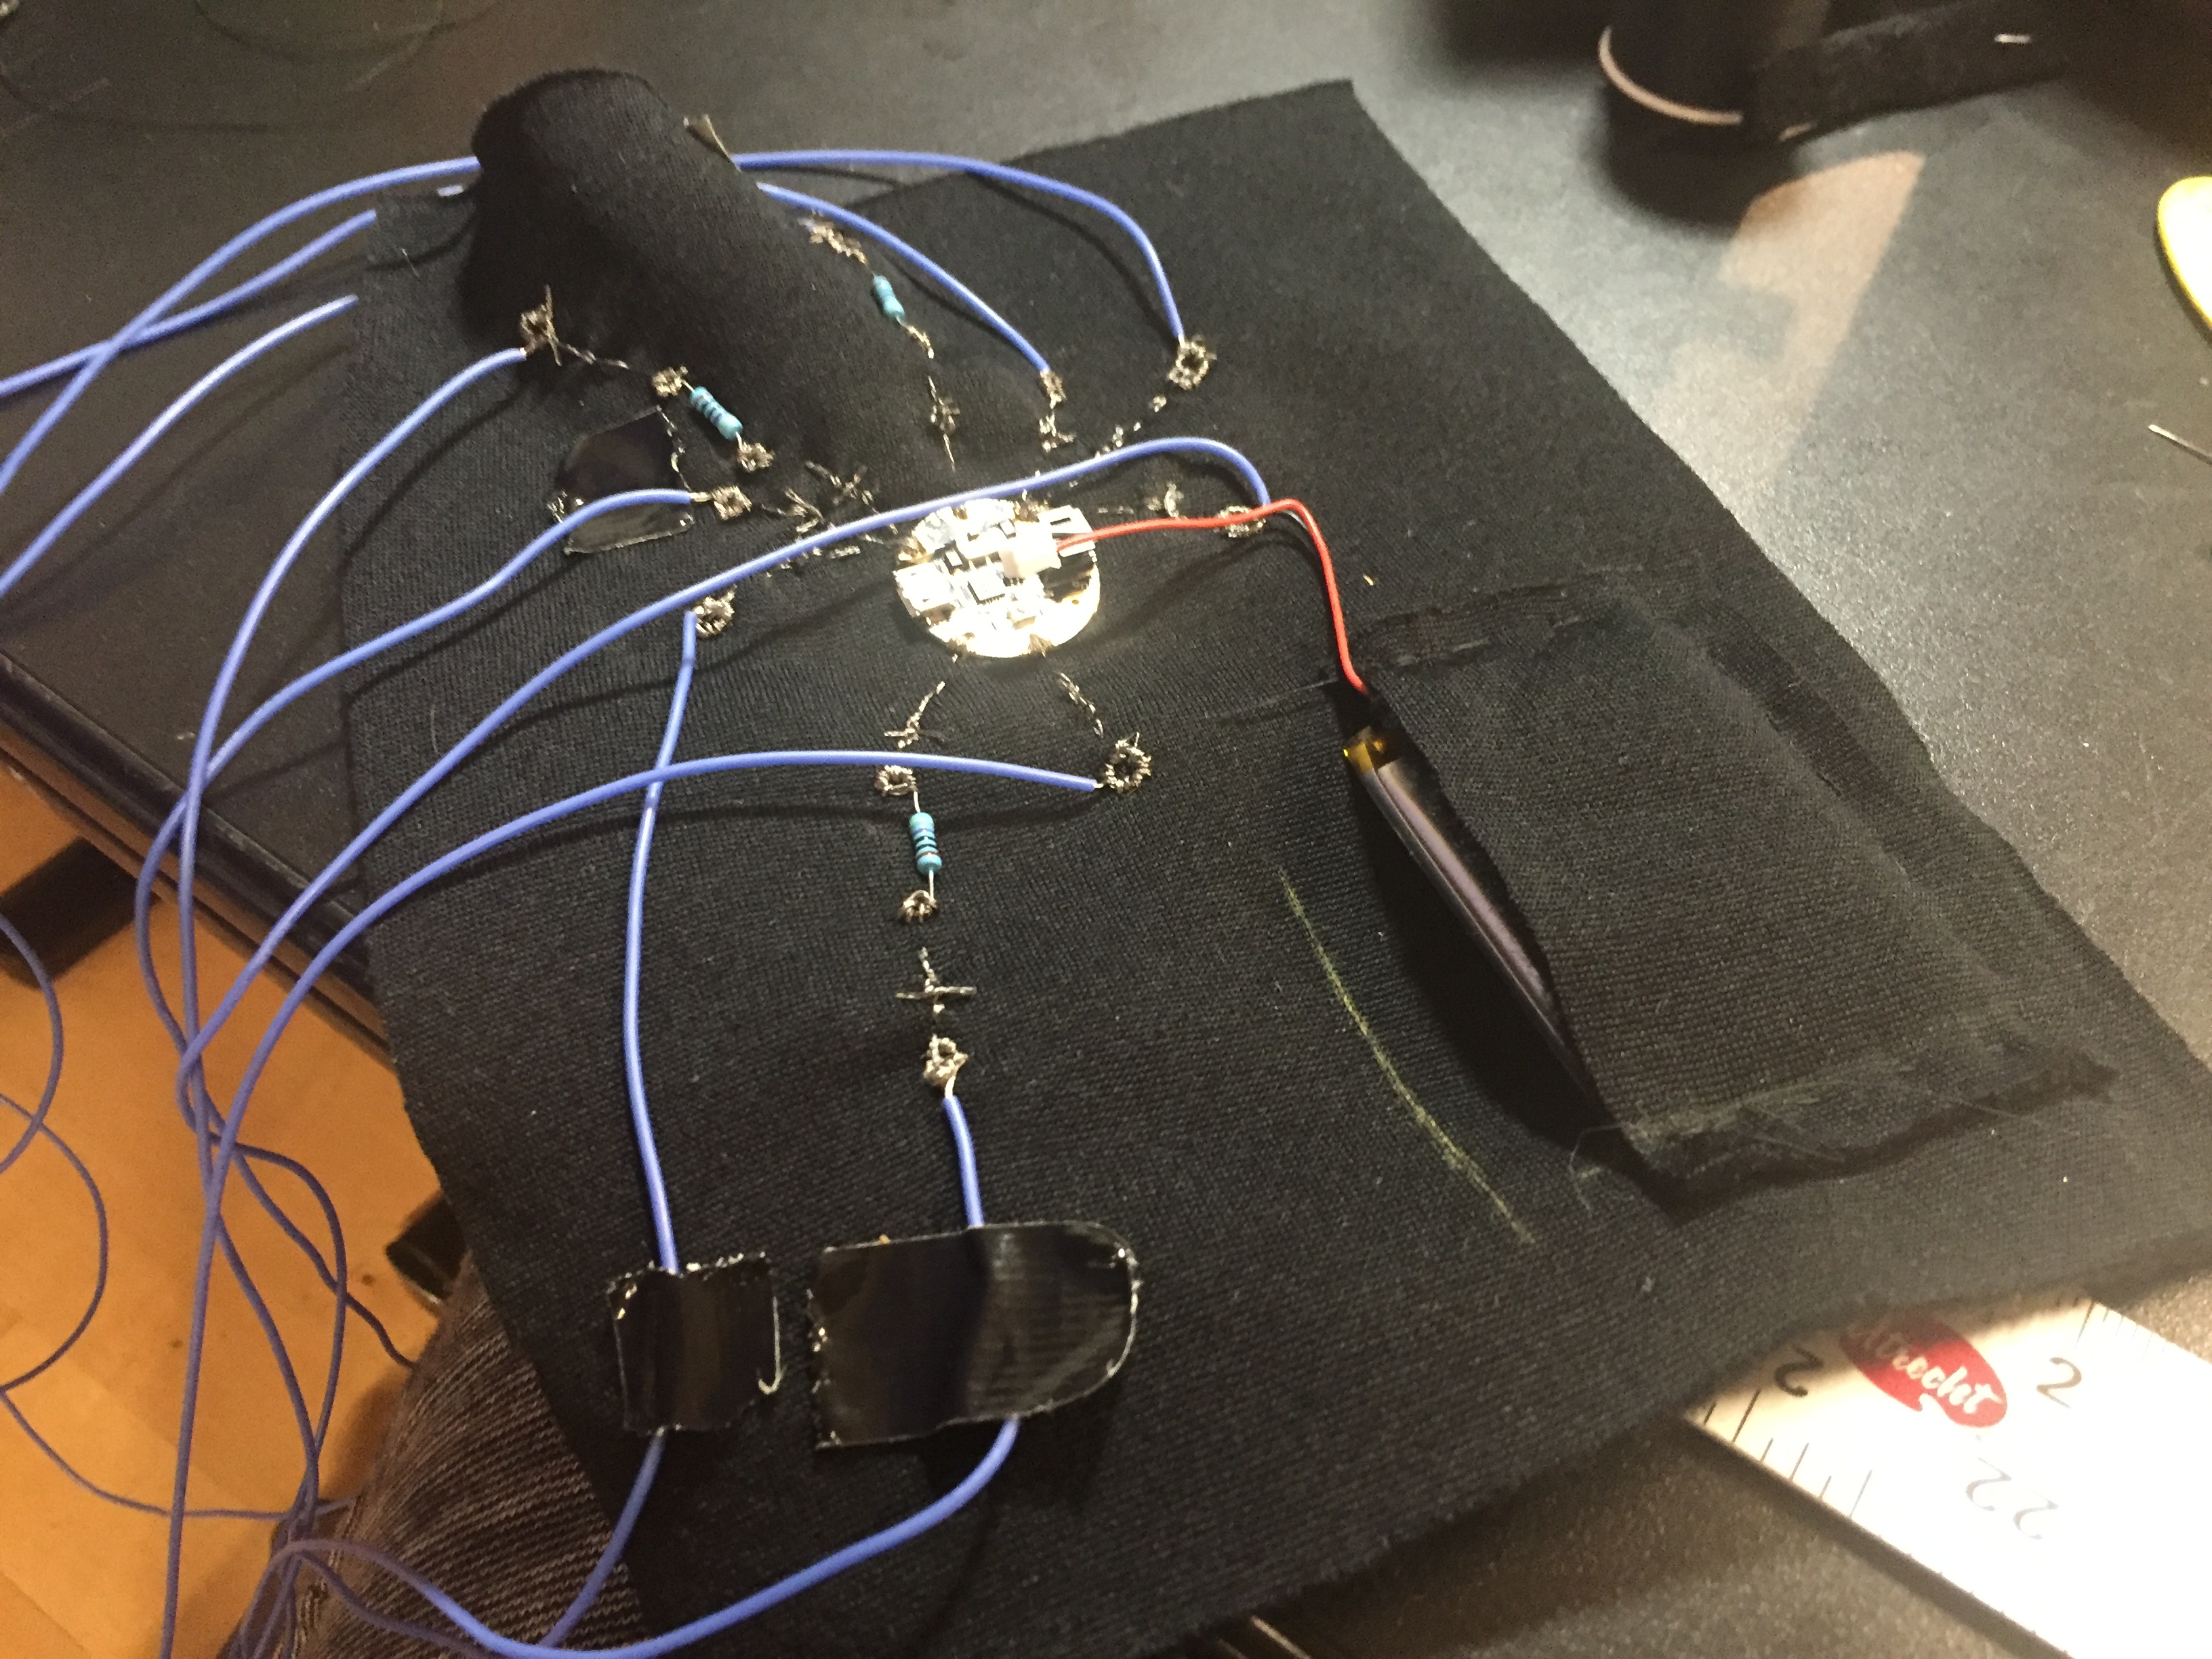
Now that my circuit was working, I had to sew the microcontroller connections and mount the circuit/components to the actual jacket. Sewing the connections was time-consuming and nerve-wracking. If they weren’t sewn correctly, the circuit would no longer work. Therefor I was really careful about my stitches. Each connection probably took 10-15 min to sew and there were 9 in total. I used many of the techniques I used on the flag circuit, like stripping, bending and sewing around the silicone-wrapped wire, and using needle-nose pliers to bend the legs of resistors. I put resistors on the two LED data lines and one on ground connecting the switch to create a pull-up resistor. I also had to stitch the data, power and ground lines onto the snap to make it into a switch.
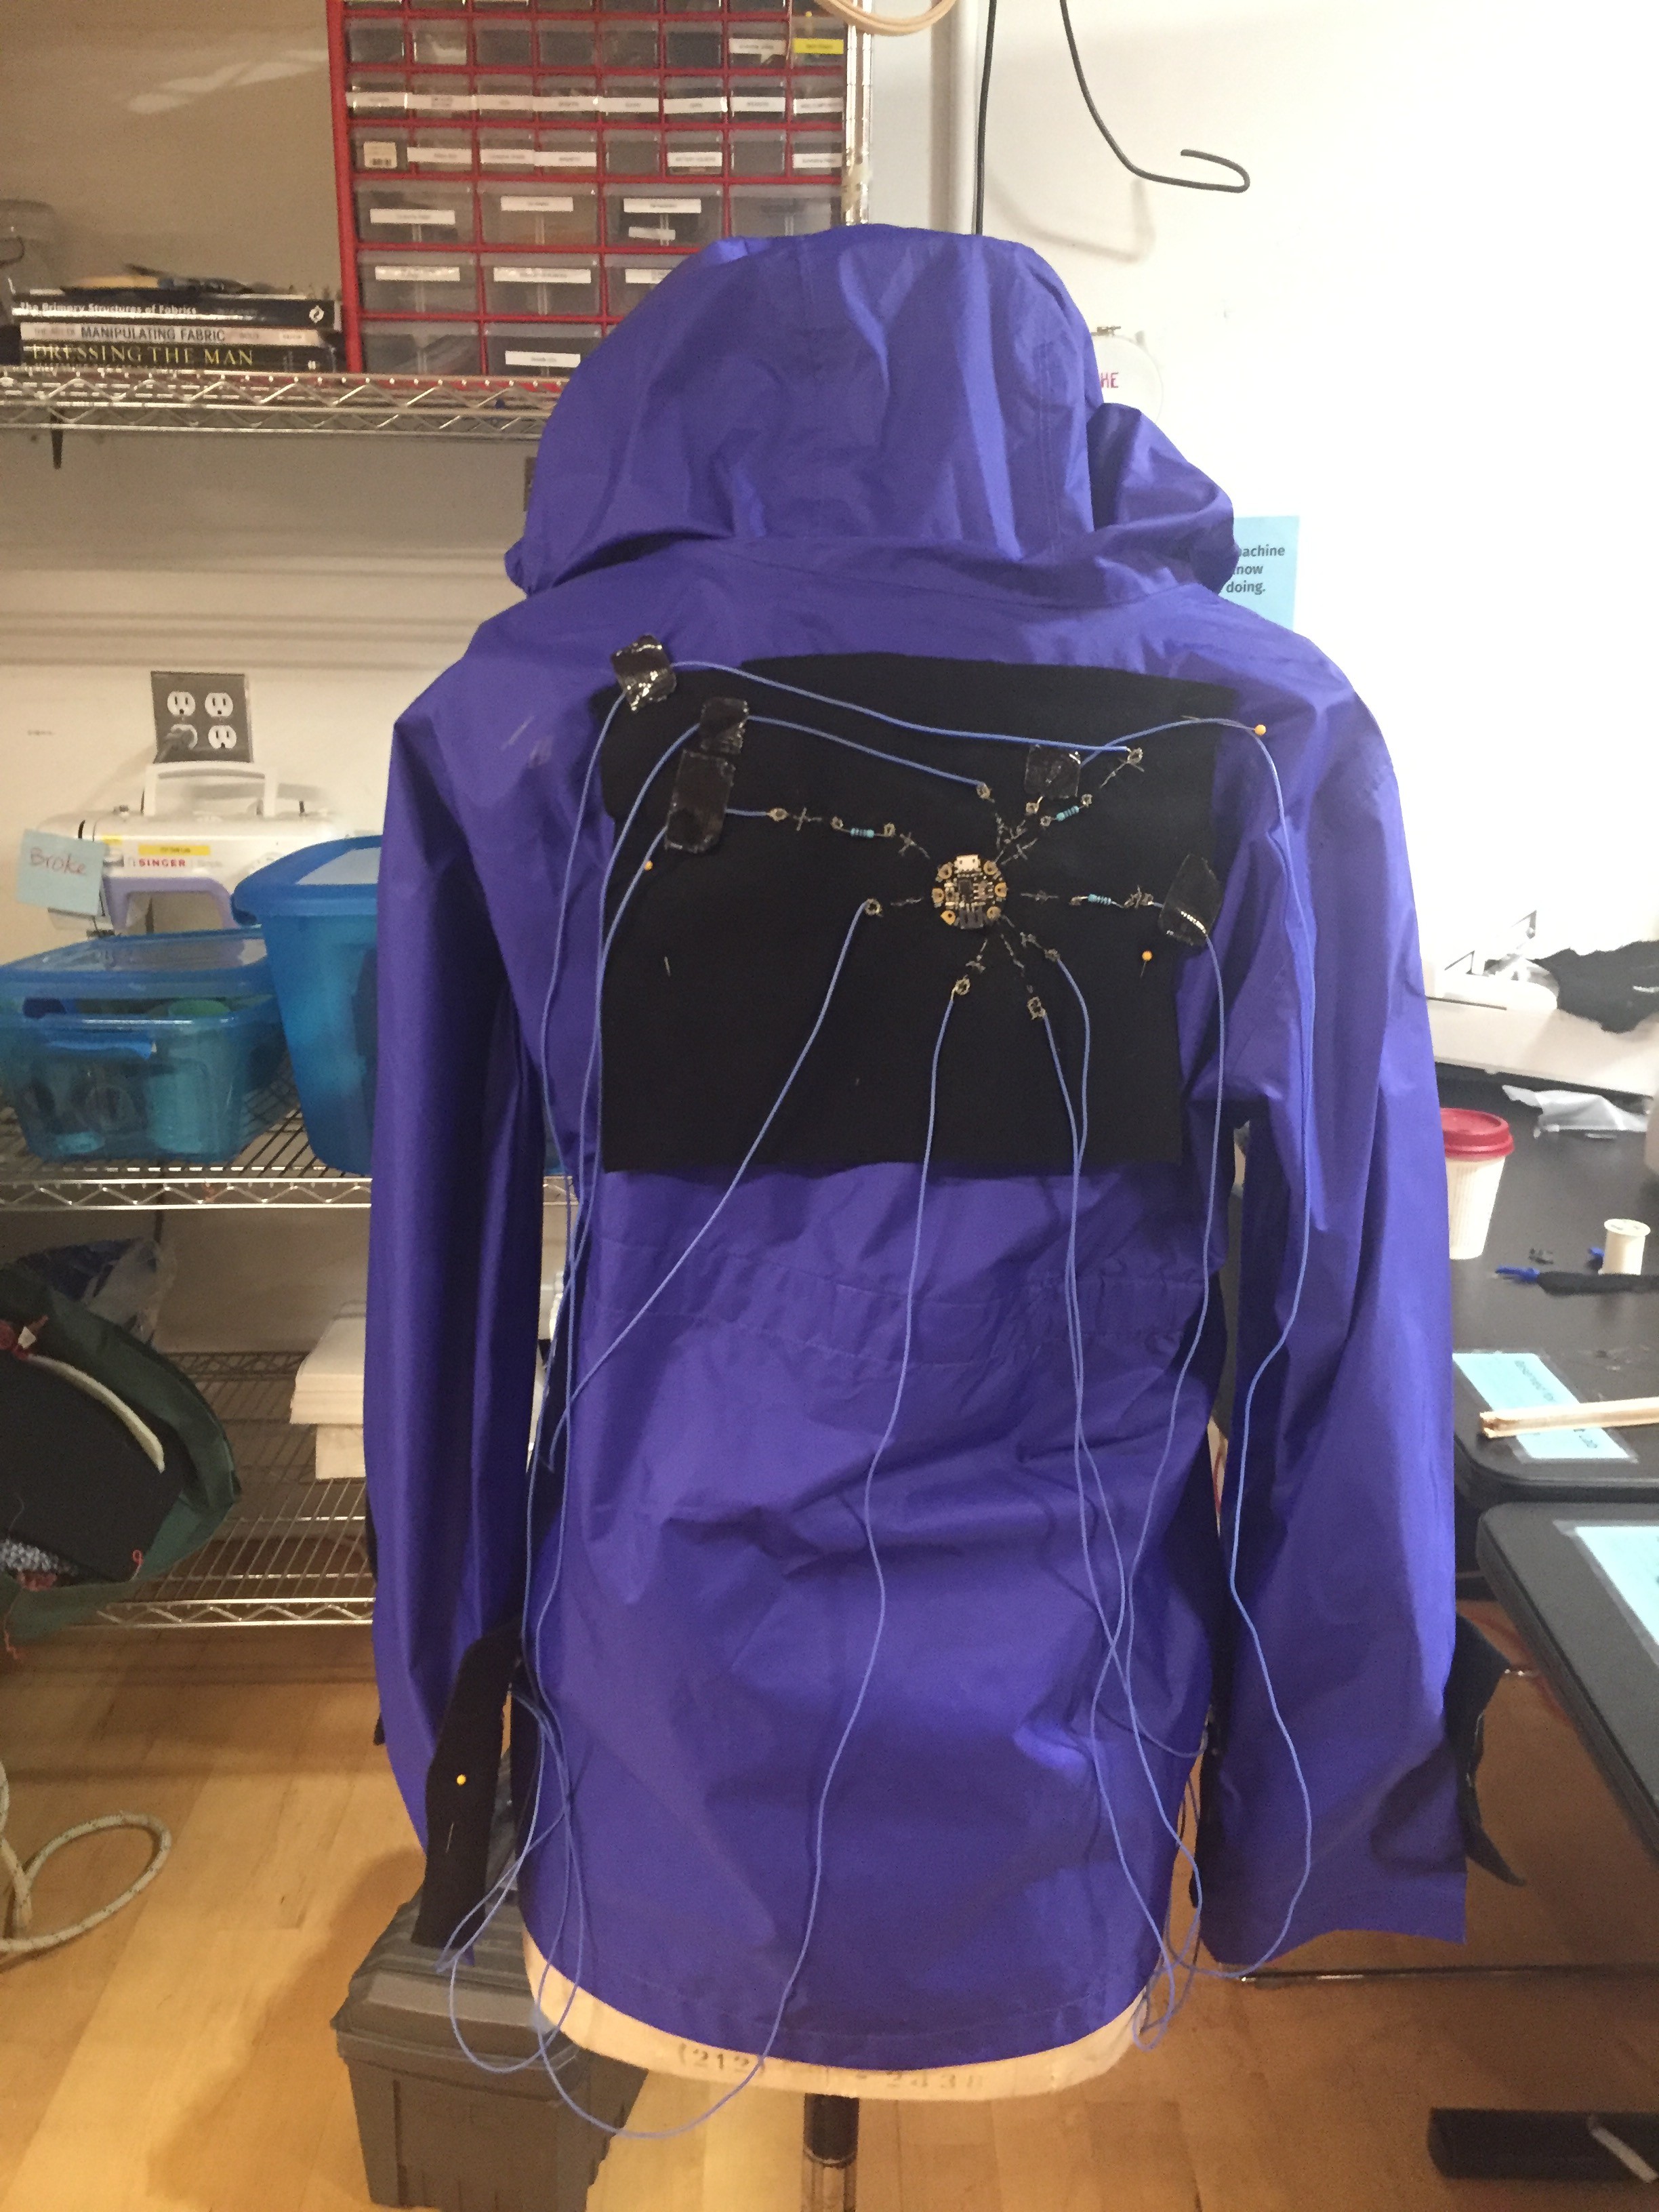
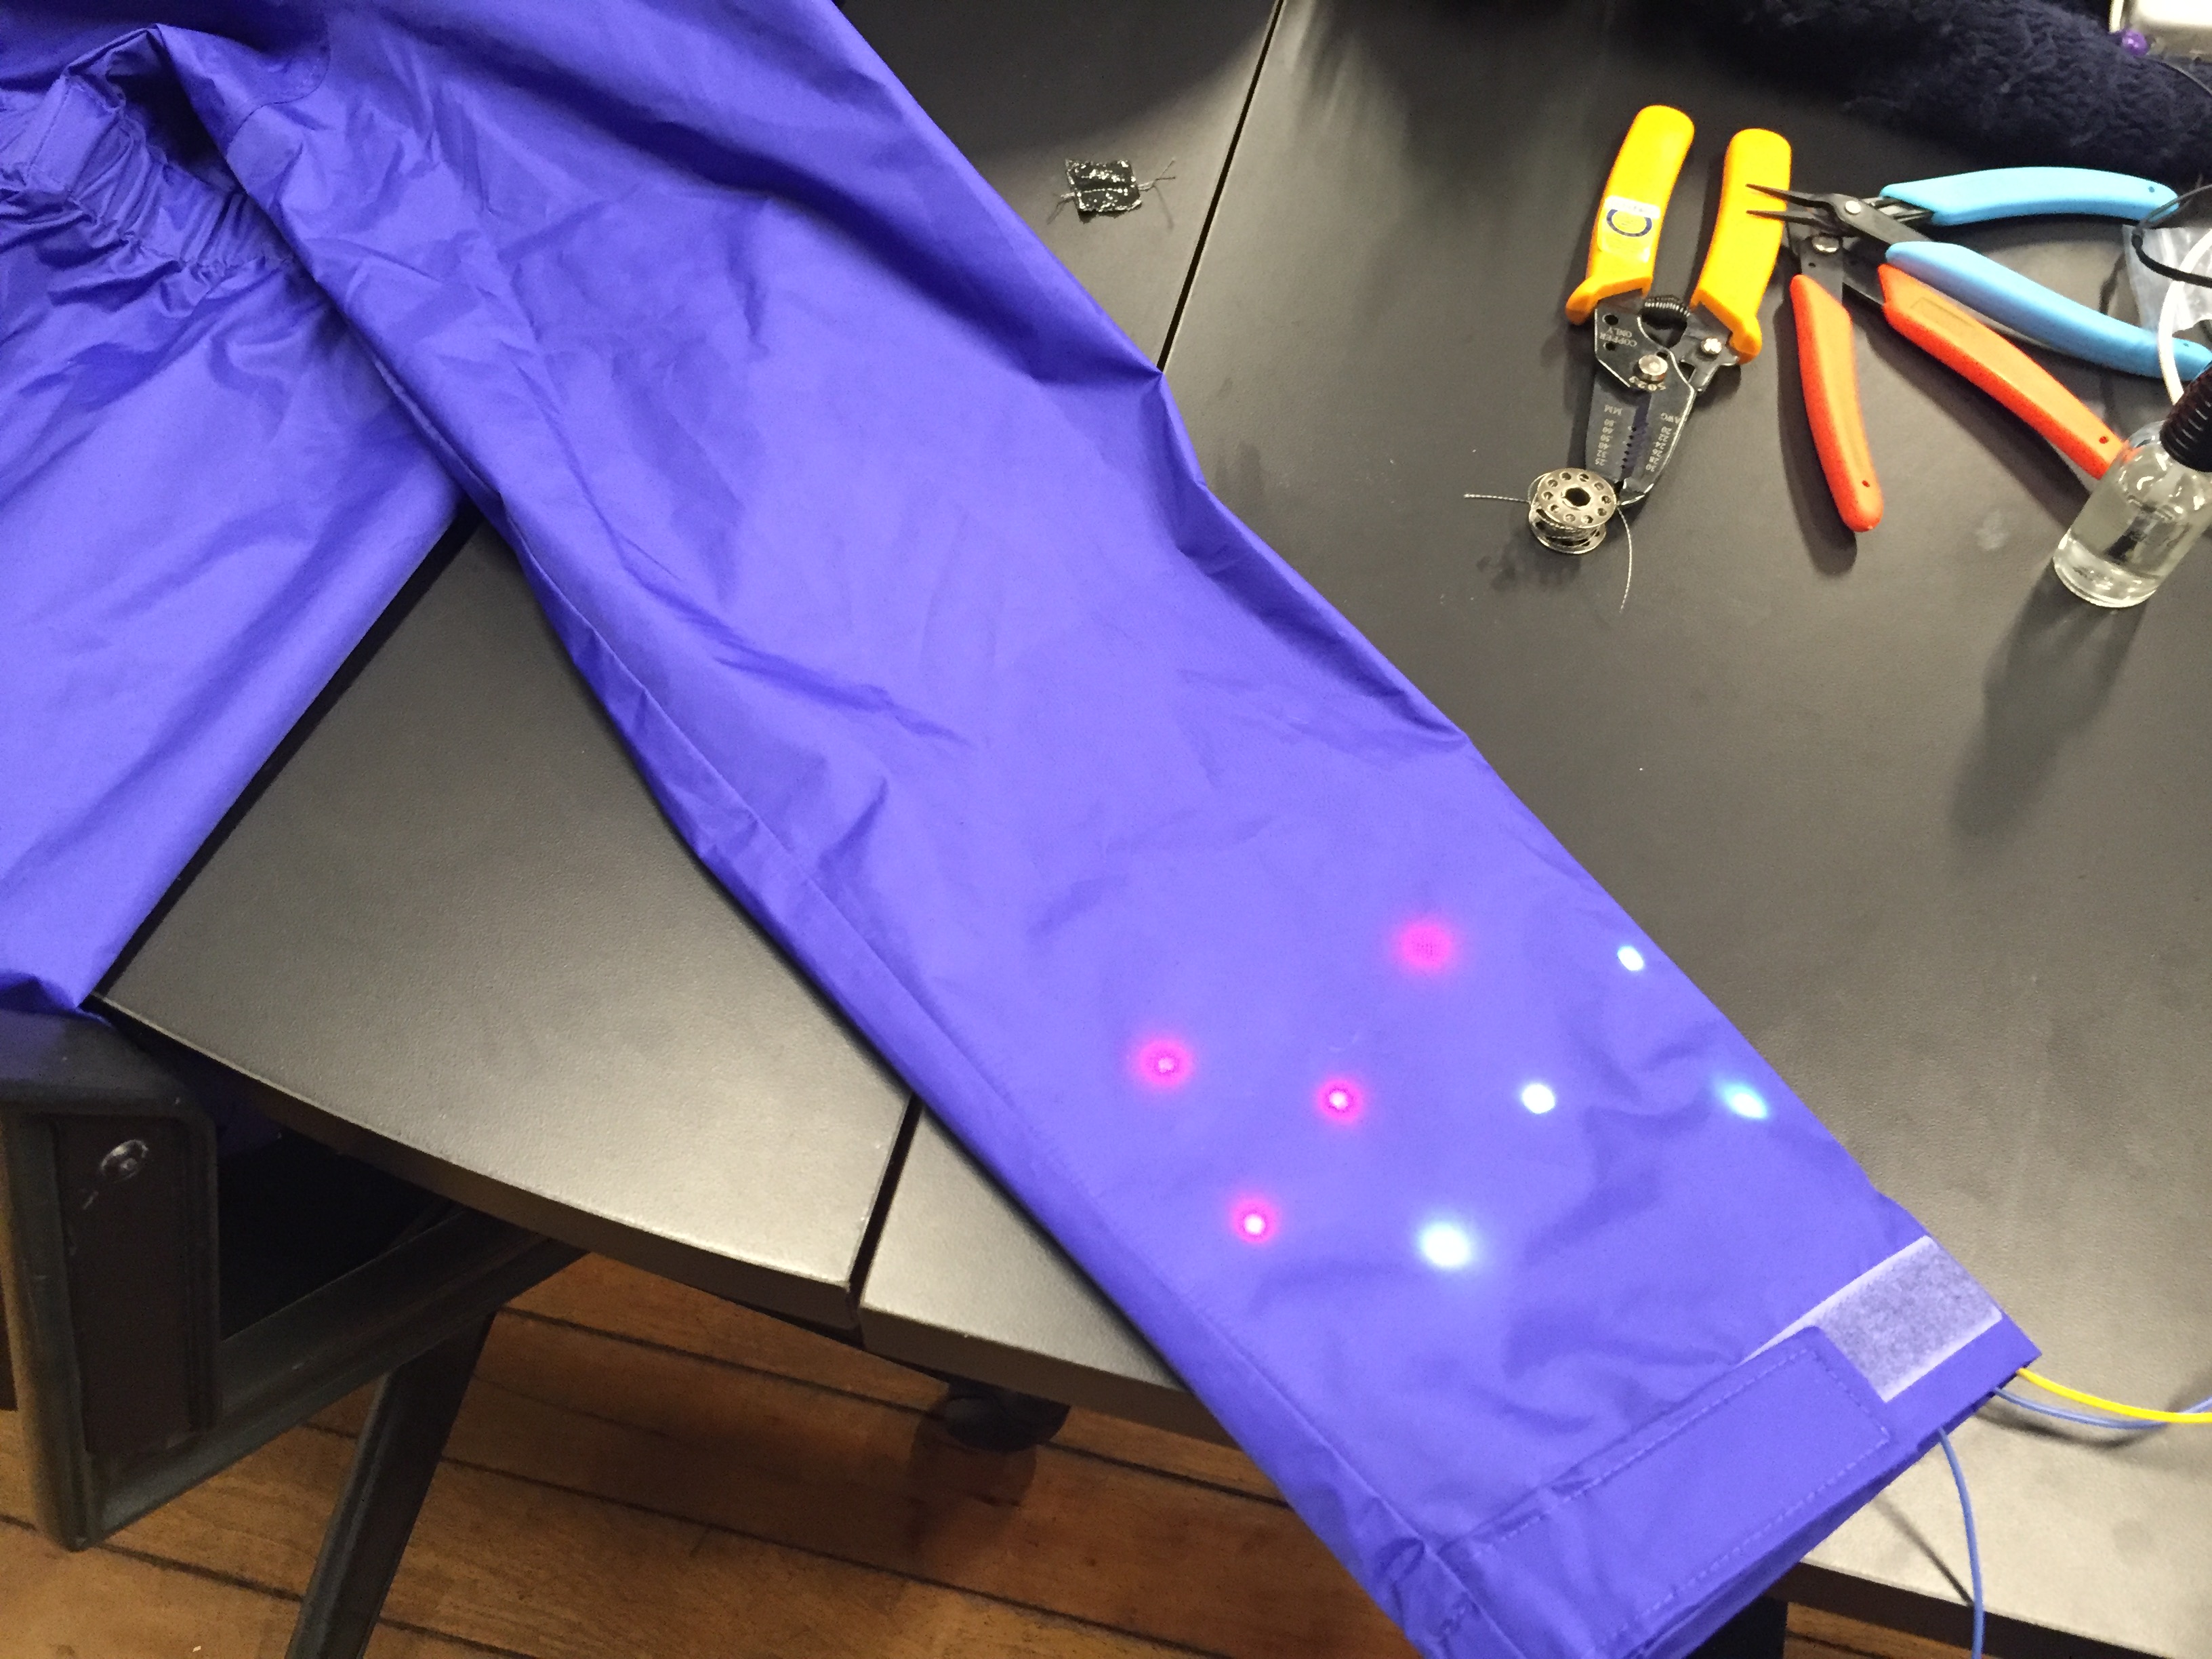
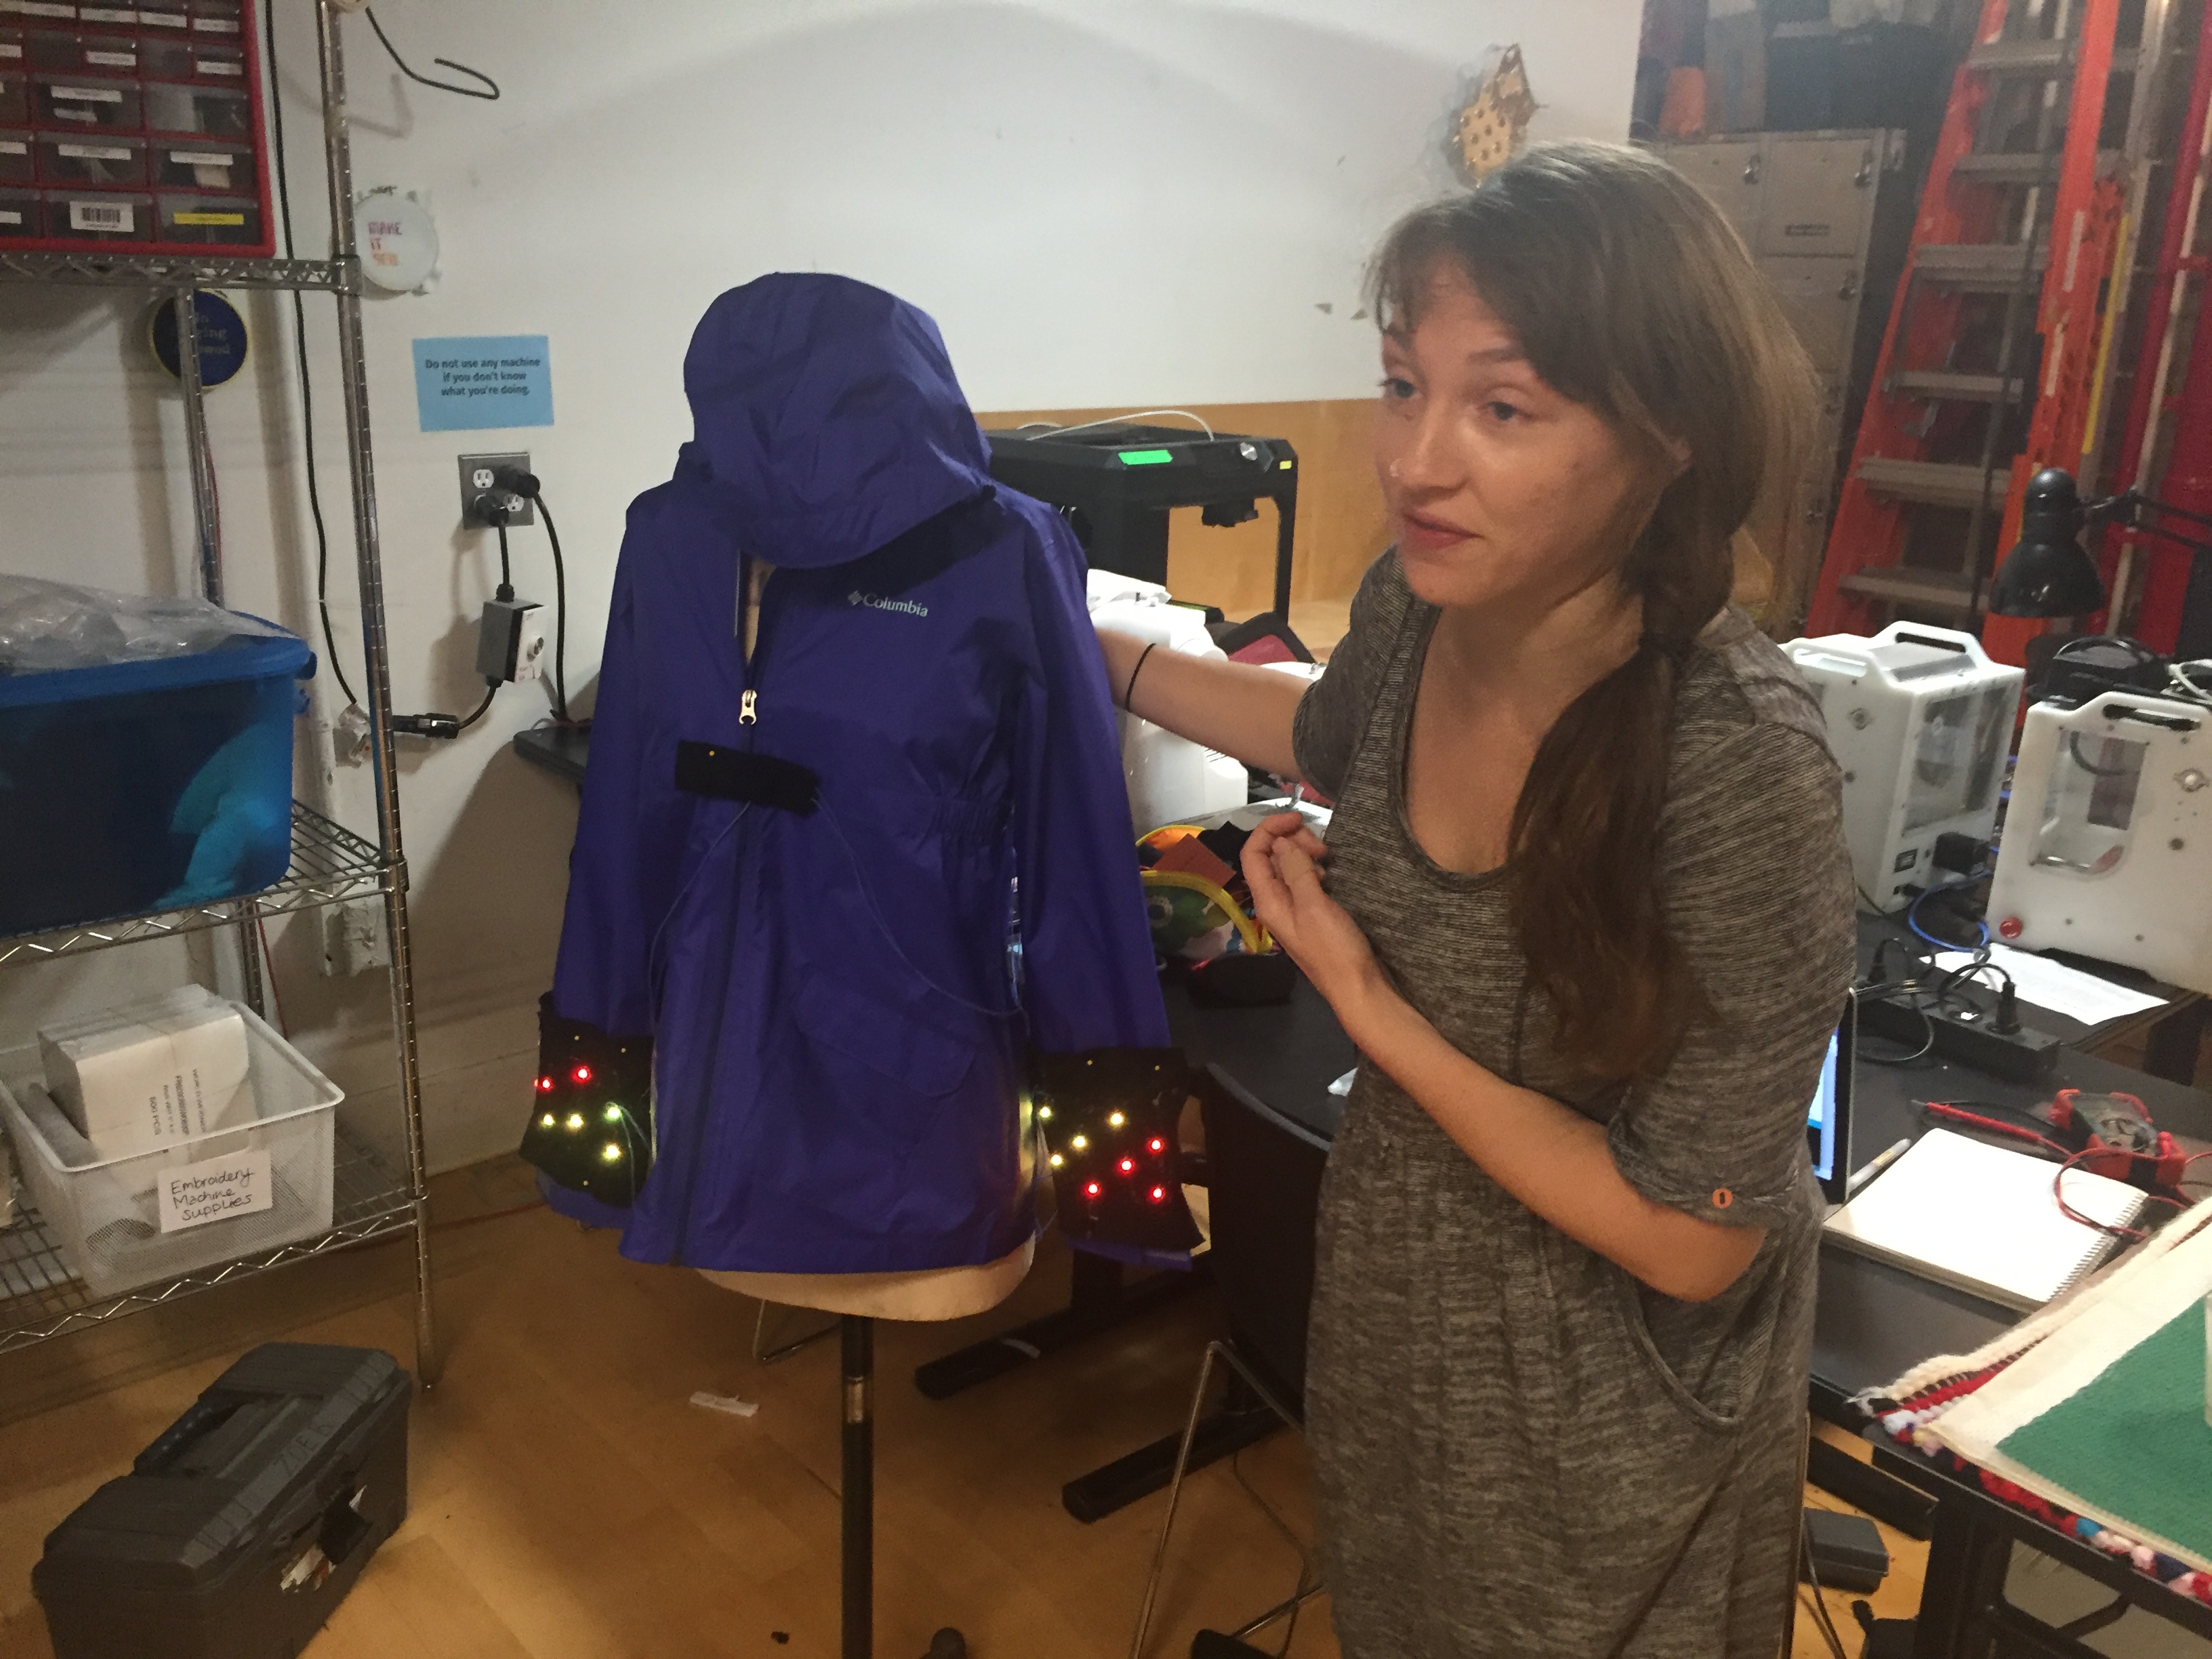
When I finished sewing, I pinned the various parts to the jacket and visually checked the entire circuit to make sure the wires were correcting the right points and that there were no frayed threads or potential for shorts. Then I used the multimeter to do connectivity tests, which told me that everything was in working order. I hooked up the battery, turned it on and it worked!
Next, I used non-conductive thread to stitch a battery pack pocket to the “backpack” storing the micro controller as well as create loops to bundle wires together.
Then I baste-stitched (pretty loose stitches that can be taken out easily) the different panels, because I was pretty sure the pins securing the panels electrocuted me when I tried the jacket on. Since its just a first prototype I didn’t want to stitch them very securely because I’m still not sure if I want to mount things to the exterior or put them inside.
NEXT STEPS:
– figure out a final design that either has the panels mounted on the exterior and covered by another piece of fabric or mounted on the inside, but protected.
– try out more interesting LED animations, possibly influenced by an accelerometer
– be more intentional about how the refugee crisis narrative relates to the physical project – an audio/storytelling component?
– make a pocket print-out of the semaphore alphabet
SPECIAL THANKS! to:
Benedetta, Kate Hartman and Teresa for assistance with circuit construction and coding!