PComp, Wk 2: Labs – Electricity and Switches
LABS
1. Electricity
So at first I just wasn’t putting things in the right place. Kinda funny looking back on how I had the circuit set up.
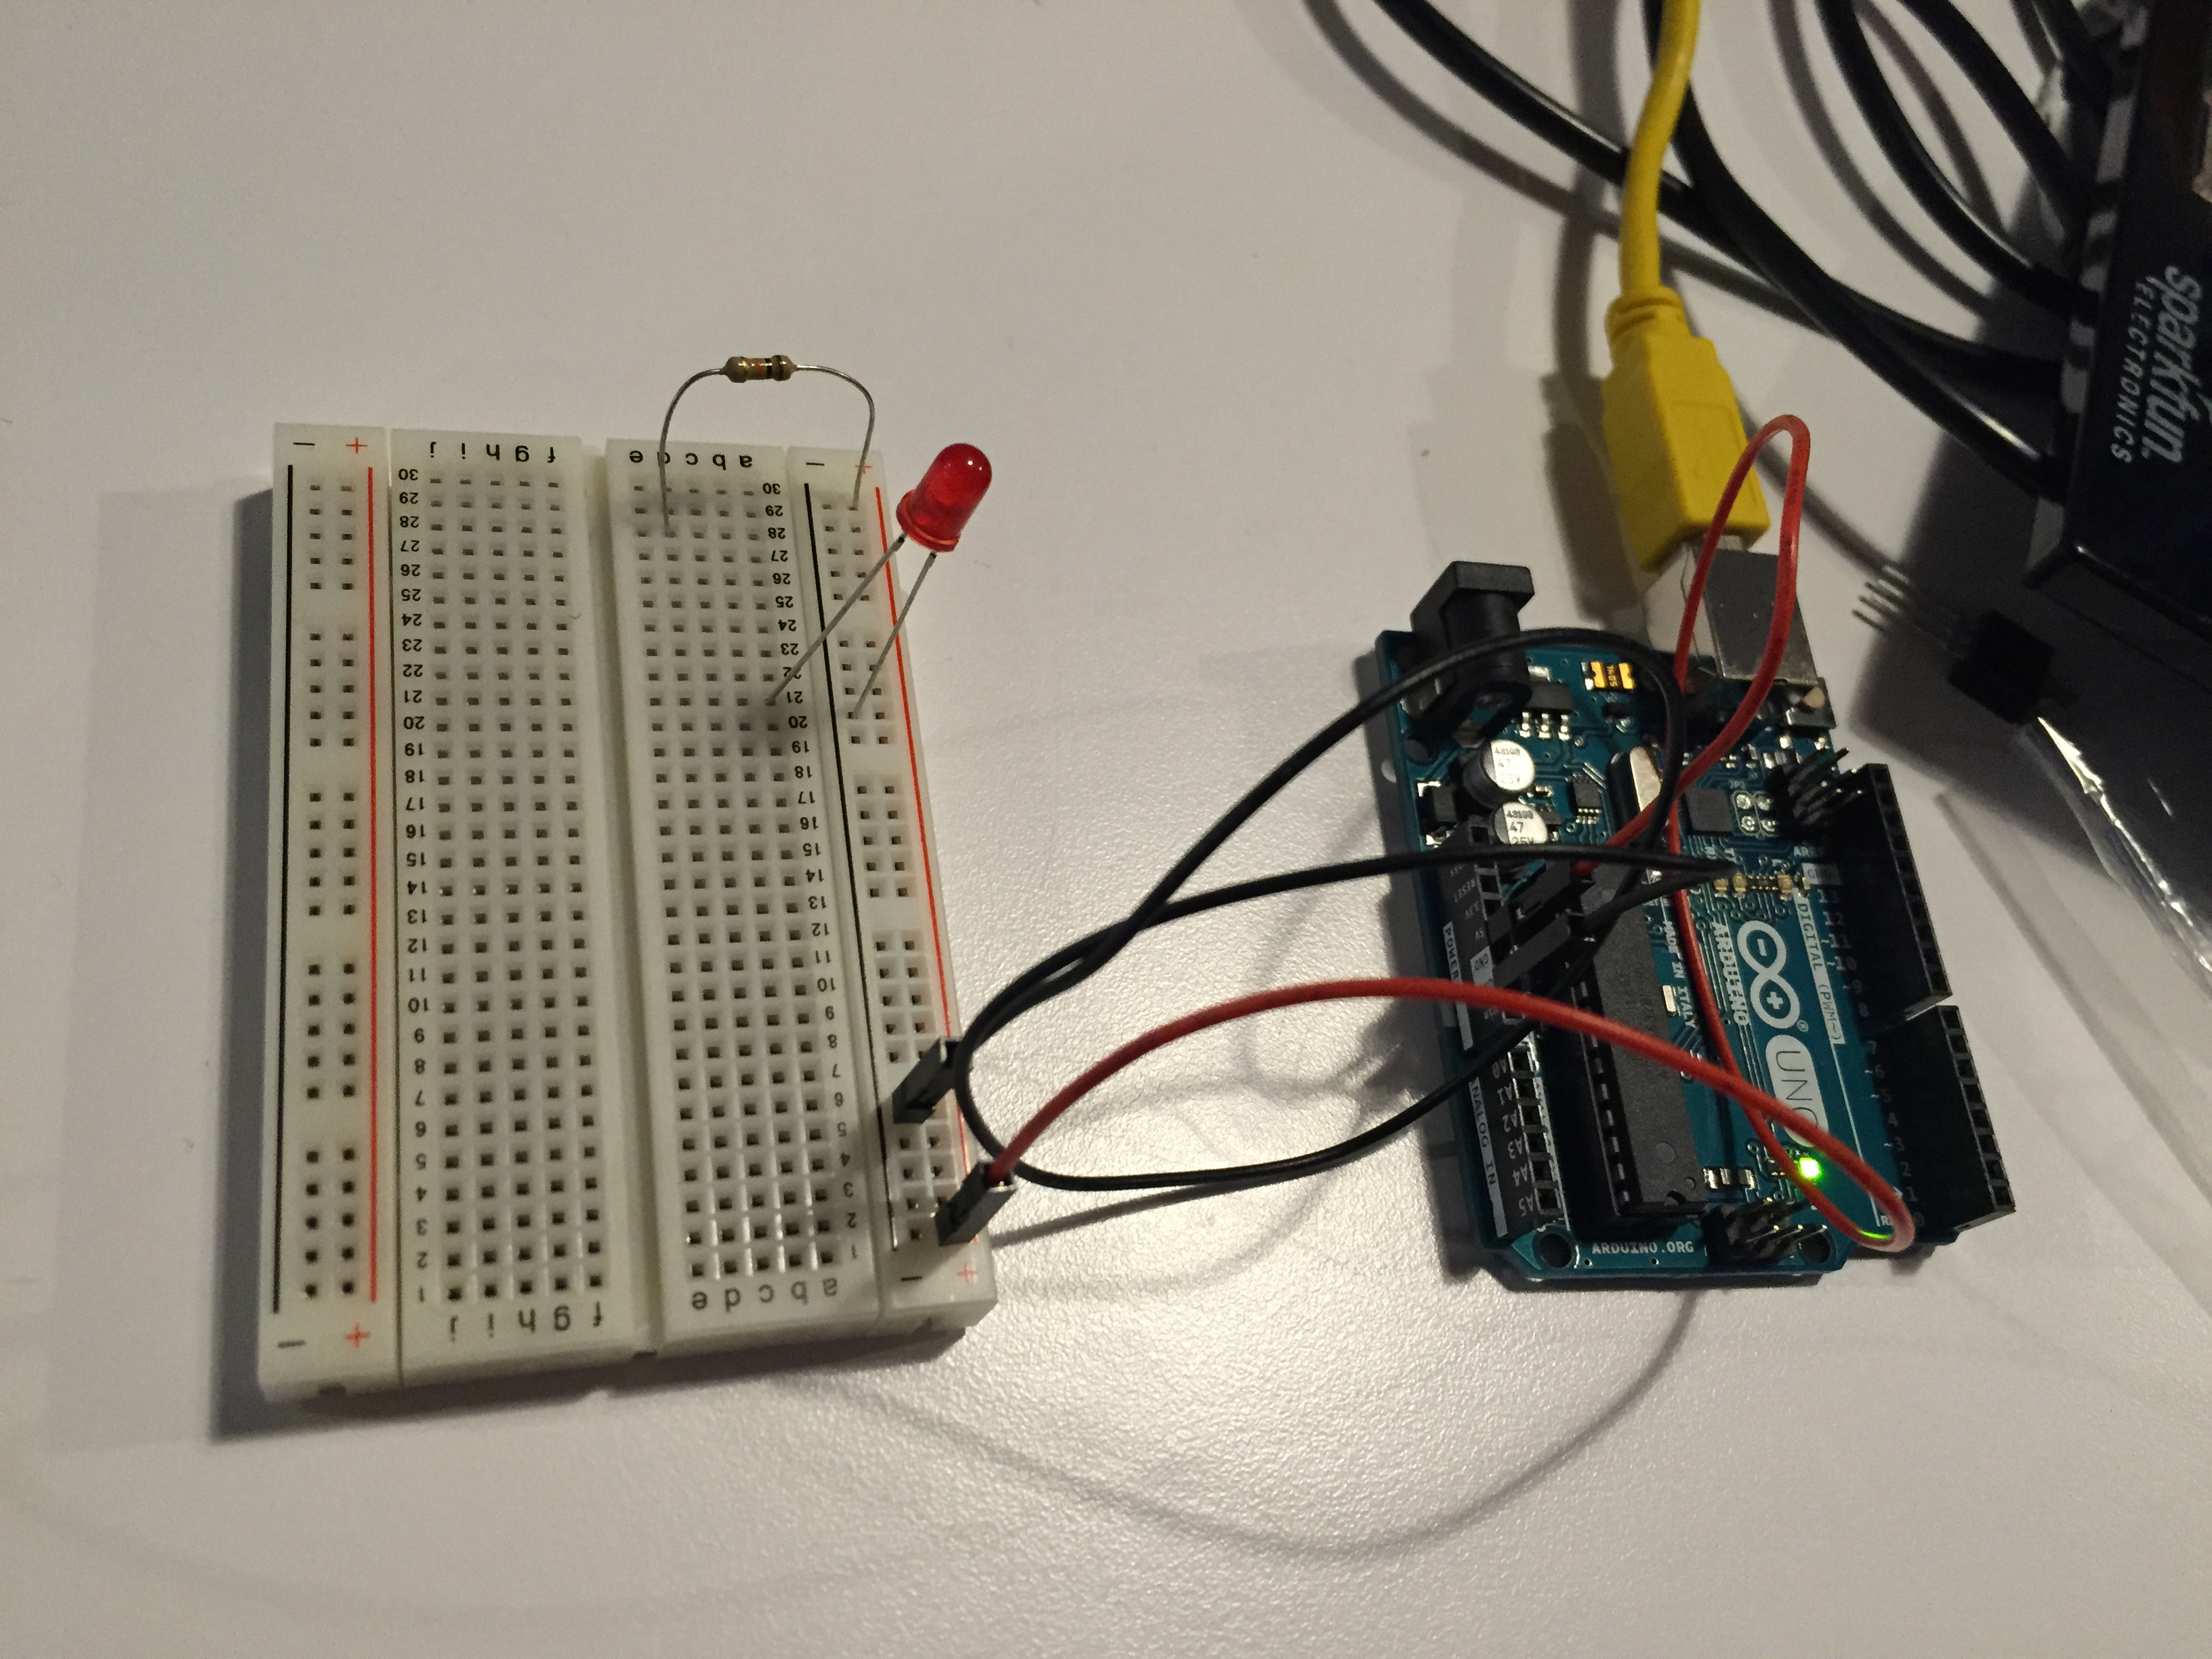
I was working with KC and Katie helped us with the part where the LED positive had to be in the same row as the resistor. However, it still wasn’t lighting up.

What we learned is that I needed to shove things in my breadboard. Hard. I had my circuit set up correctly several times over, but it took a little pushin and shovin to get the light to turn on. I was so worried about breaking delicate wires that I wasn’t actually connecting anything! But once I got everything firmly into the board, VOilA! LET THERE BE LED LIGHT!

Then I put in a second one (in parallel) and they look like they’re dancing.
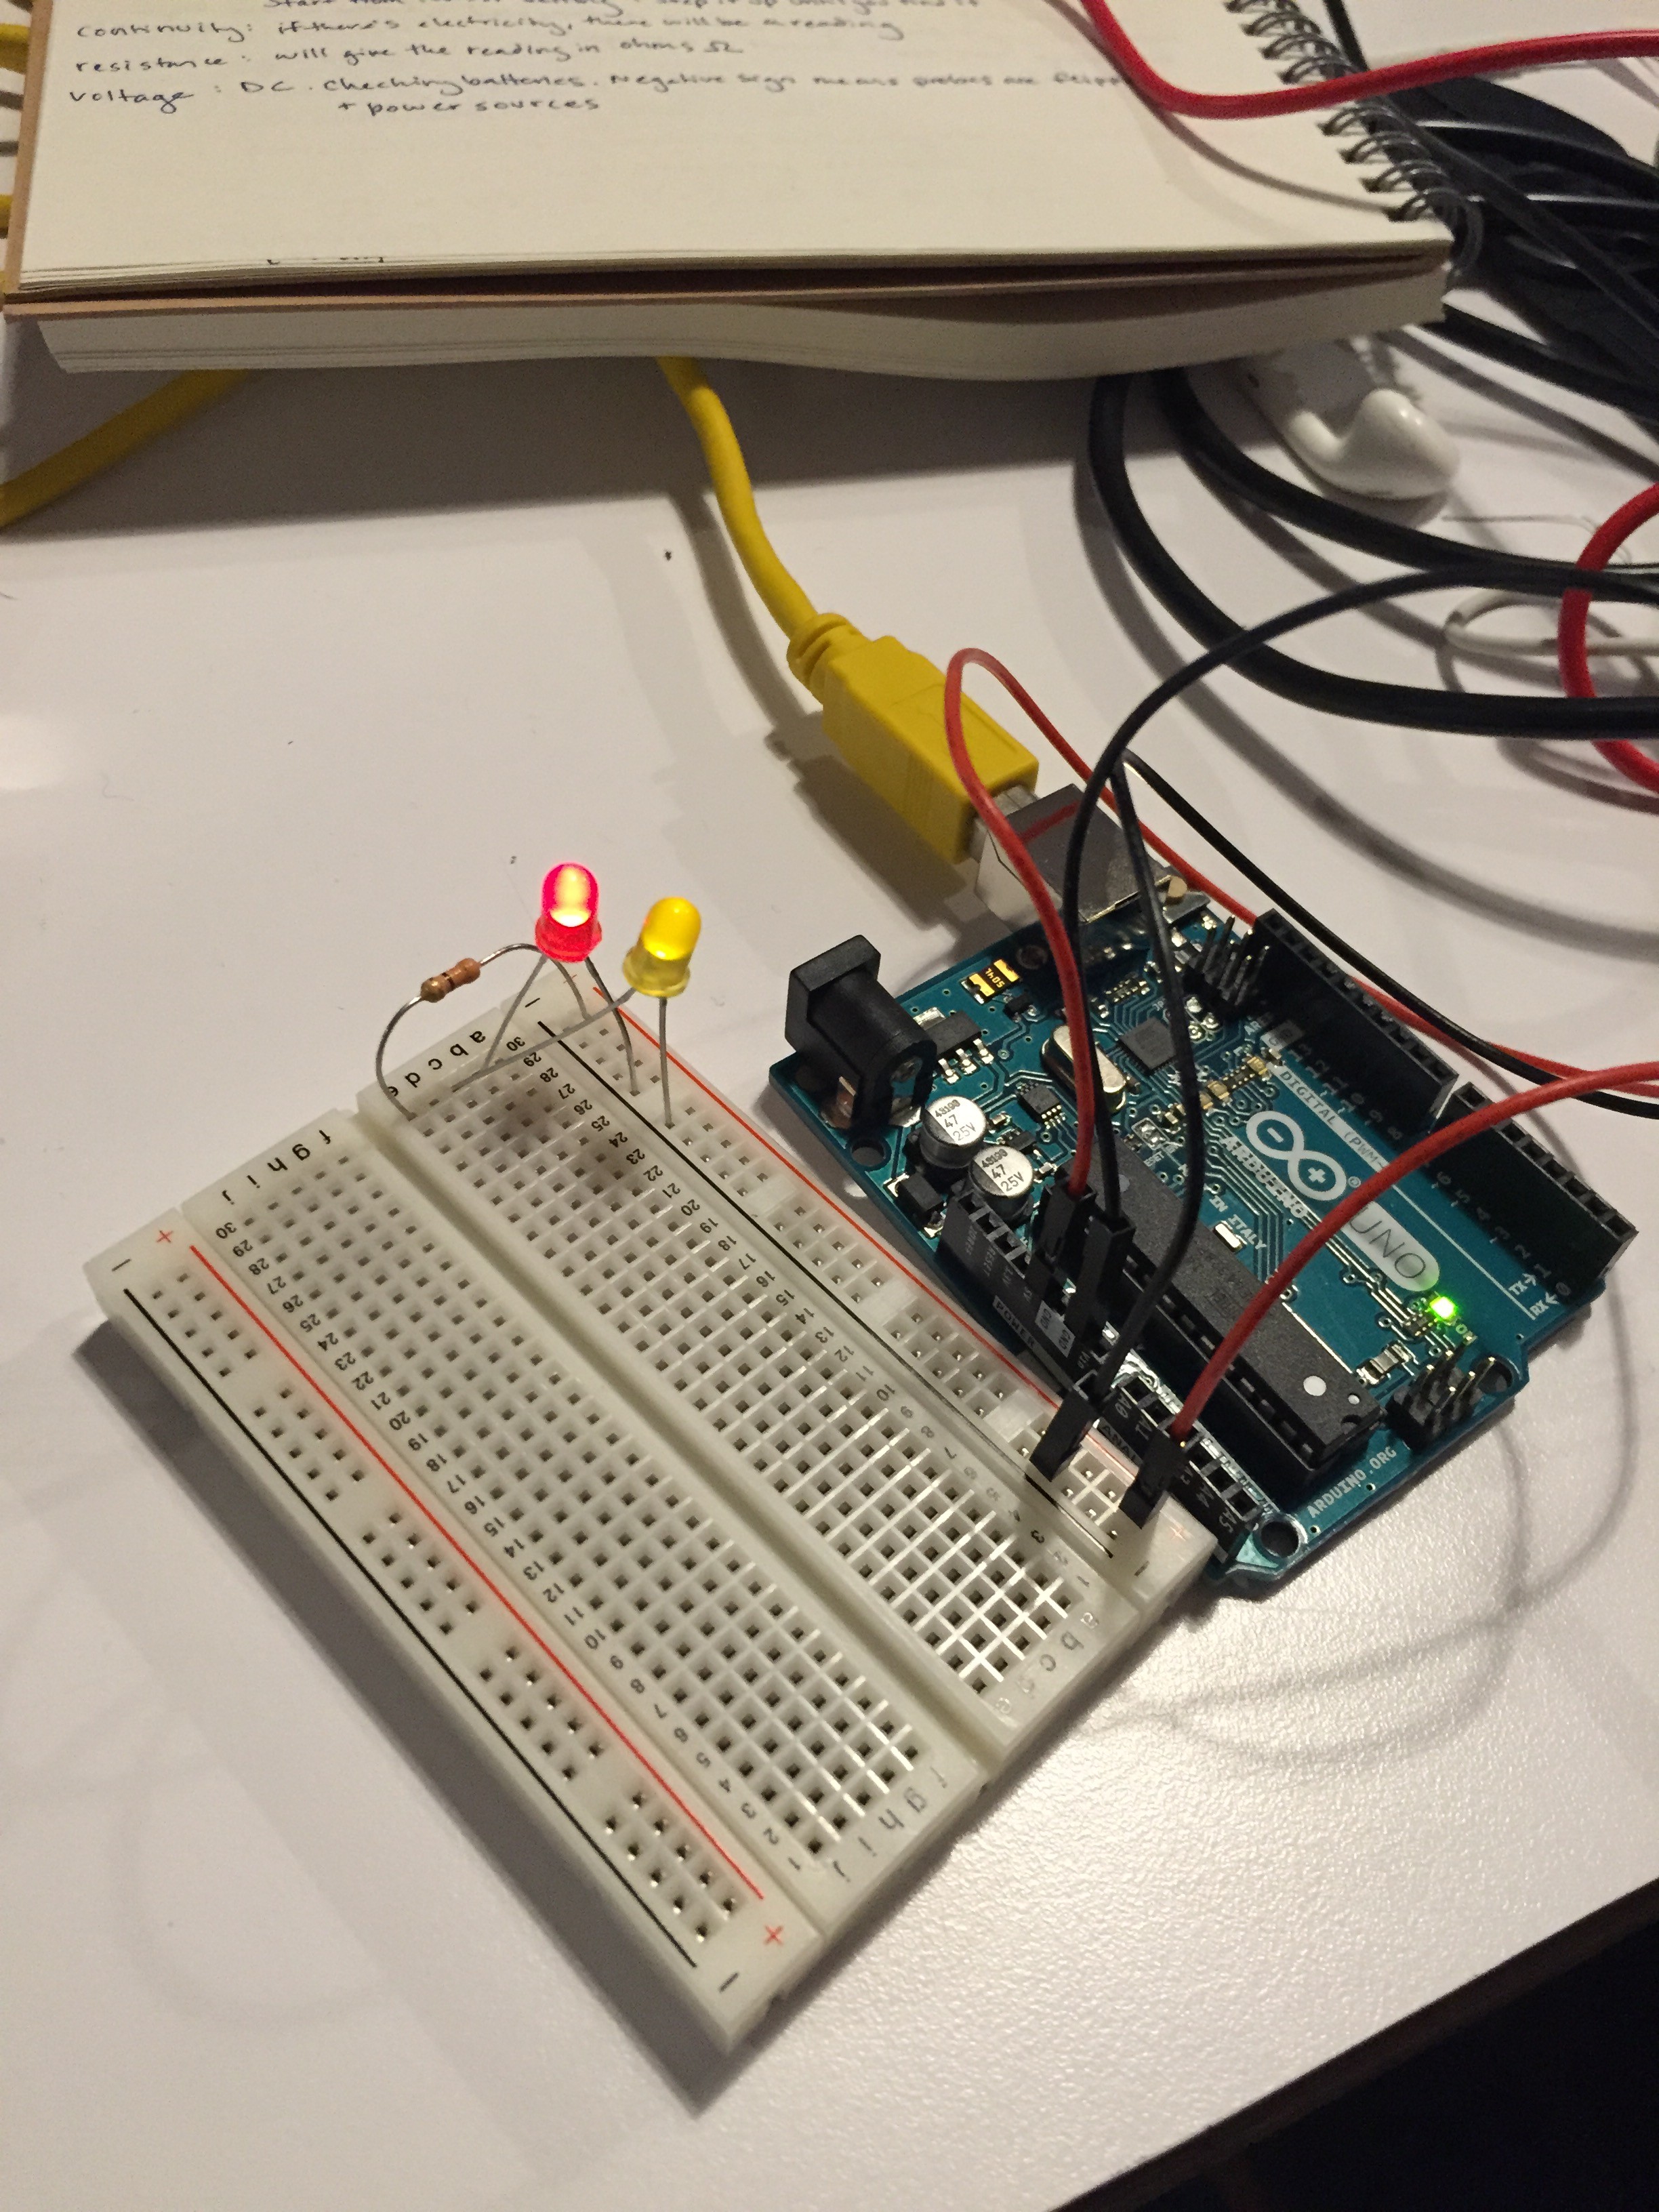
I then used the amperage to complete the circuit.
2. Switches
Once I was able to get the LEDs to light up, setting up my first switch was a piece of cake.
But when I added a second according to the online pictures, couldn’t figure out why it wasn’t working until Paula asked if you pushed both buttons at the same time. Hadn’t tried that (I was pushing them in random combinations), so I did and it worked!