PComp, Wk 2: Practical Application – Switch
I was really stuck on what to make with a switch. I consider myself an ideas gal but maybe there’s something intimidating that I find about all this or the ideas I did have seemed to silly or impractical or something but I was stuck. So we went to Tinkersphere and Lindsay found this plastic toy gun and was like, what if you made a switch out of this? Bingo.
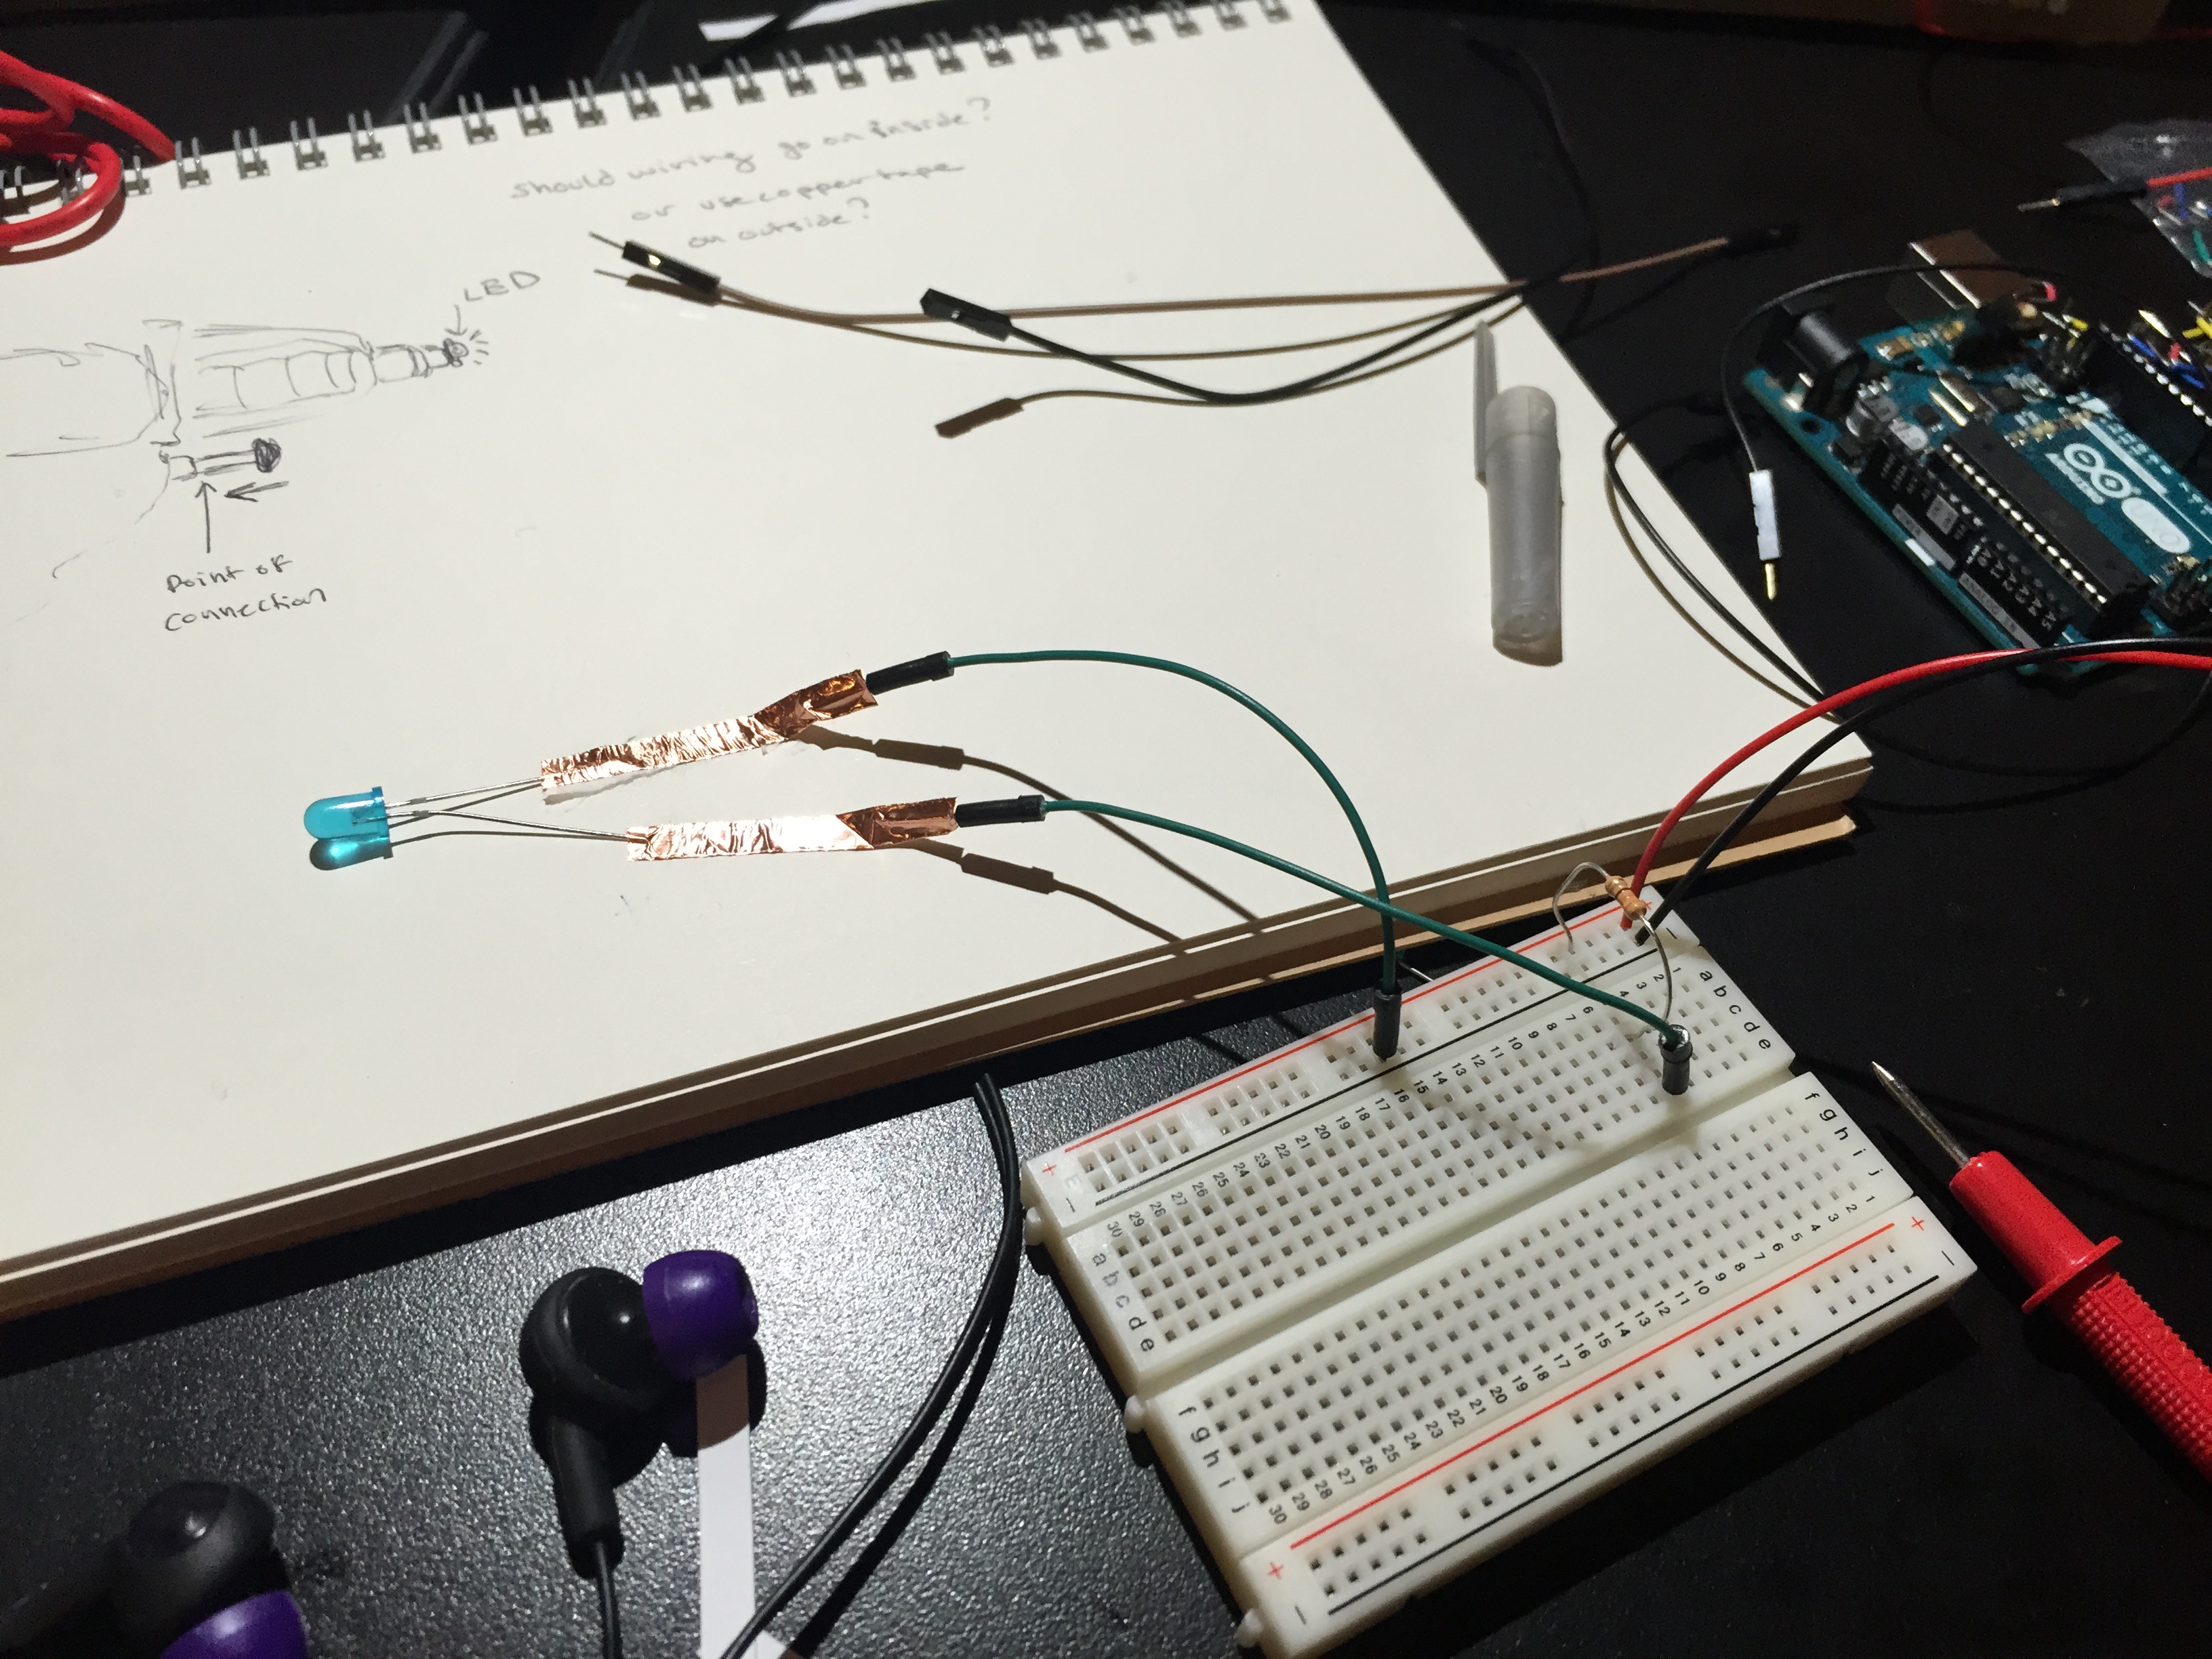
So I drew a little design:
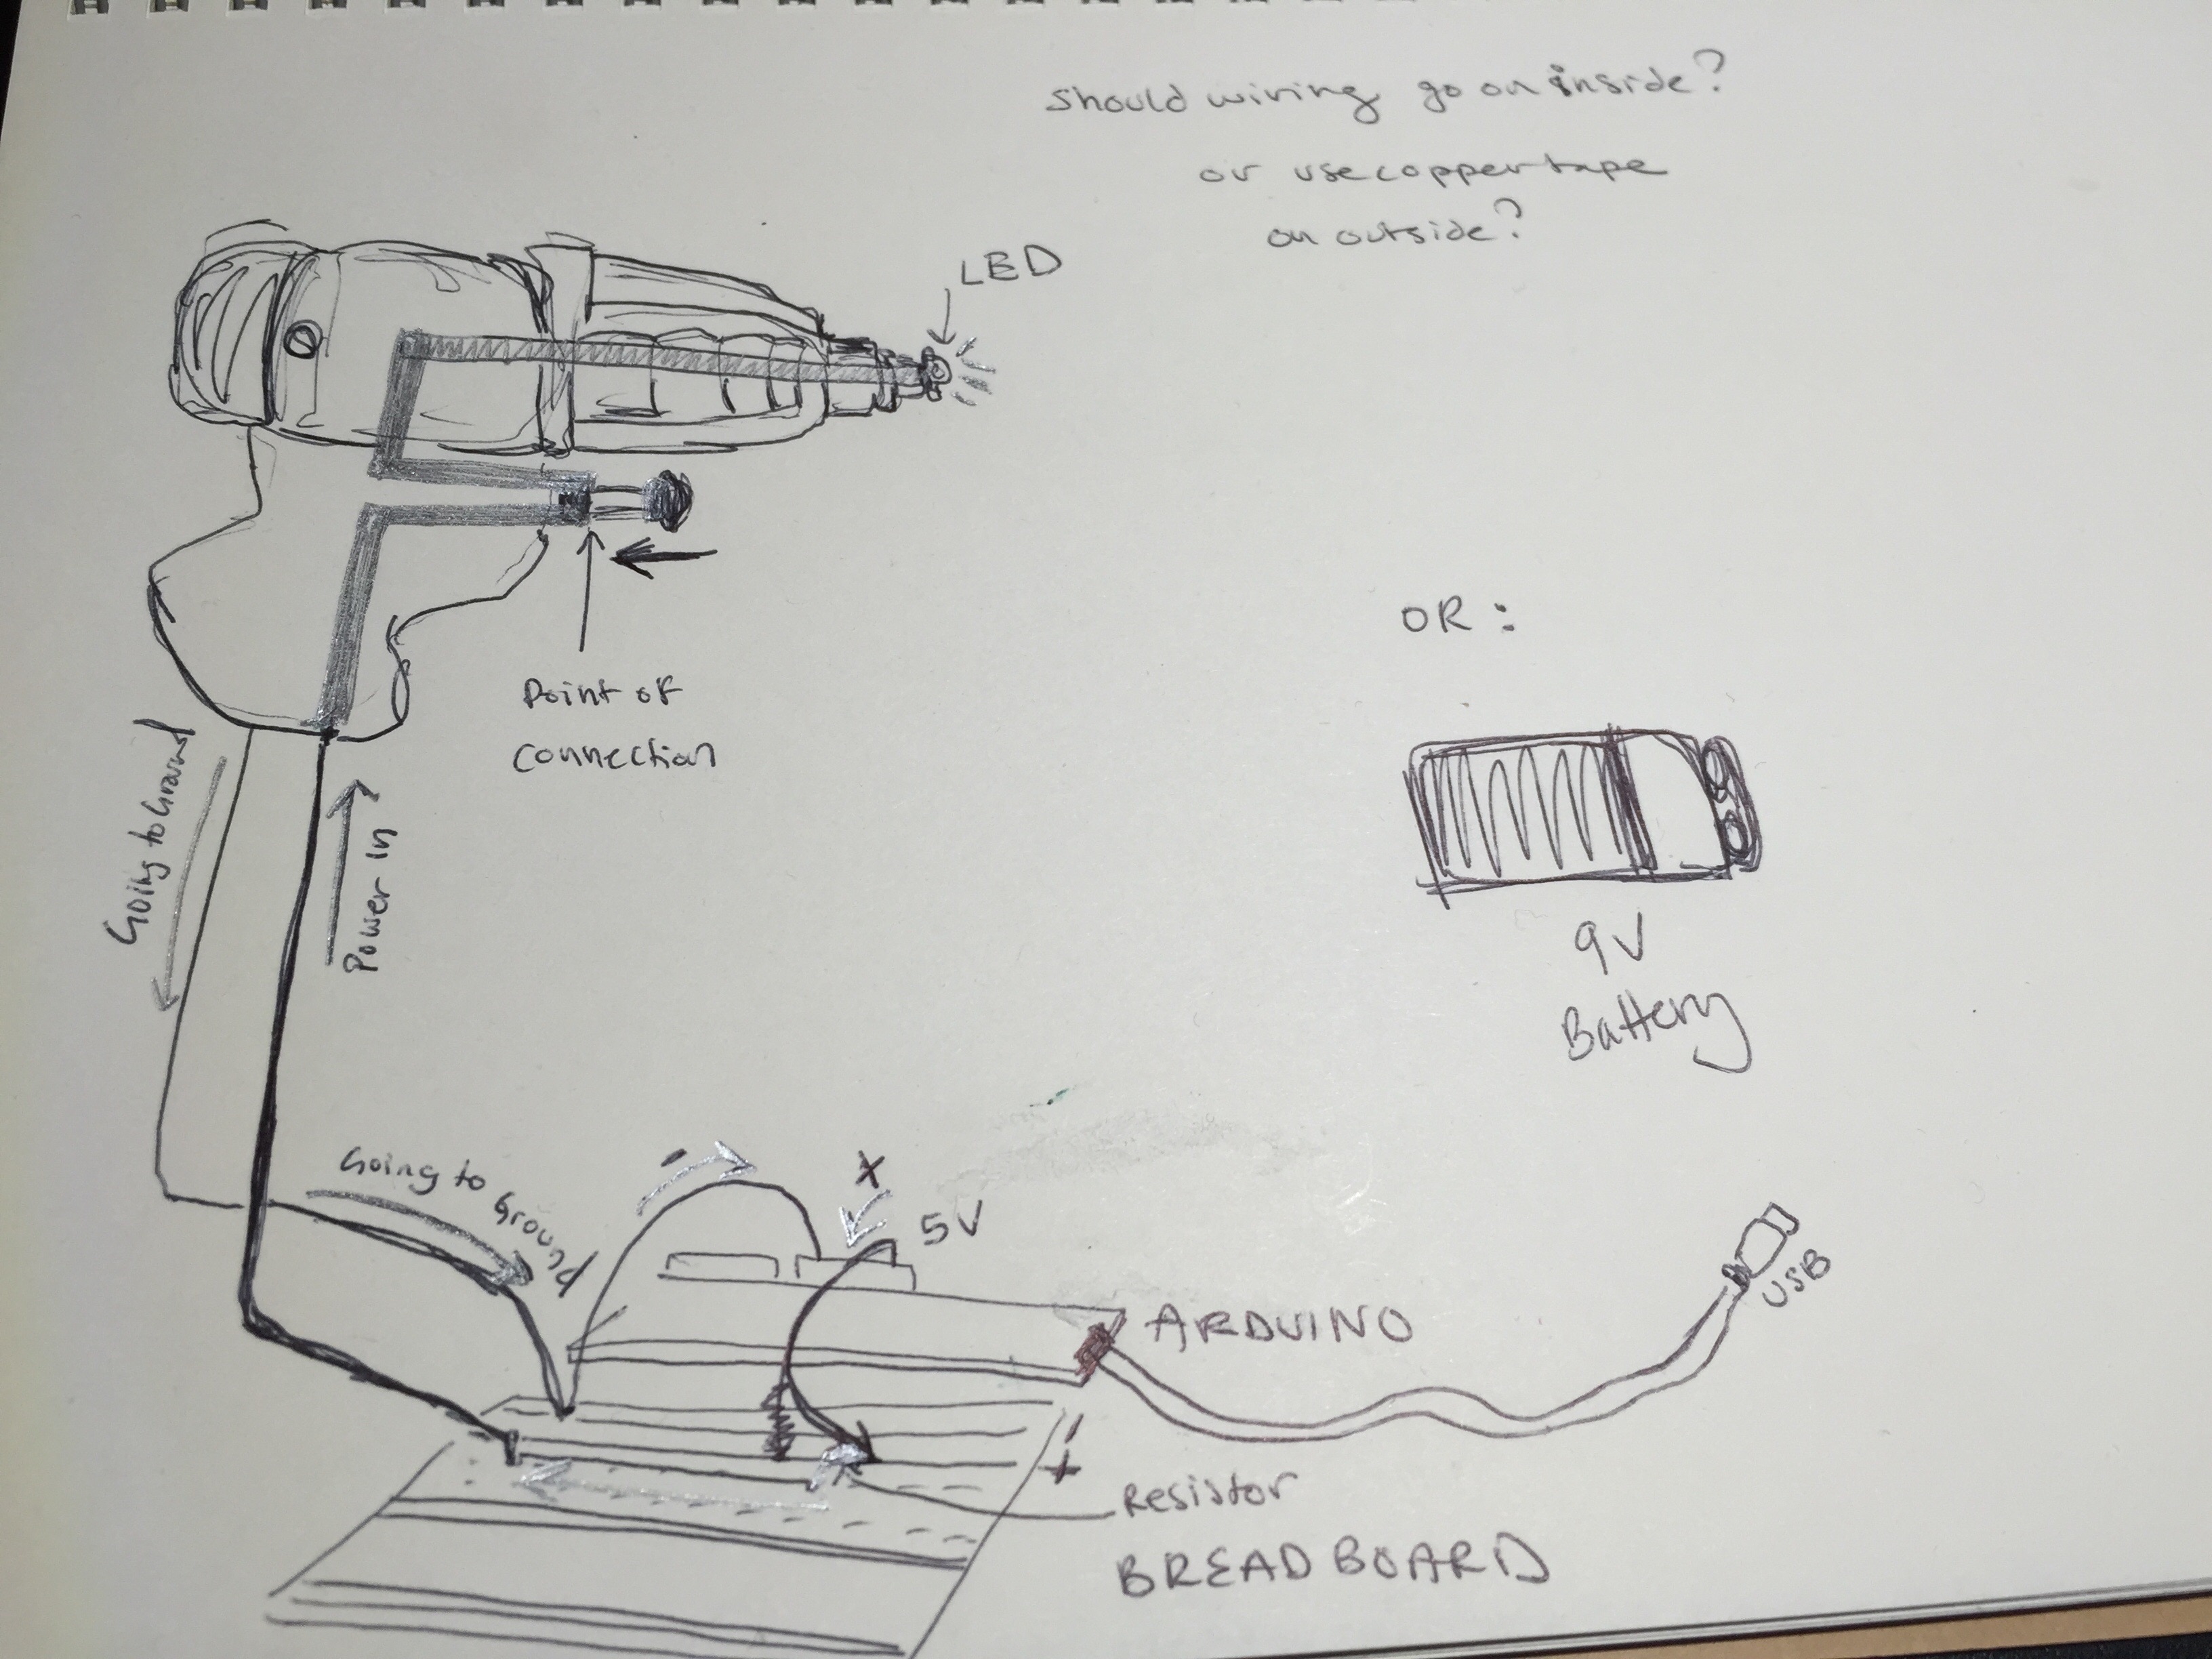
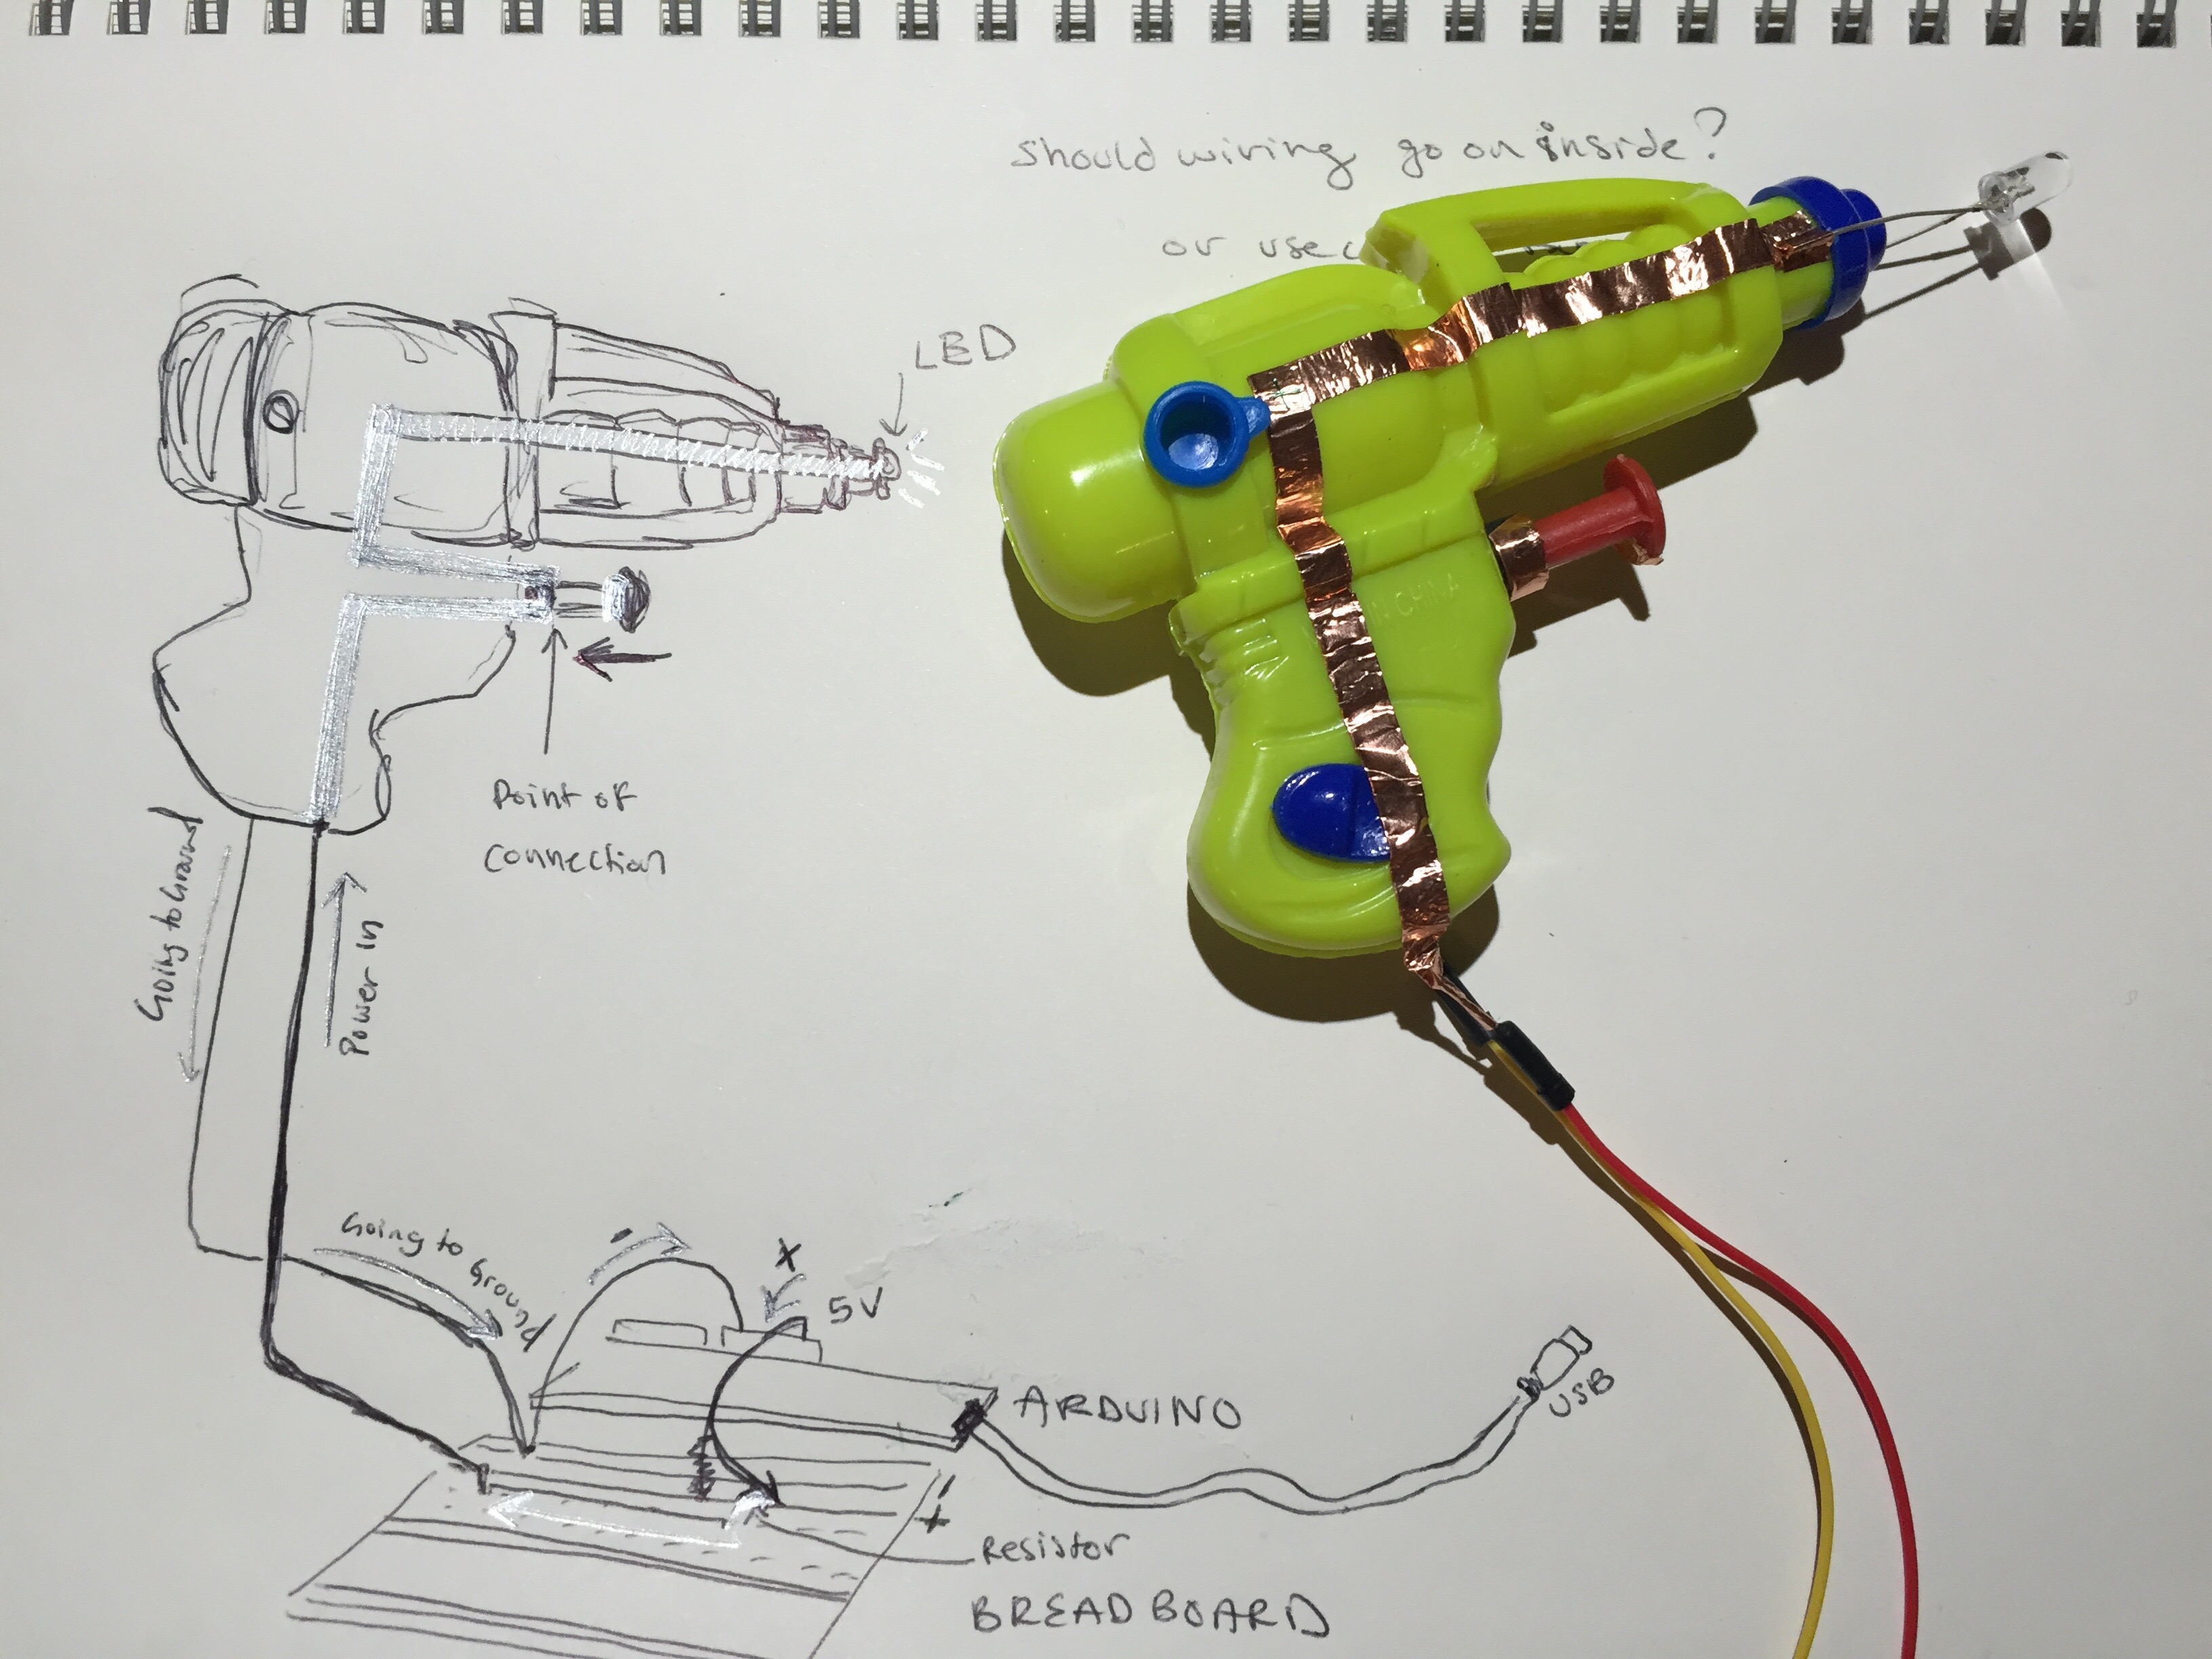
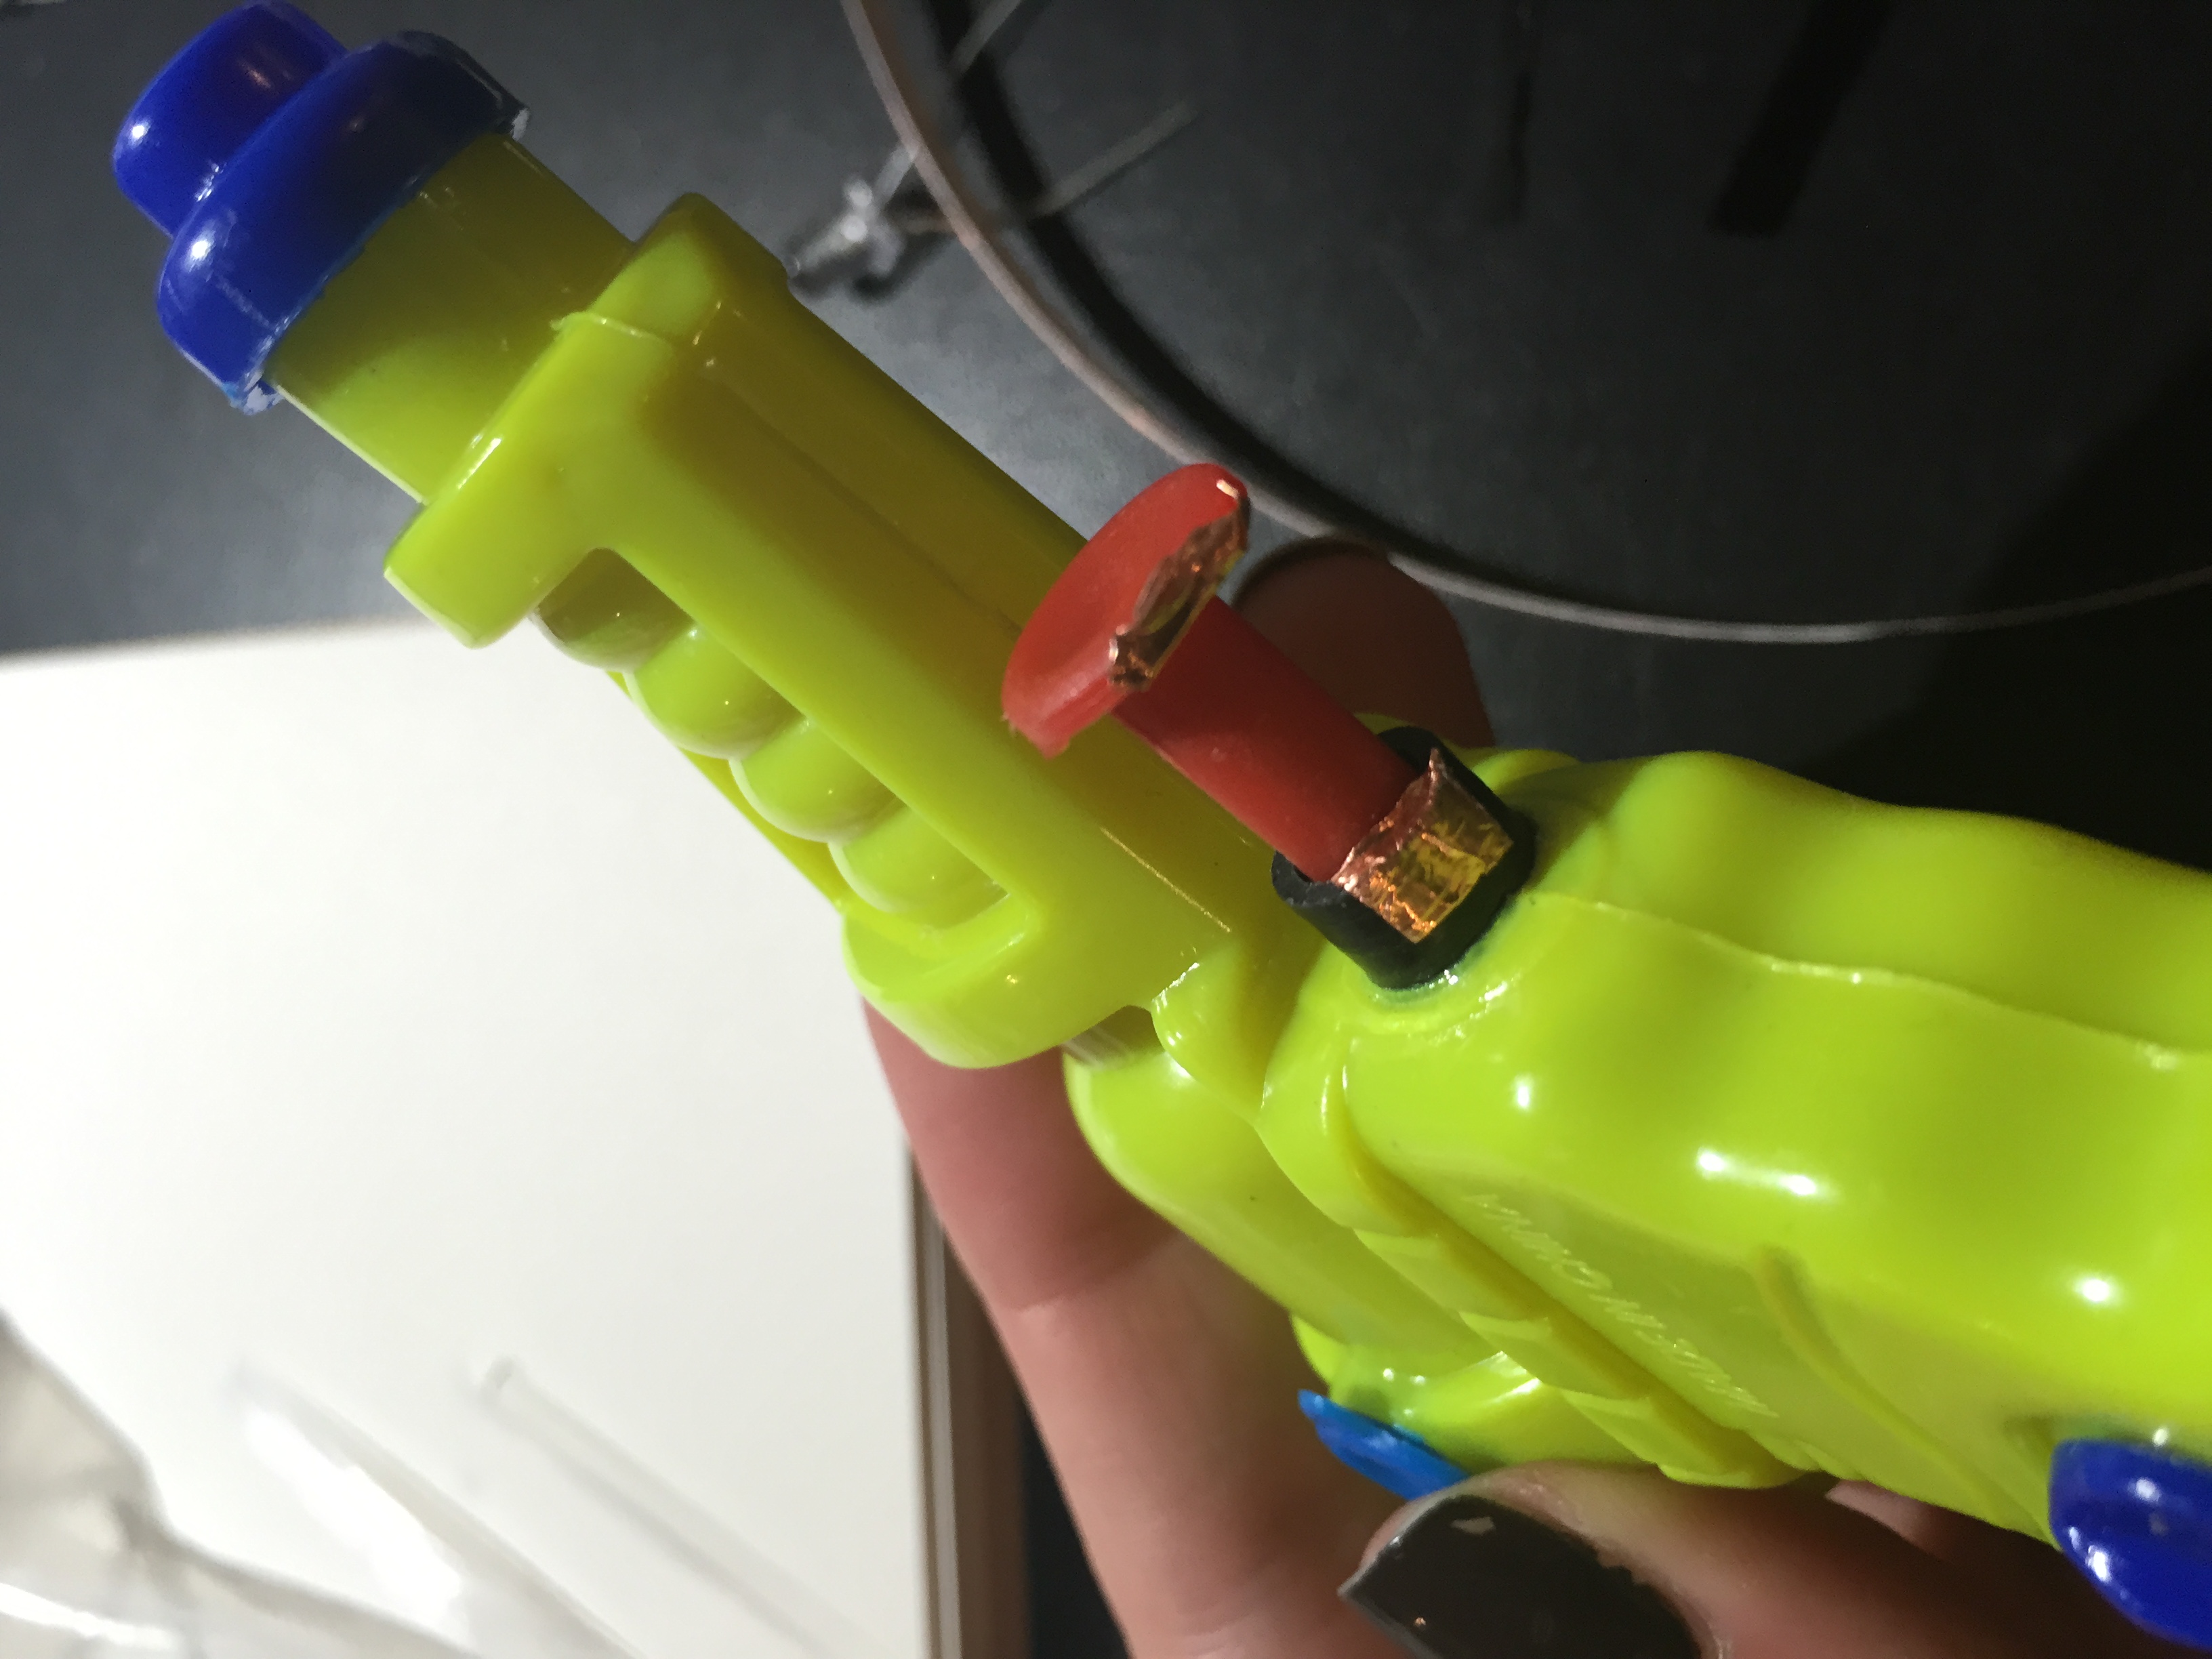
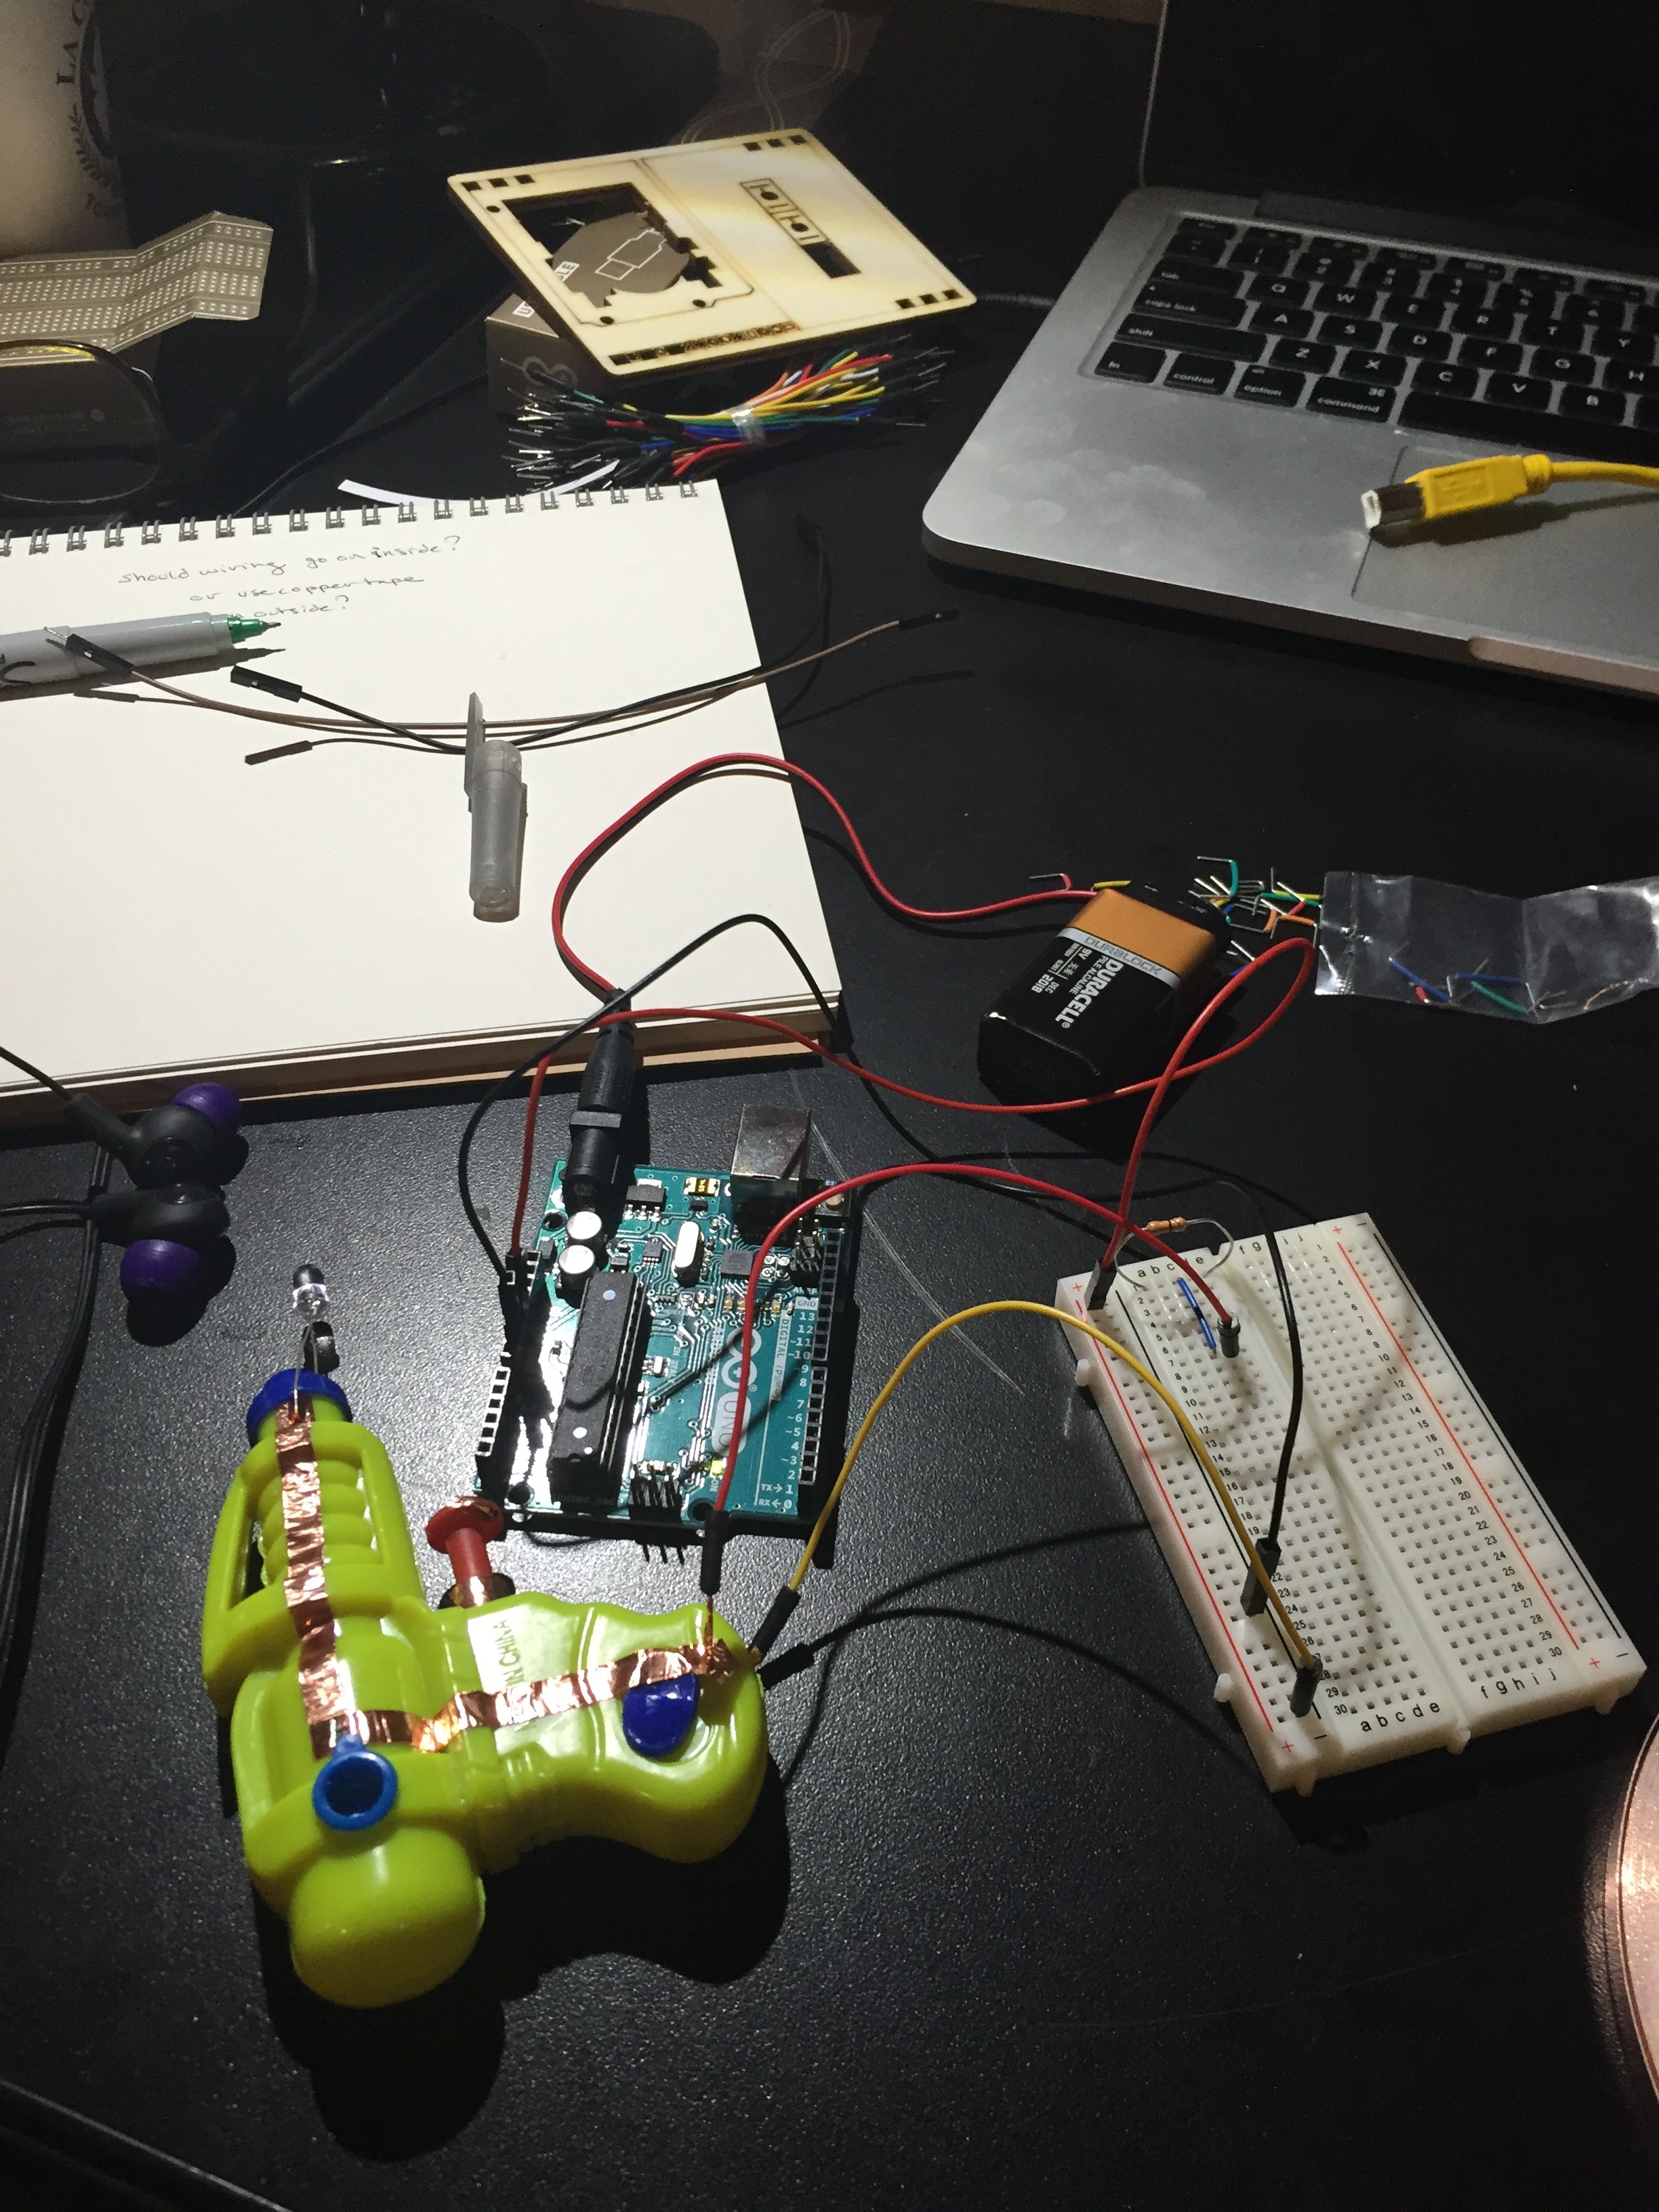
I had bought some copper tape and thought I could use it to create a circuit along the outside of the plastic body, so I wouldn’t have to break the gun apart. The power would run up one side, stop at the base of the trigger, and then on the underside of the button I’d place a little more to create a switch, which would then go back up the side, around to the front and light up and LED, then go back down the other side, through a wire, into the breadboard and to ground.
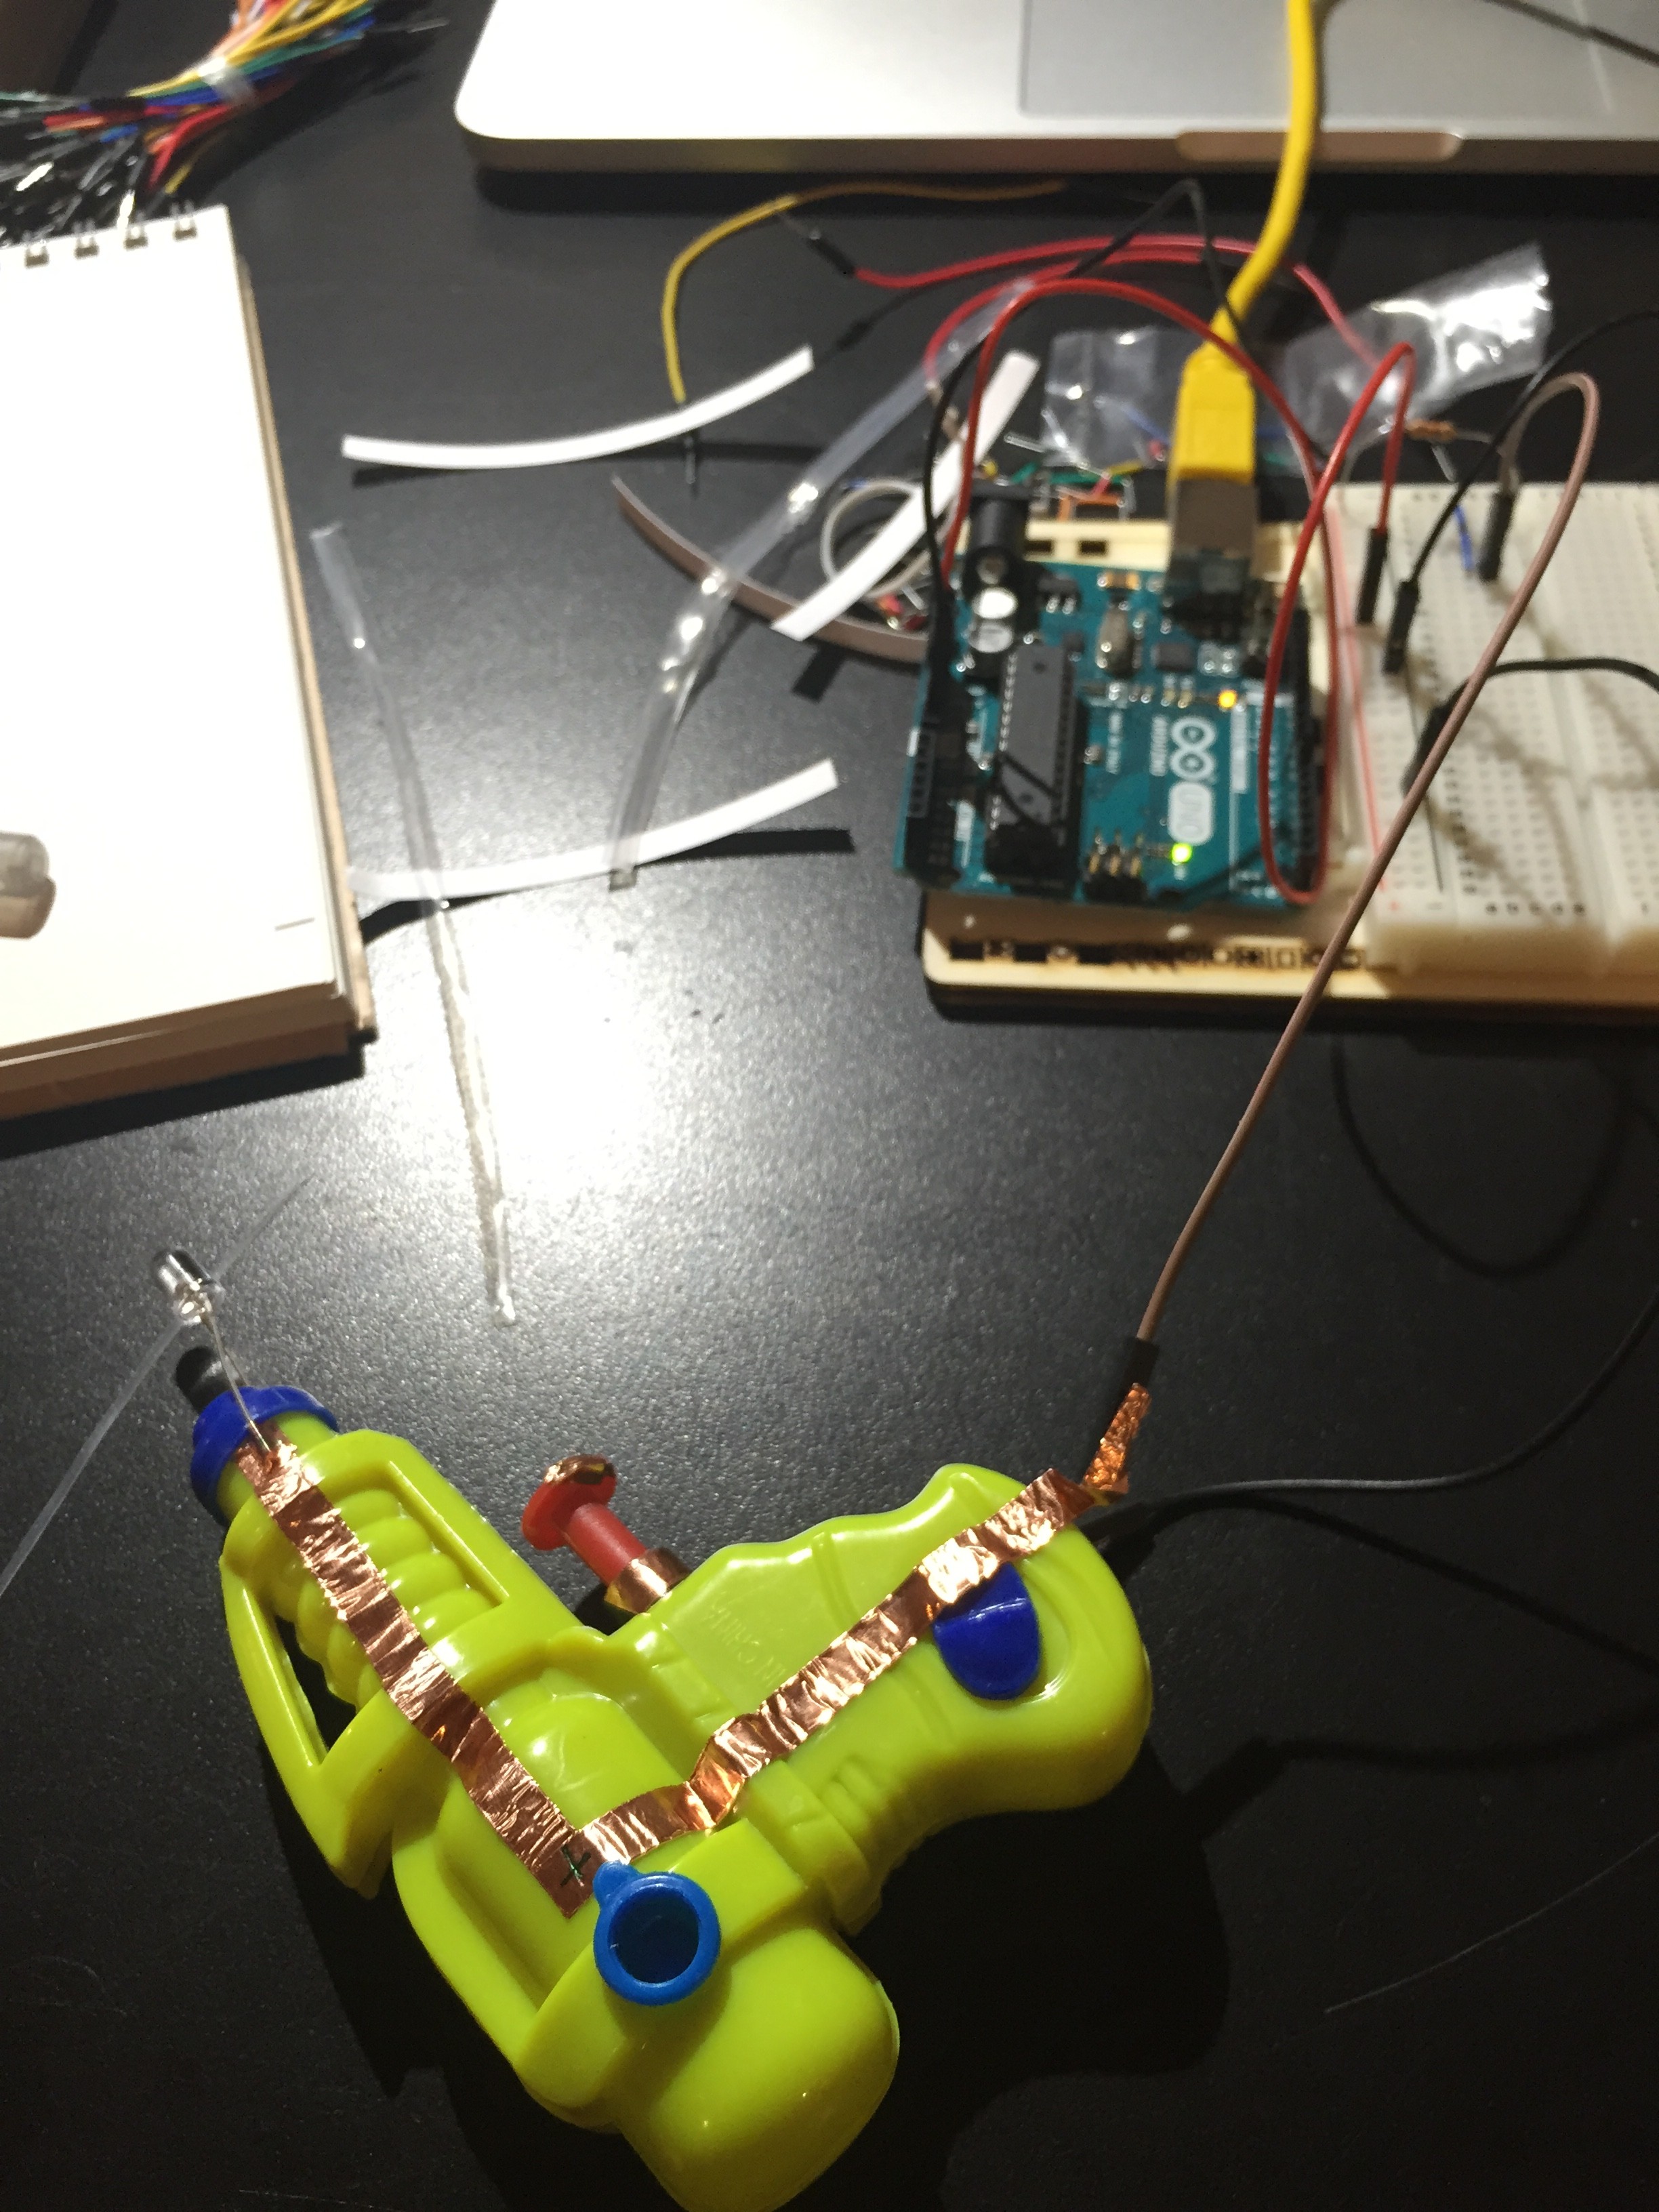
So before I messed around with the switch, i wanted to see if the copper was conducting at all. So I rigged up a circuit and then attached the copper tape to the breadboard using jumper cables. Nothing happened. I tried using a 9V battery instead of an Arduino. Nothing happened. I checked the circuits and while some of the copper wire was working, when it go to the tip of the gun and the LED, it stopped. I got the LED to light using amperage, but when I tried on either side of it no current seemed to be going through.
So then I tried playing around with just the components.
Battery and LED? Good.
Add copper wire? Not good.
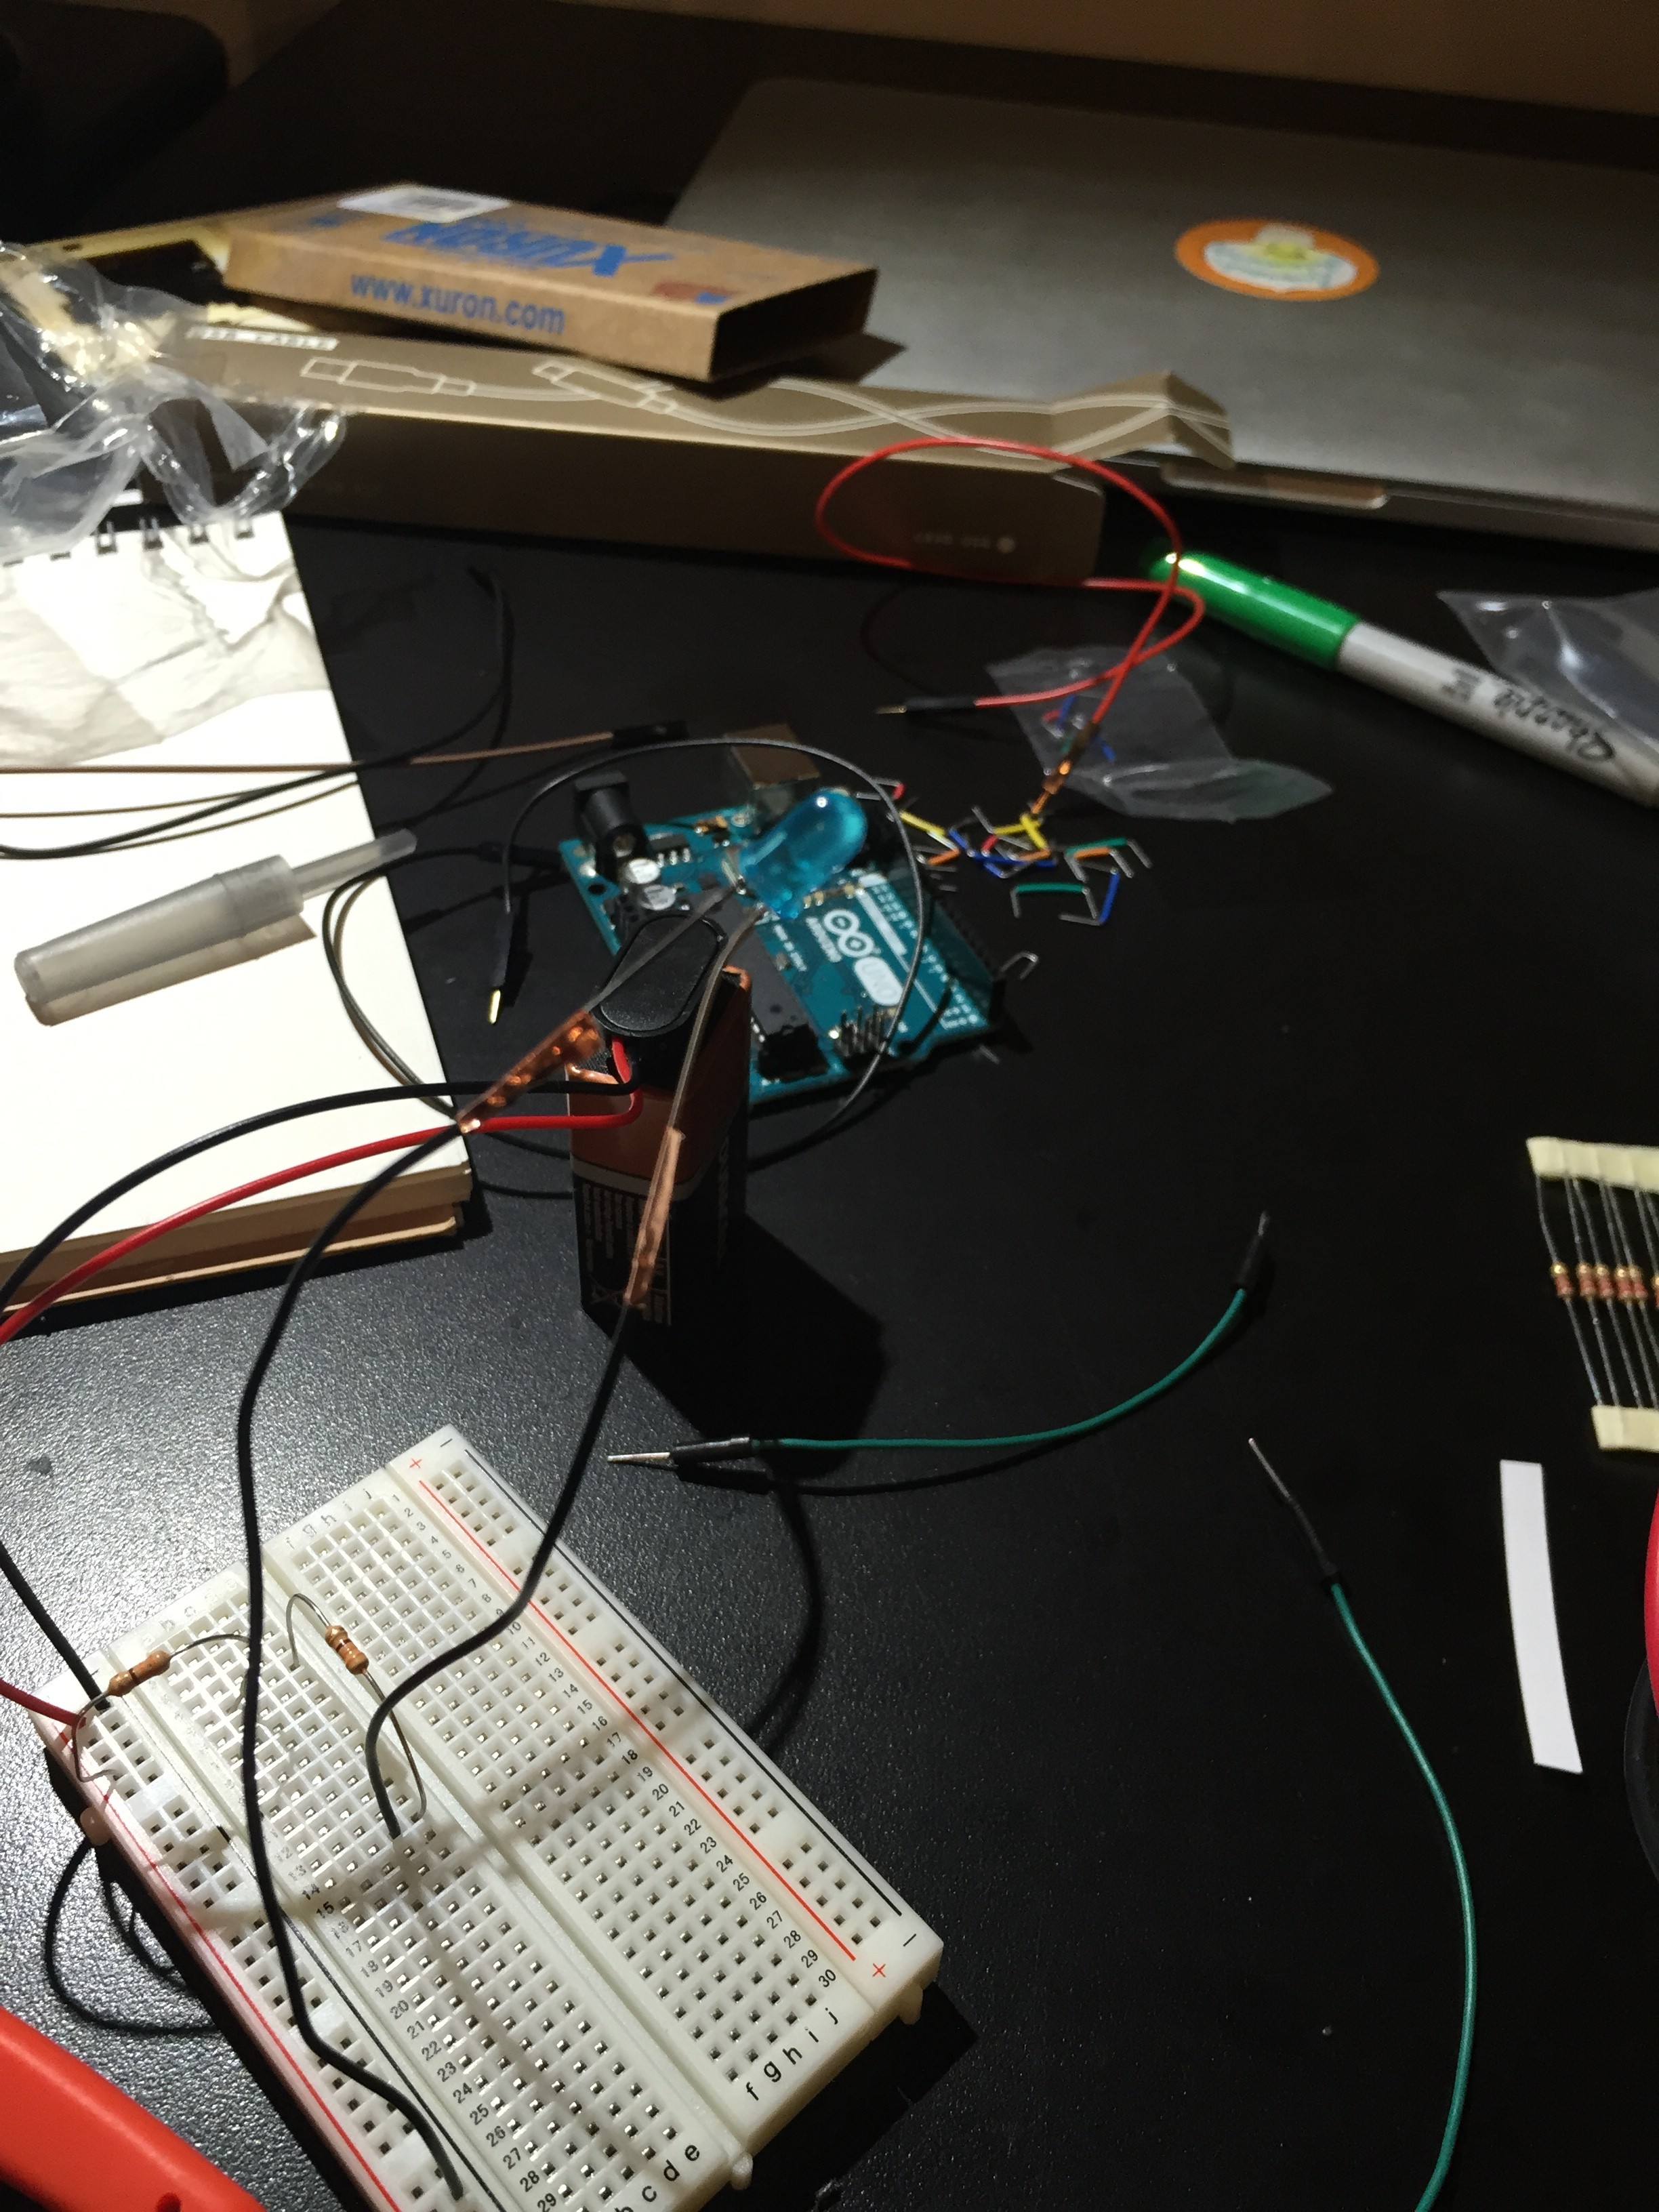
Over and over. Every time I tried to use the wire, the LED would not light. But otherwise, it was fine. So. I’m pretty bummed because I was excited to play around with the copper tape. I still want to try some paper circuits using a 3V and play around with the circuit templates like these. I really like book arts and paper constructions, plus the aesthetic of creating patterns using the copper wire. So. After I finish my readings and reviewing my materials, I play around some more.