PComp, Wk 13: Semaphore Jacket: – Progress, Pt. 2
After I got my components working, I started planning out how the LEDs would be arranged on the sleeves. I needed enough to get the idea across, but not too many. I laid out a couple and sketched out a design.
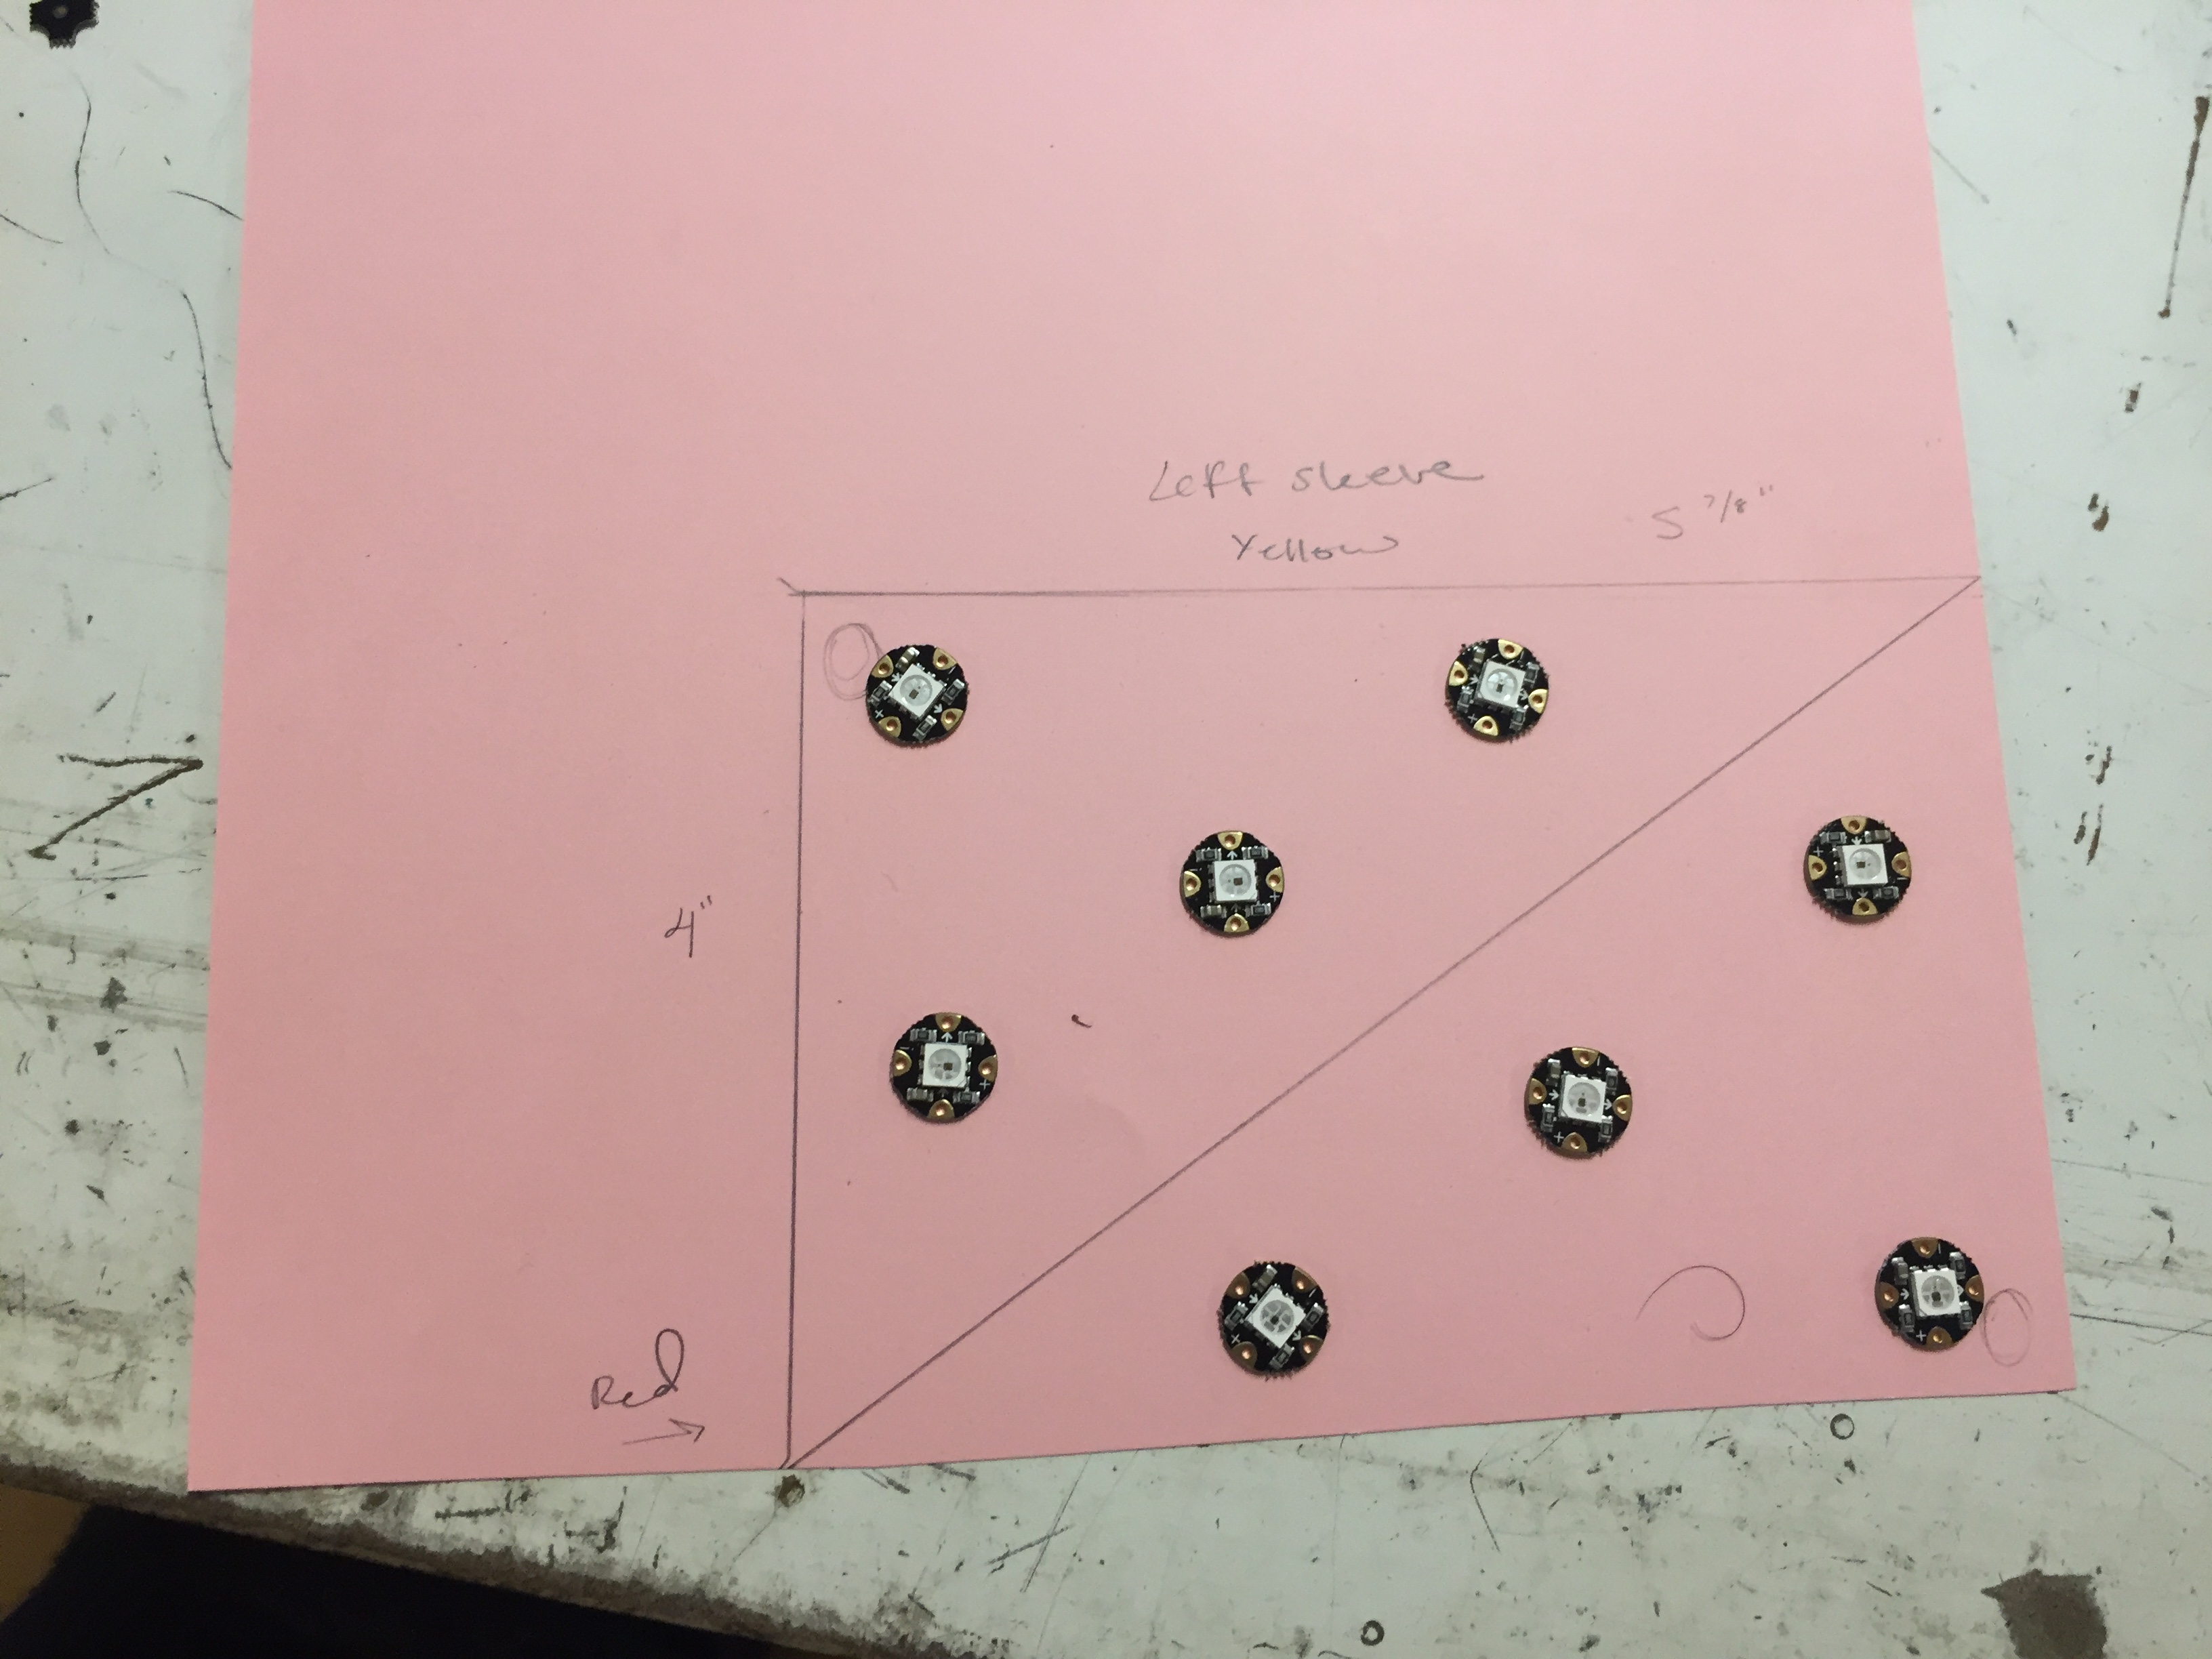

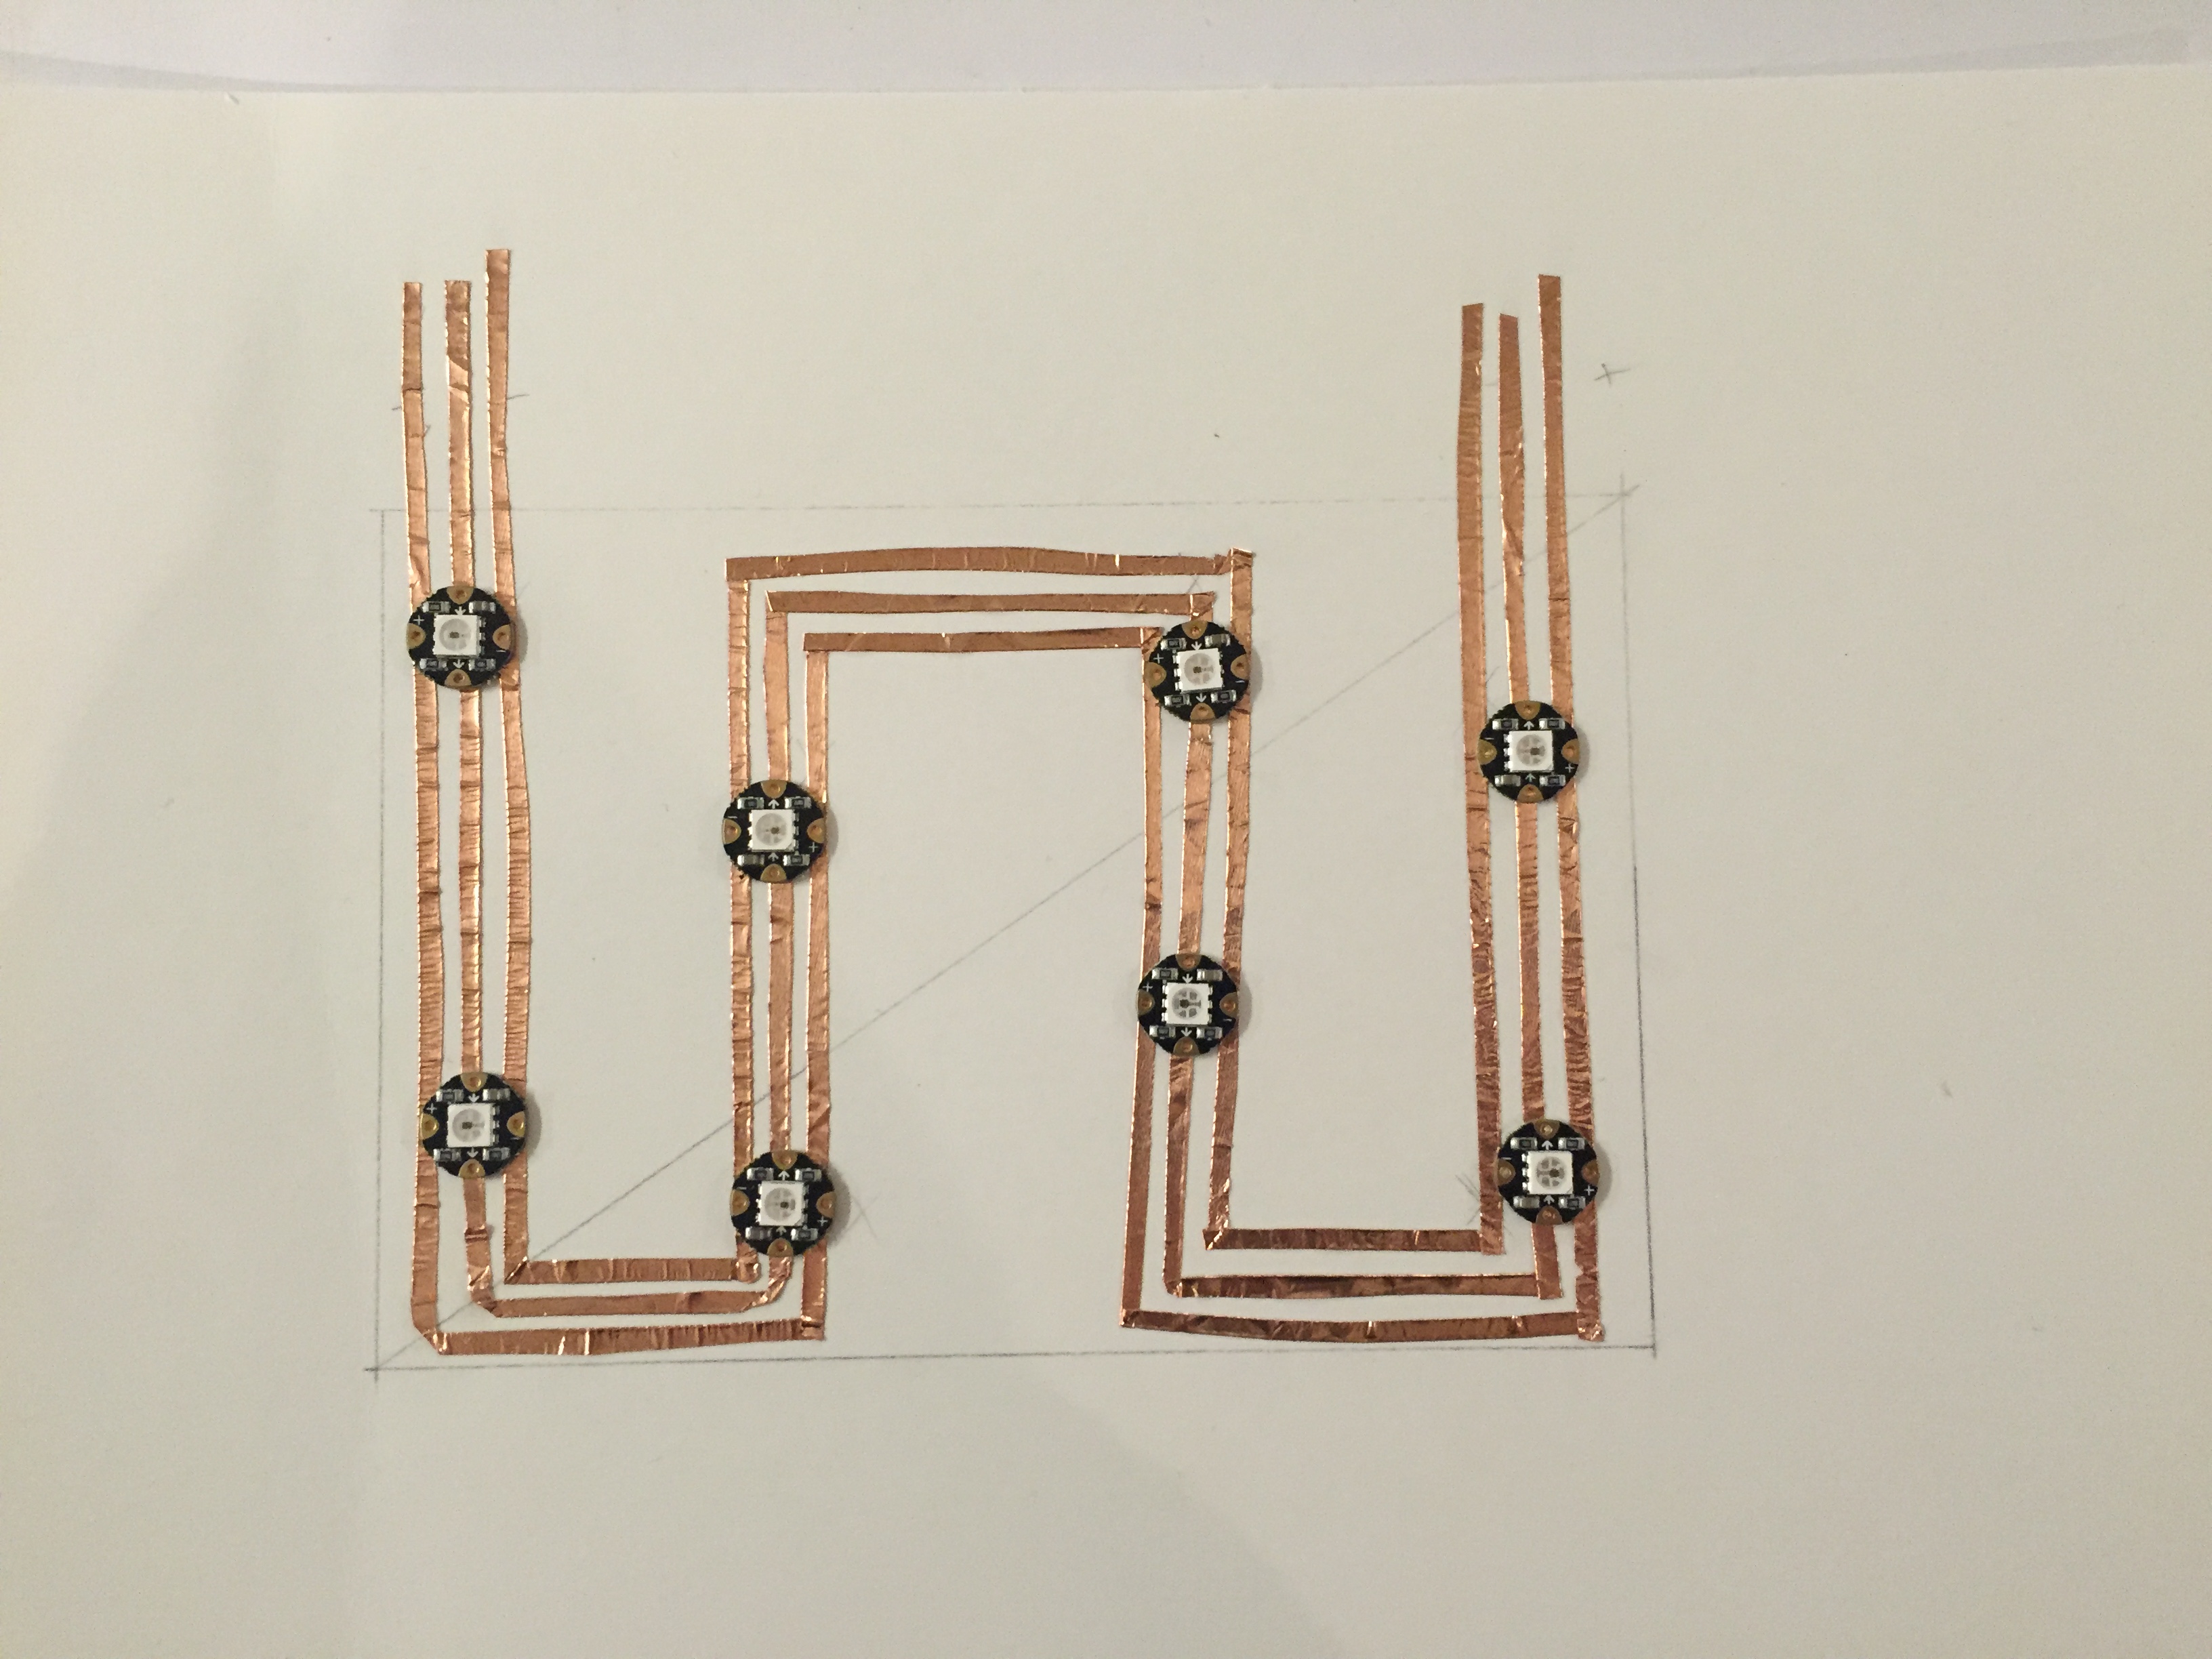
Then I thought about doing a copper prototype, but abandoned the idea because of time and just went straight to sewing them to fabric.
ITERATION 5:
I went back to my basic gemma/neopixel circuit and added a second neopixel and was able to successfully run the strand test.
With that, I went about sewing my LEDs. However, my first soft circuit was less successful.
I took it to Kate Hartman and she explained that I needed to loop the thread multiple times, to ensure the connections would happen. I also needed more space around the circuit to more easily attach to jacket.
ITERATION 6:
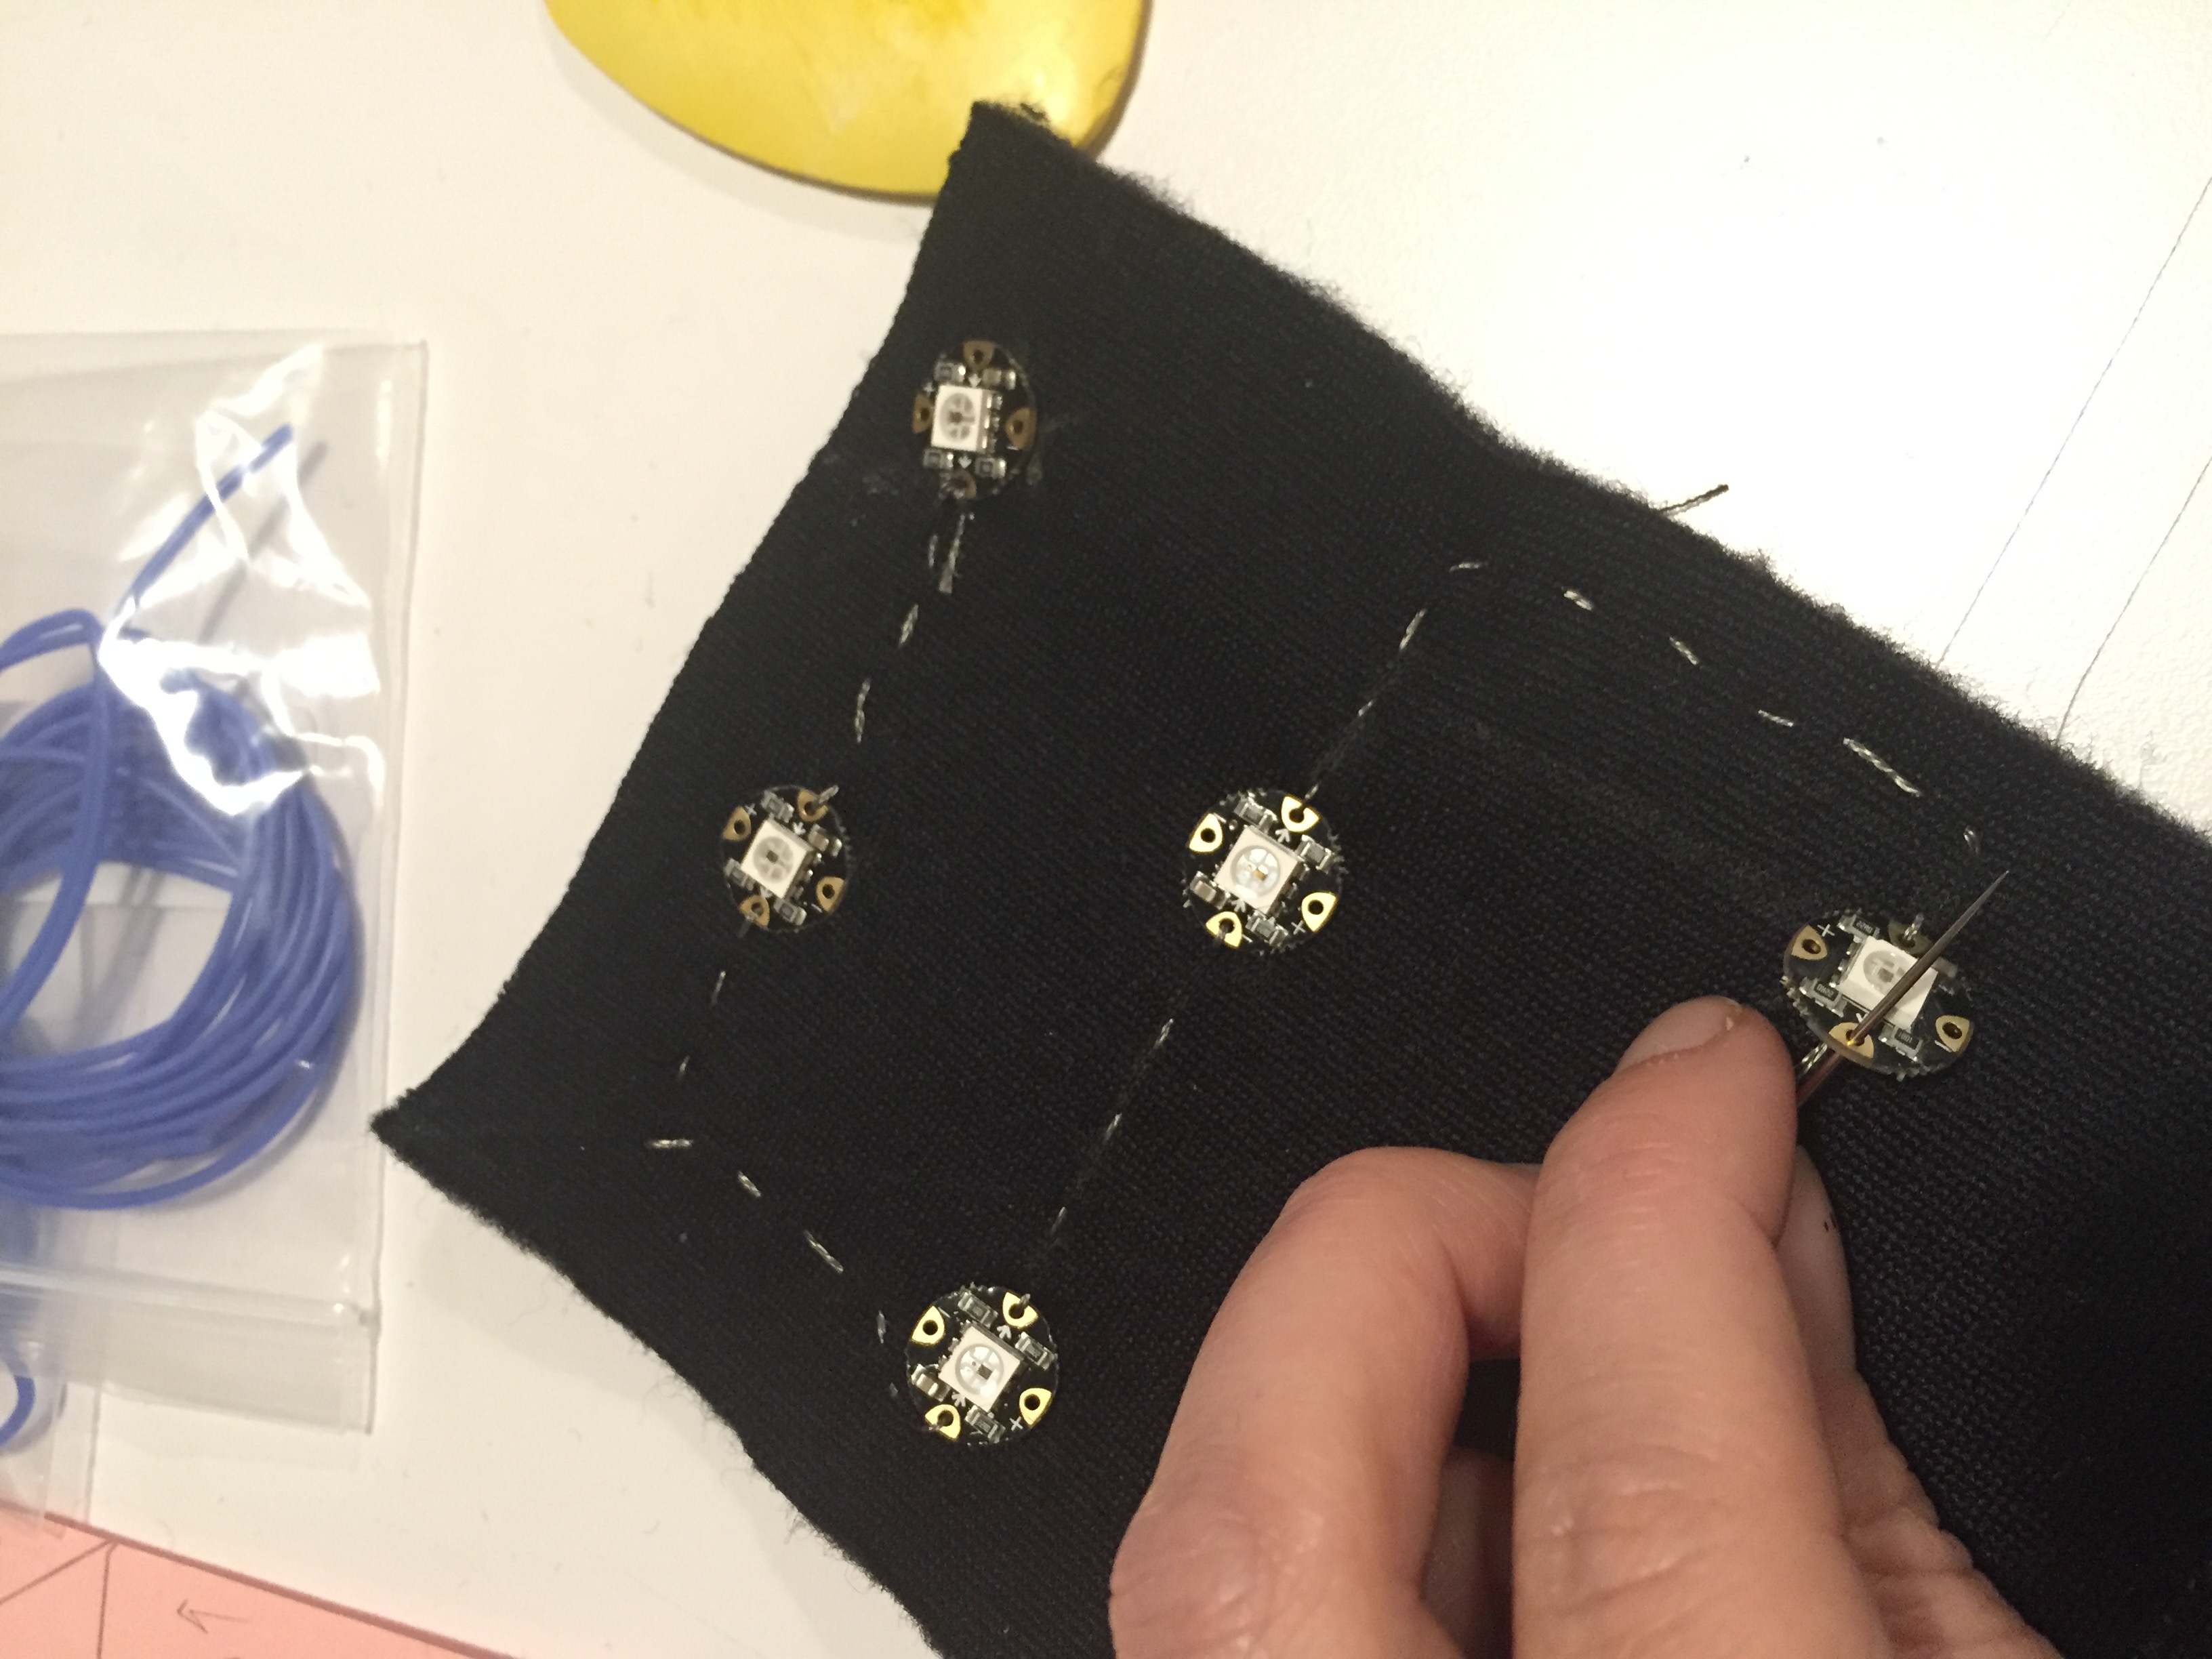
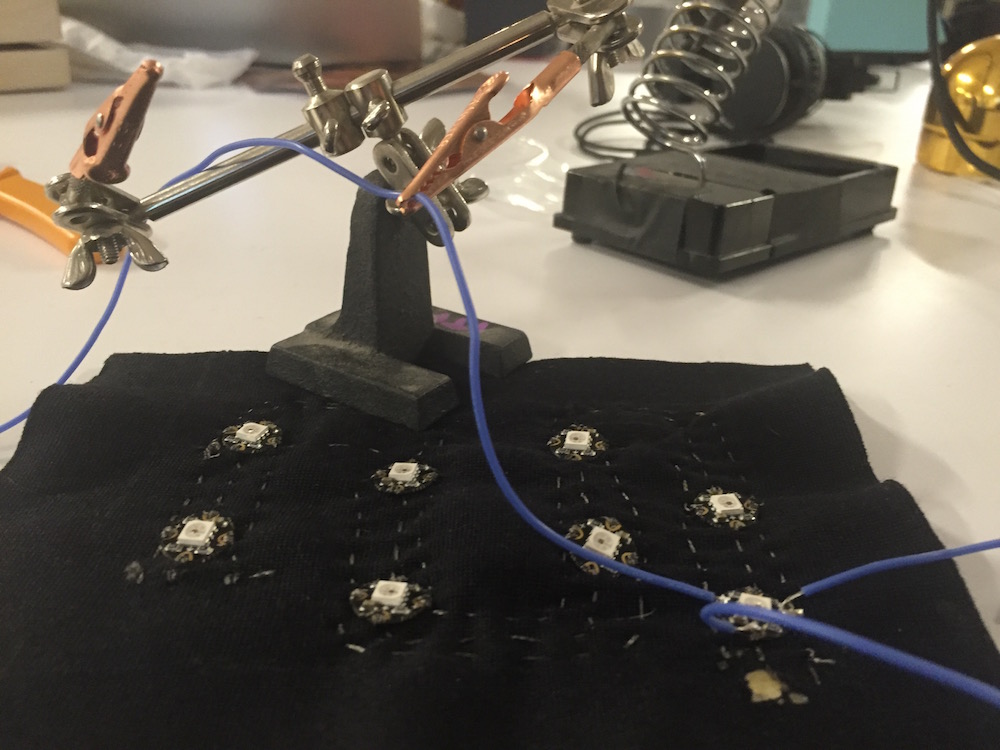
I cut out two new squares of fabric, adding an inch to each side of my original measurements (4-6″ became 6-8″). Using a chalk marker, I marked out the placement of the LEDs and the pathway for the stitches. I took a lot of care with sewing my second circuit, this time making sure to loop about four times on each connection. Consequently, it took me over two hours to sew the entire thing.
After I finished the second circuit, I almost caused a small fire in my bed trying to power it at 3am and forgetting to trim thread. Fire averted. Short averted by cutting strings and applying clear nail polish. Also learned that beeswax is good for frayed thread, applied that in parts as well. because I randomly had beeswax (gotta love local farms!).
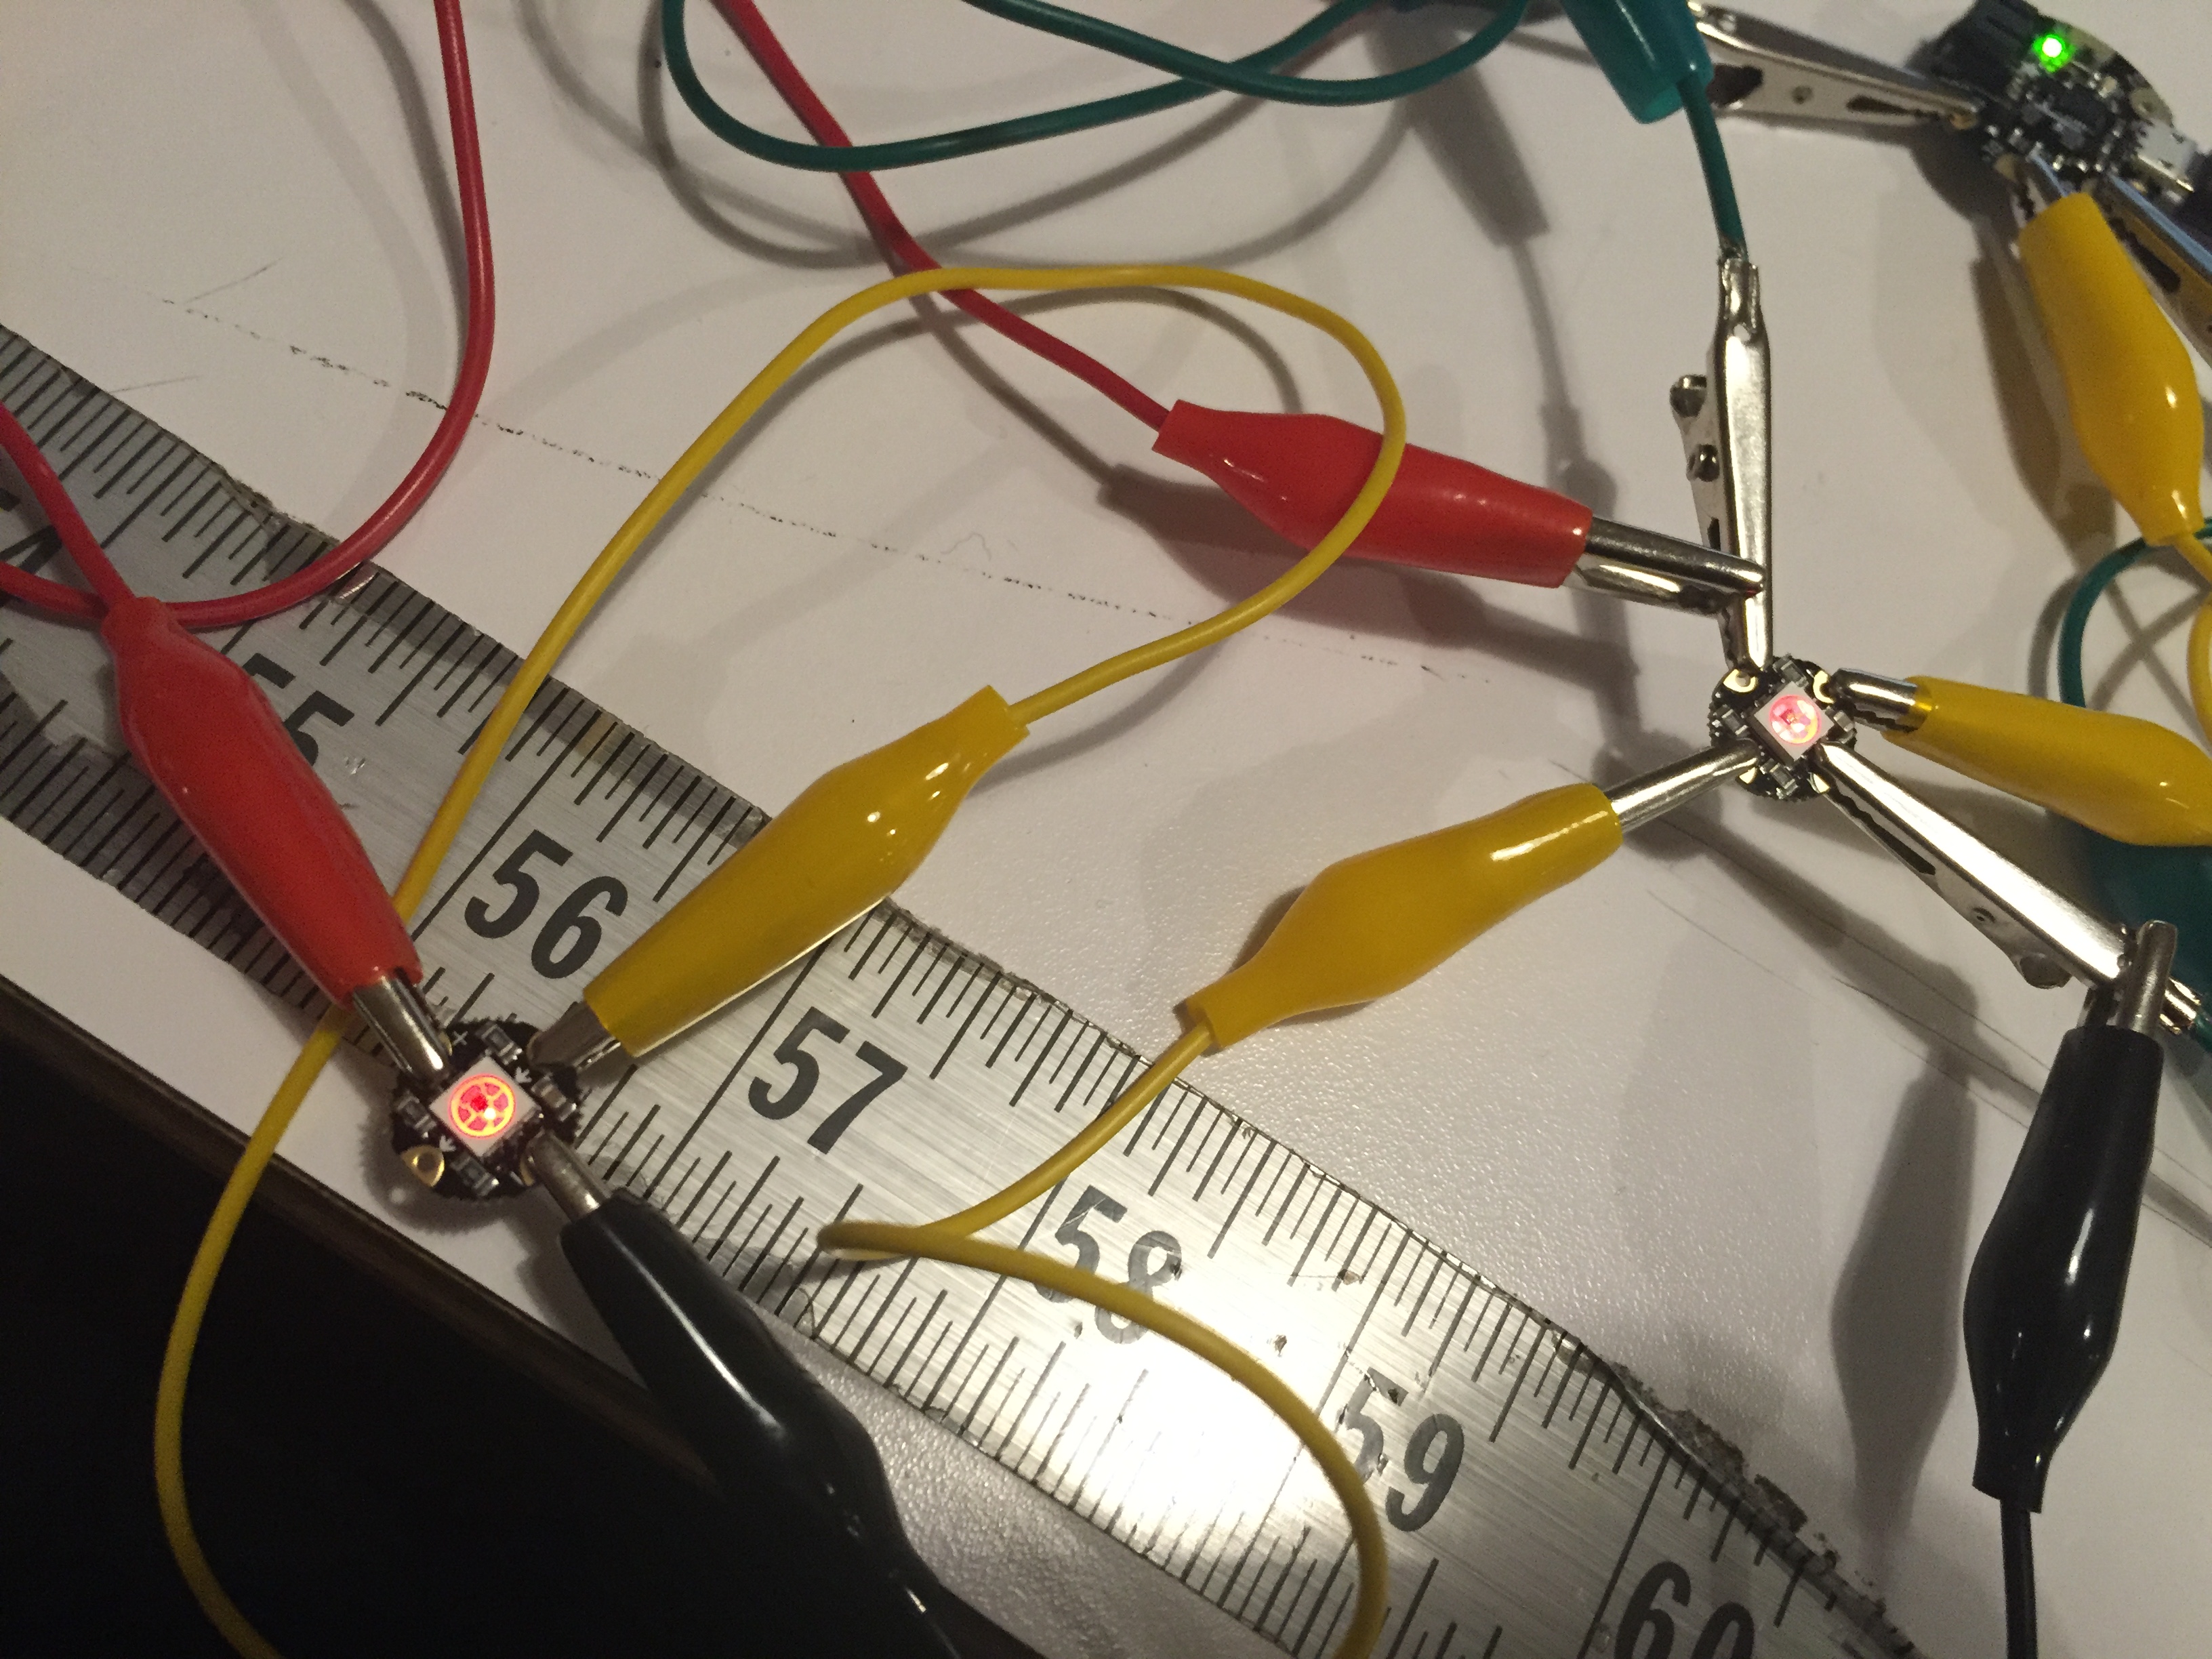
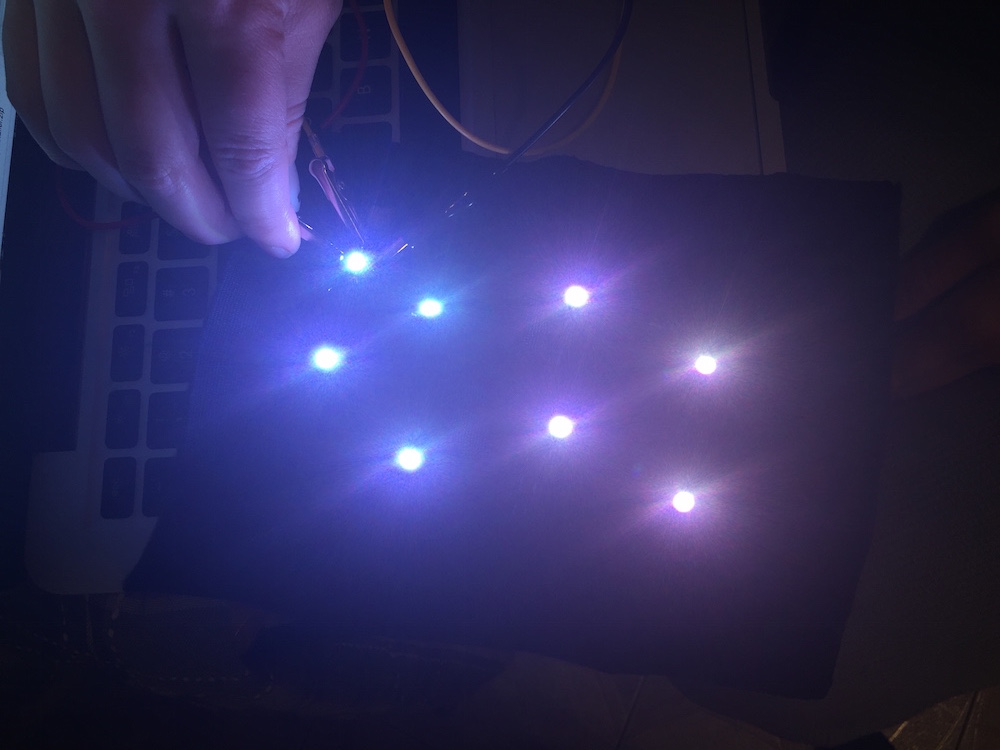
I hooked up alligator clips and sort of got the string test to work? All LEDs came on and changed color, so it seemed like power and ground were working.
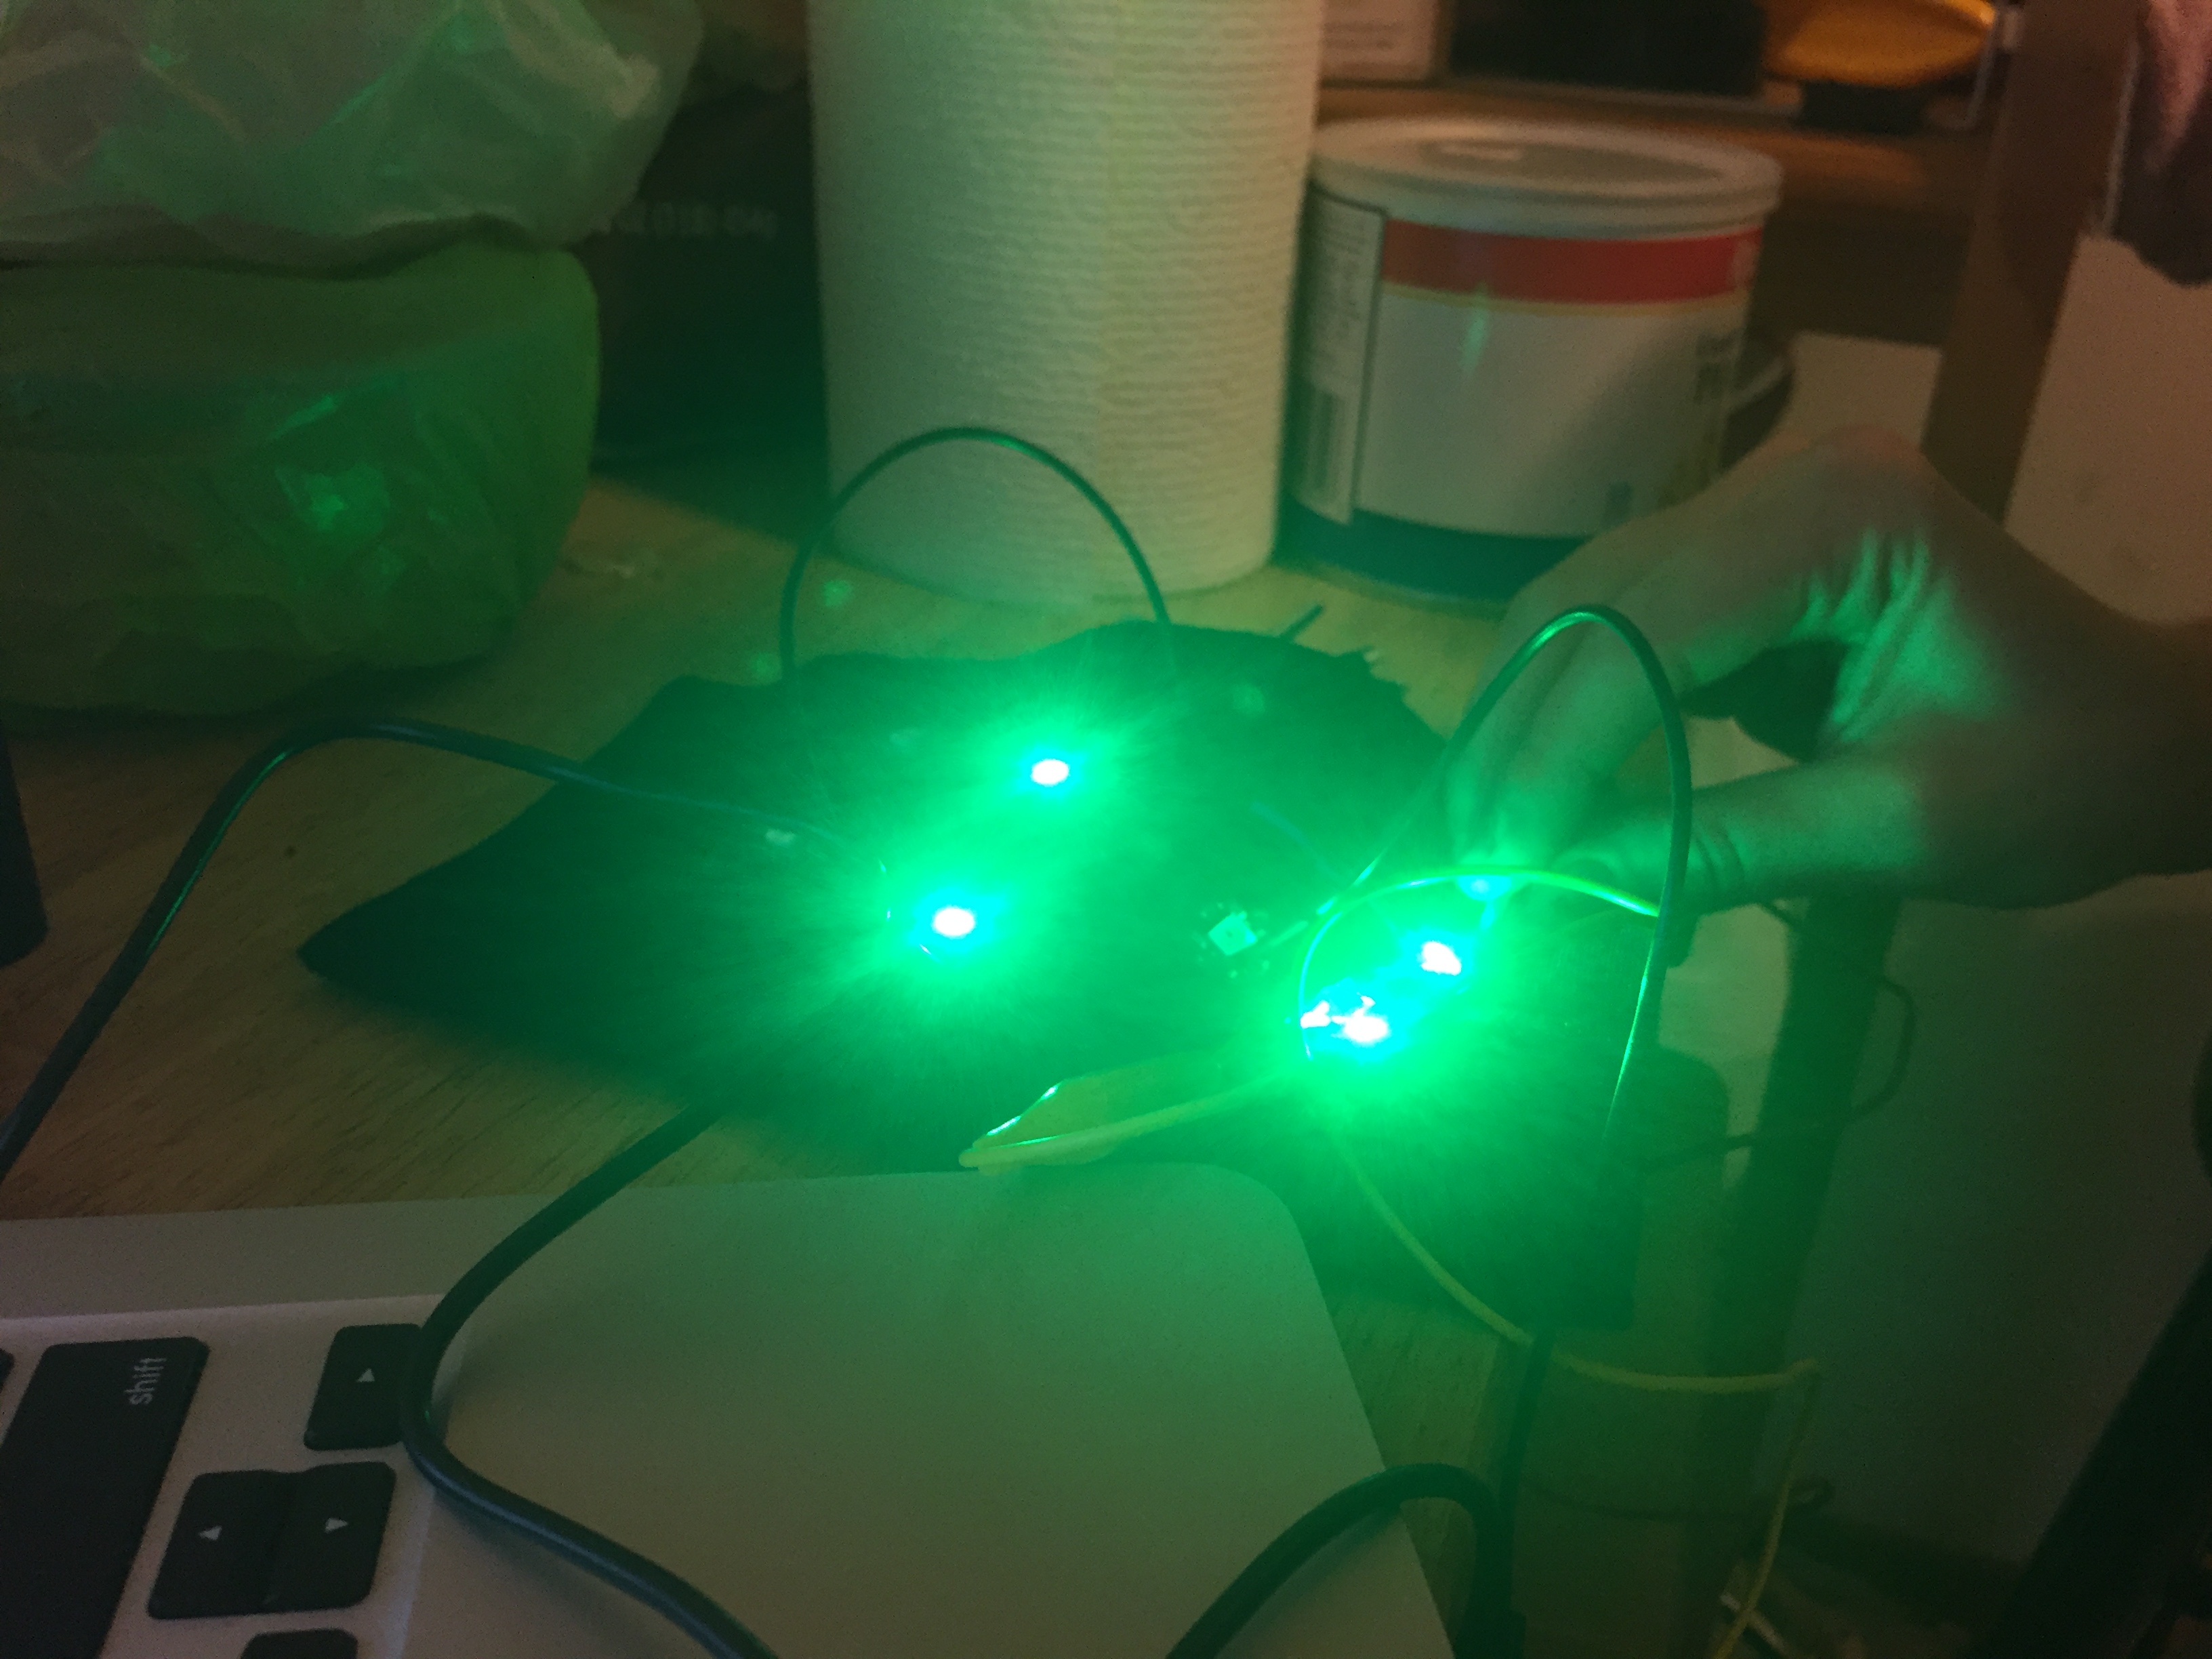
But it was difficult with the alligator clips, so I decided to solder (first time ever!) the silicone coated wires. Not the best soldering work, so that seemed to be why the connection wasn’t right.
Aaron helped me fix the soldering, but once it was finished it still wasn’t working – possibly blew the first neopixel? and maybe second?
ITERATION 7:
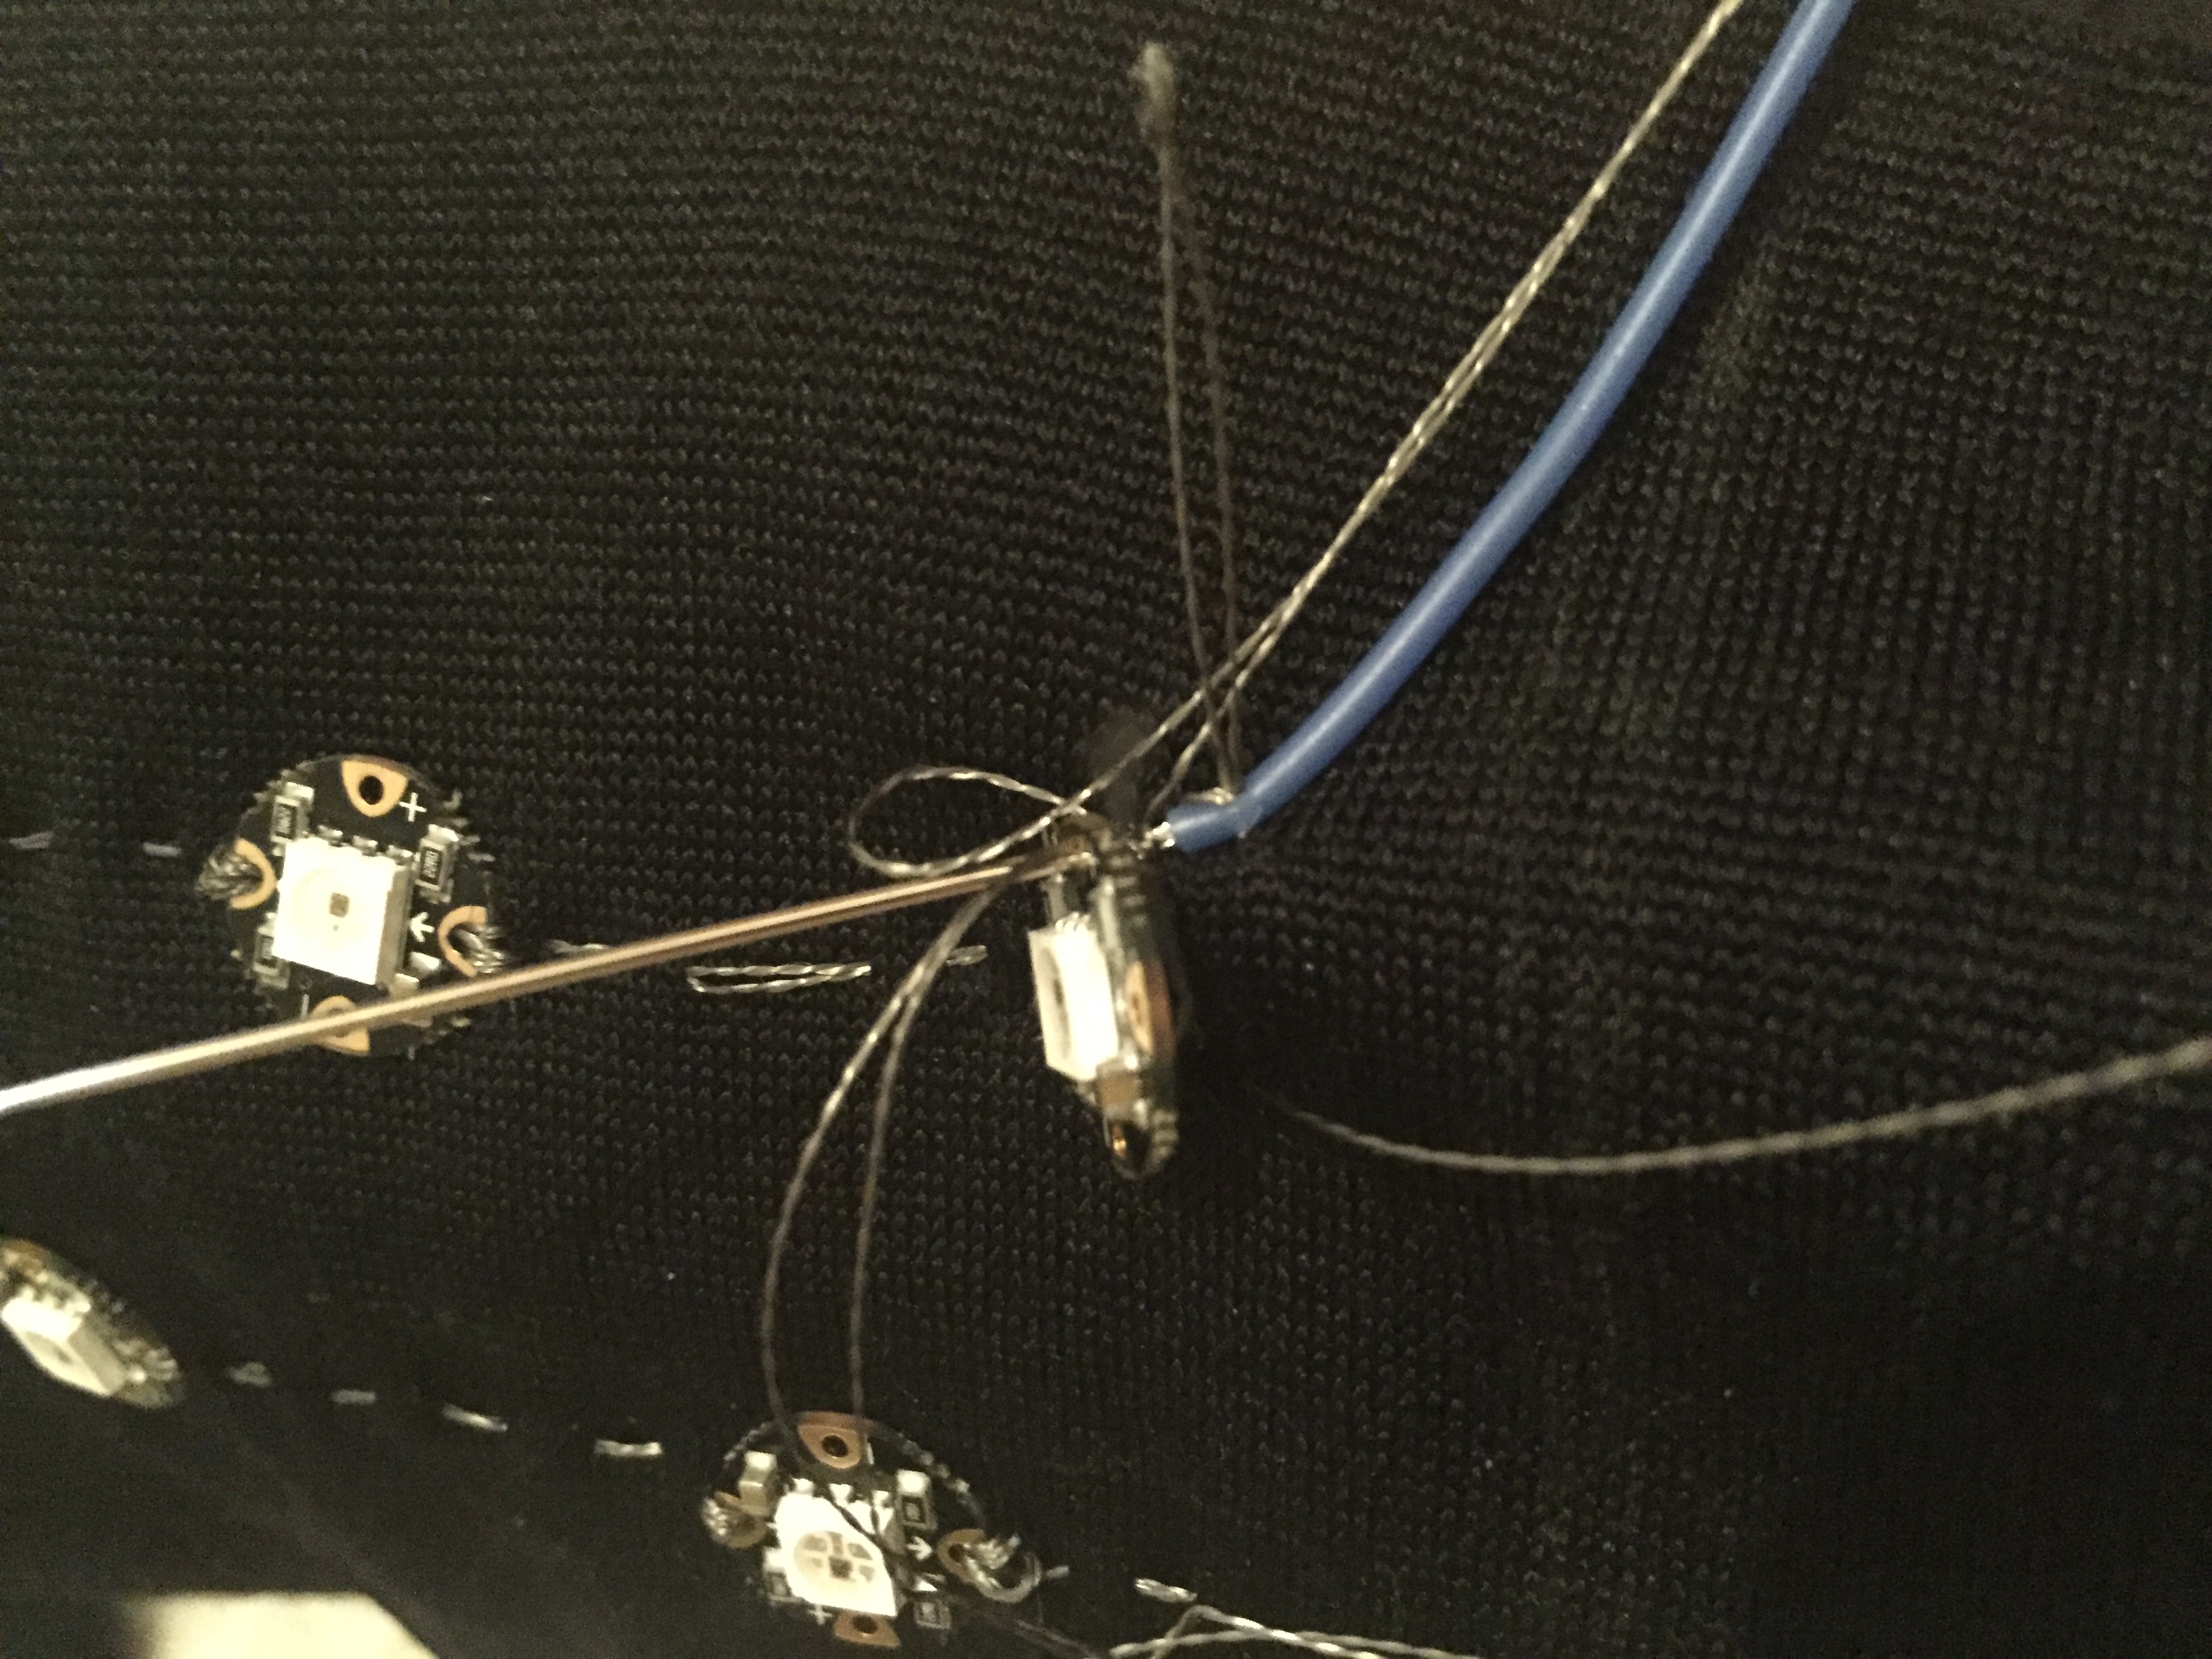
So stitched a third version and feel like I have a good method now for attaching the neopixels. I also tried stitching the wires into the circuit using the thread.
I’m now terrified of blowing the neopixels, so I bought a couple of 1000uf/25V capacitors and ~470 resistors, which is what adafruit recommends to prevent blowouts on their neopixel strips. I talked with Teresa and she said she’s never used resistors or capacitors and it’s difficult to find much documentation about similar situations online. I tried hooking up the circuit with the resistor on the data line but no, still dead.
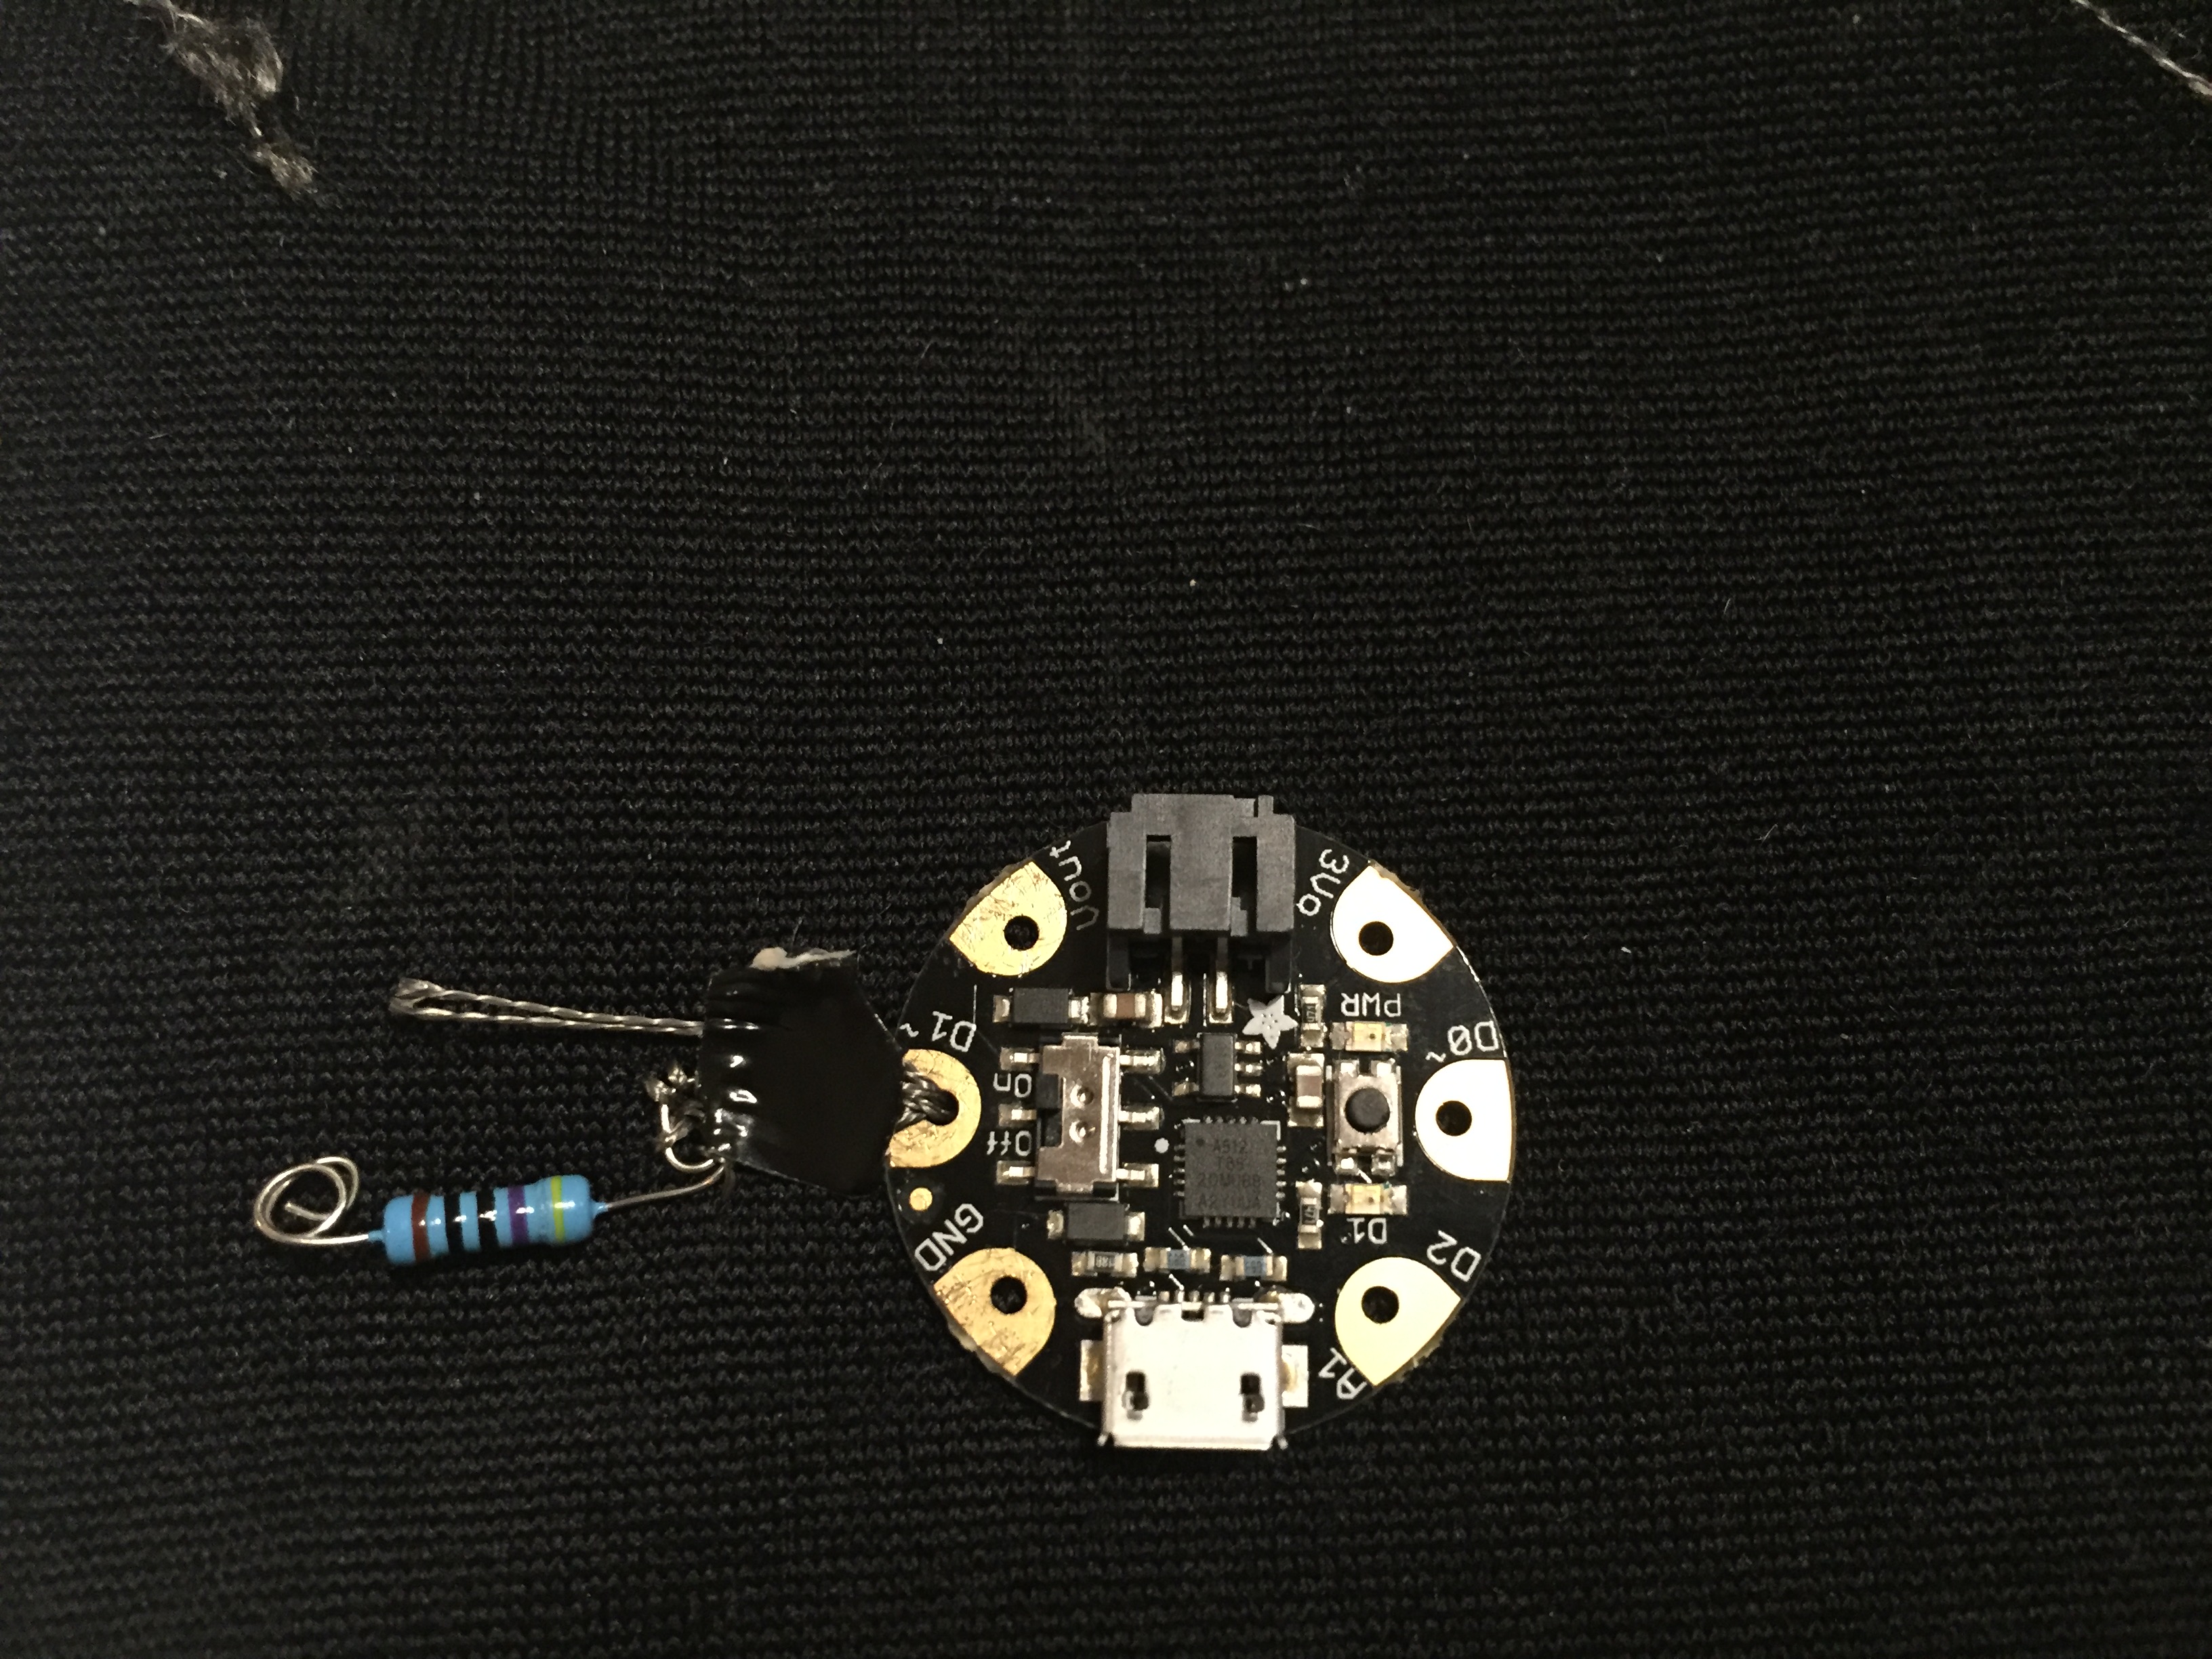
So for my next version, I’m going to add the capacitor and loop the silicone wire rather than stitch/with it. Hopefully this will prevent further neopixel blowout and get me a working circuit.